Skip to content
Servire: The POS system for your hospitality business
Get started

Additional article settings: the seven tabs

Images, global and article-specific variants, labels, recipe, deposit items and included items — each tab of the article dialog is explained, along with tax rates, PLU and descriptions.

The article dialog has two halves. On the left are the basic data (name, price, article group, tax rates, descriptions), and on the right are seven tabs with additional settings: Images, Global Variants, Article-Specific Variants, Labels, Recipe, Deposit Items, and Included Items. Use the arrows to the left and right of the tab bar to scroll through the tabs if there isn't enough space for all of them at once. Changes are only saved after clicking Save in the bottom right corner.

Edit article dialog: on the left, basic data such as name, price, tax rates and descriptions; on the right, the tab bar with images, global variants, article-specific variants and labels.

Tab “Pictures”

Upload and sort images

Upload and sort images

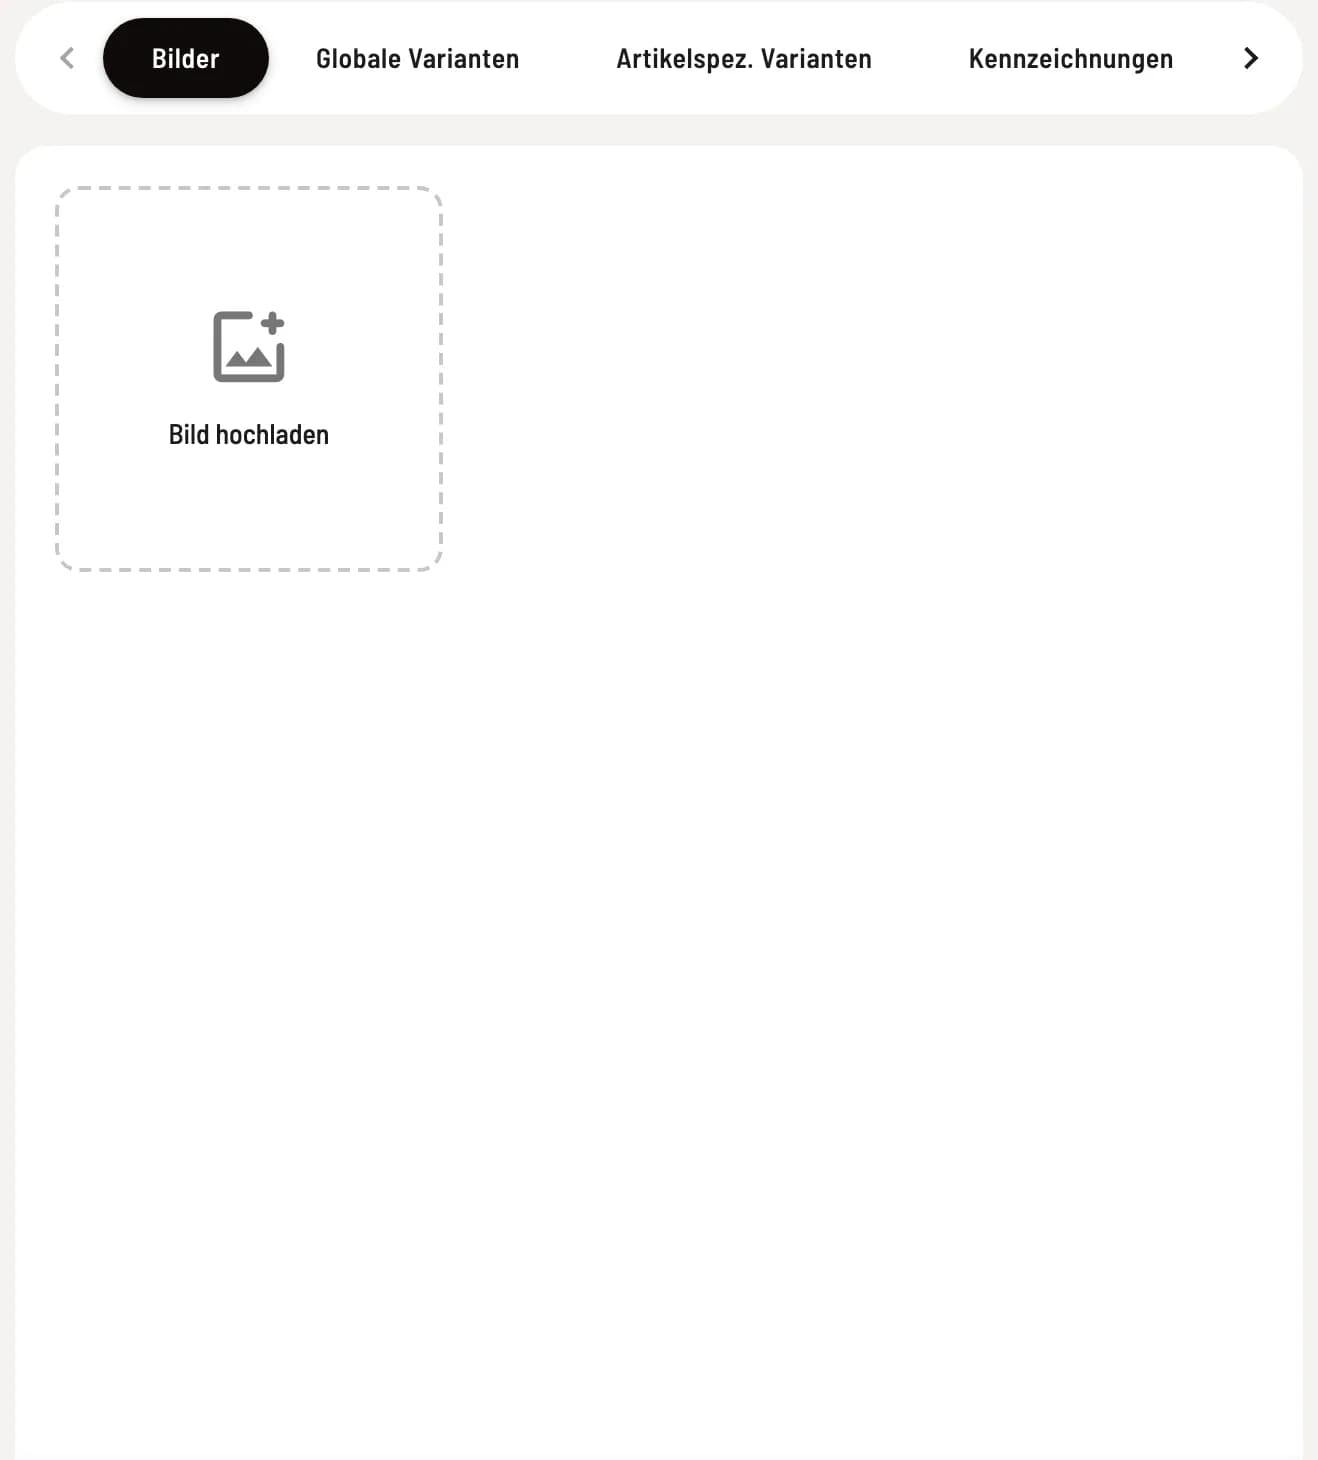
Click on Upload Image and select a file. You can upload multiple images; the first one will be labeled Main Image and will appear in the POS app and on the digital menu. You can change the order by dragging and dropping the handle icon in the top left corner; the X removes an image.

There is no maximum number of images. Each image must be at least 200 x 200 pixels; common formats such as JPG or PNG are accepted. Upon upload, it is automatically converted to WebP and resized to a maximum width of 1200 pixels. Clicking on an existing image replaces it in the same location. The images appear in the POS app on the product tile and in the product detail view, as well as on the digital menu and at the ordering terminal.

“Global Variants” tab

Assign variant group

Assign variant group

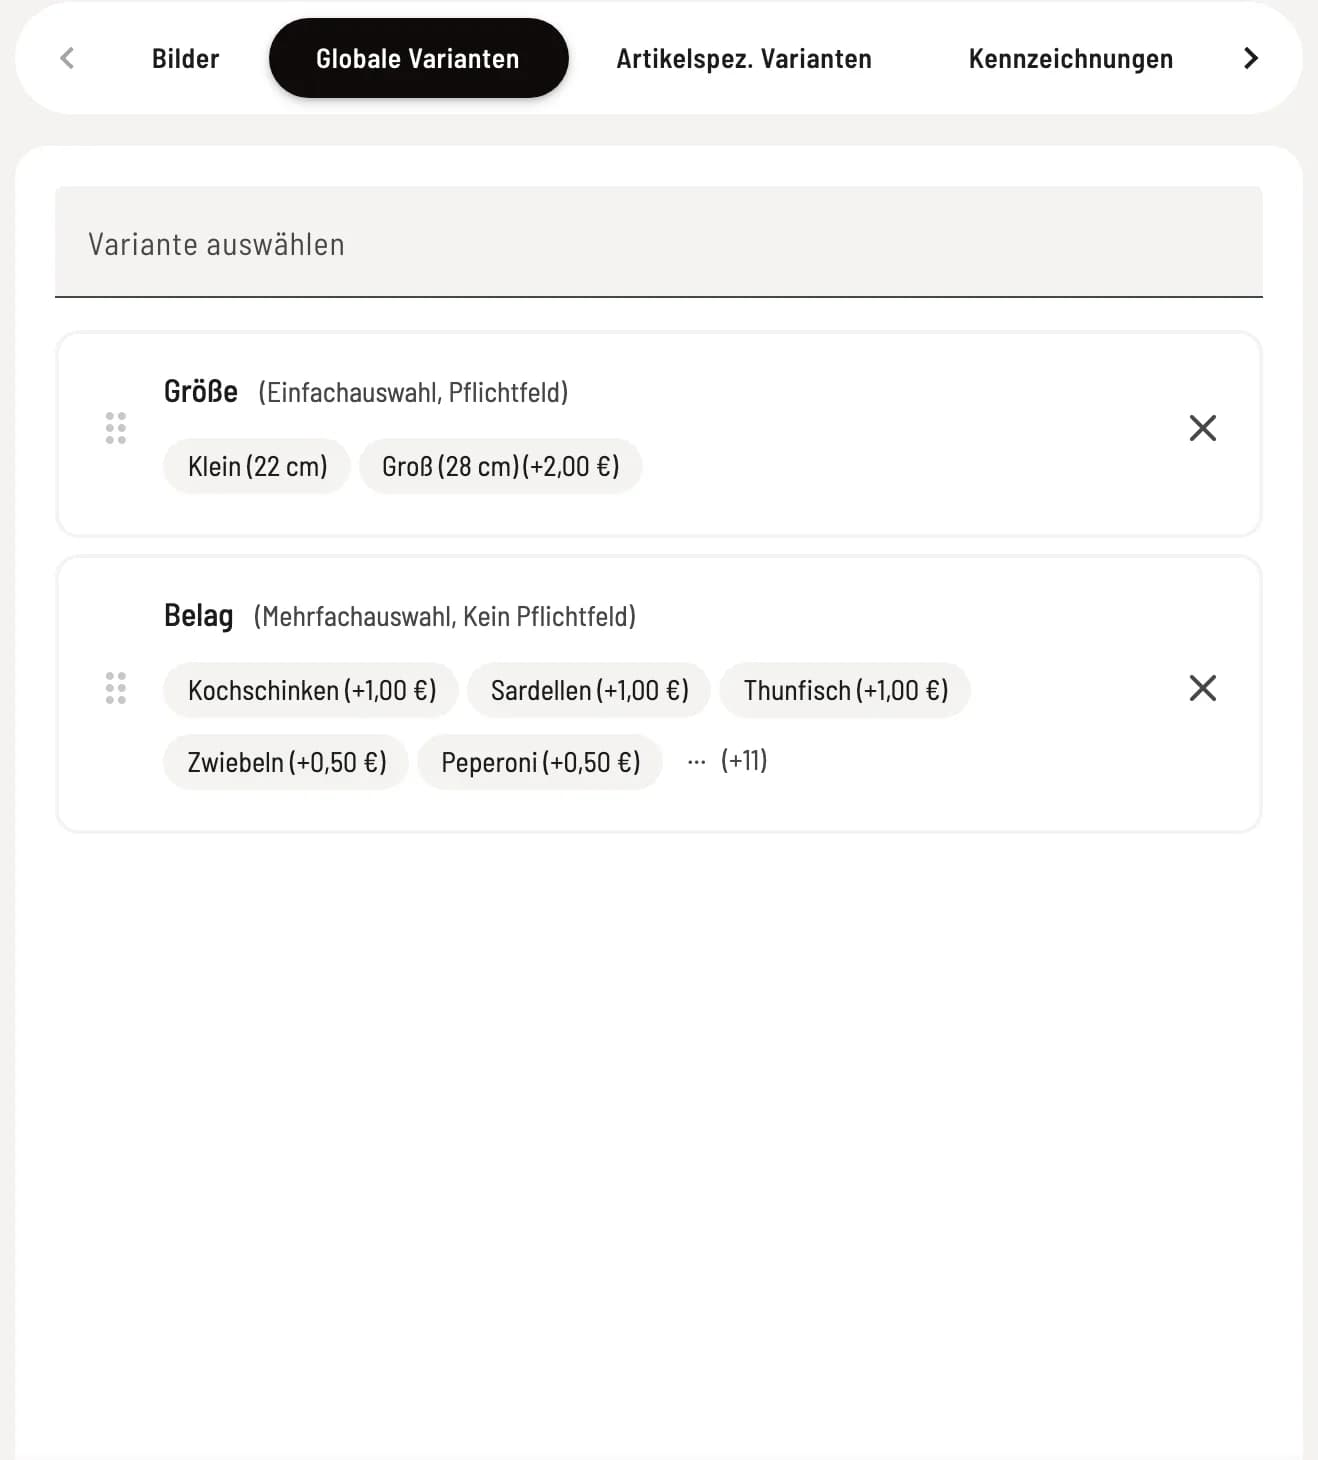
In the Select Variant field, choose a centrally defined variant group, for example, Size. The assigned groups will appear below with their options and surcharges; the X removes the assignment, and the handle on the left changes the order.

Global variants are managed centrally — a change affects all items that use the group. They can be created and edited via Menu → ⋯ → Edit Variants or the link at the bottom of the tab. All fields of a variant group are explained in Managing Item Variants.

Tab “Article-specific variants”

A separate version just for this article

A separate version just for this article

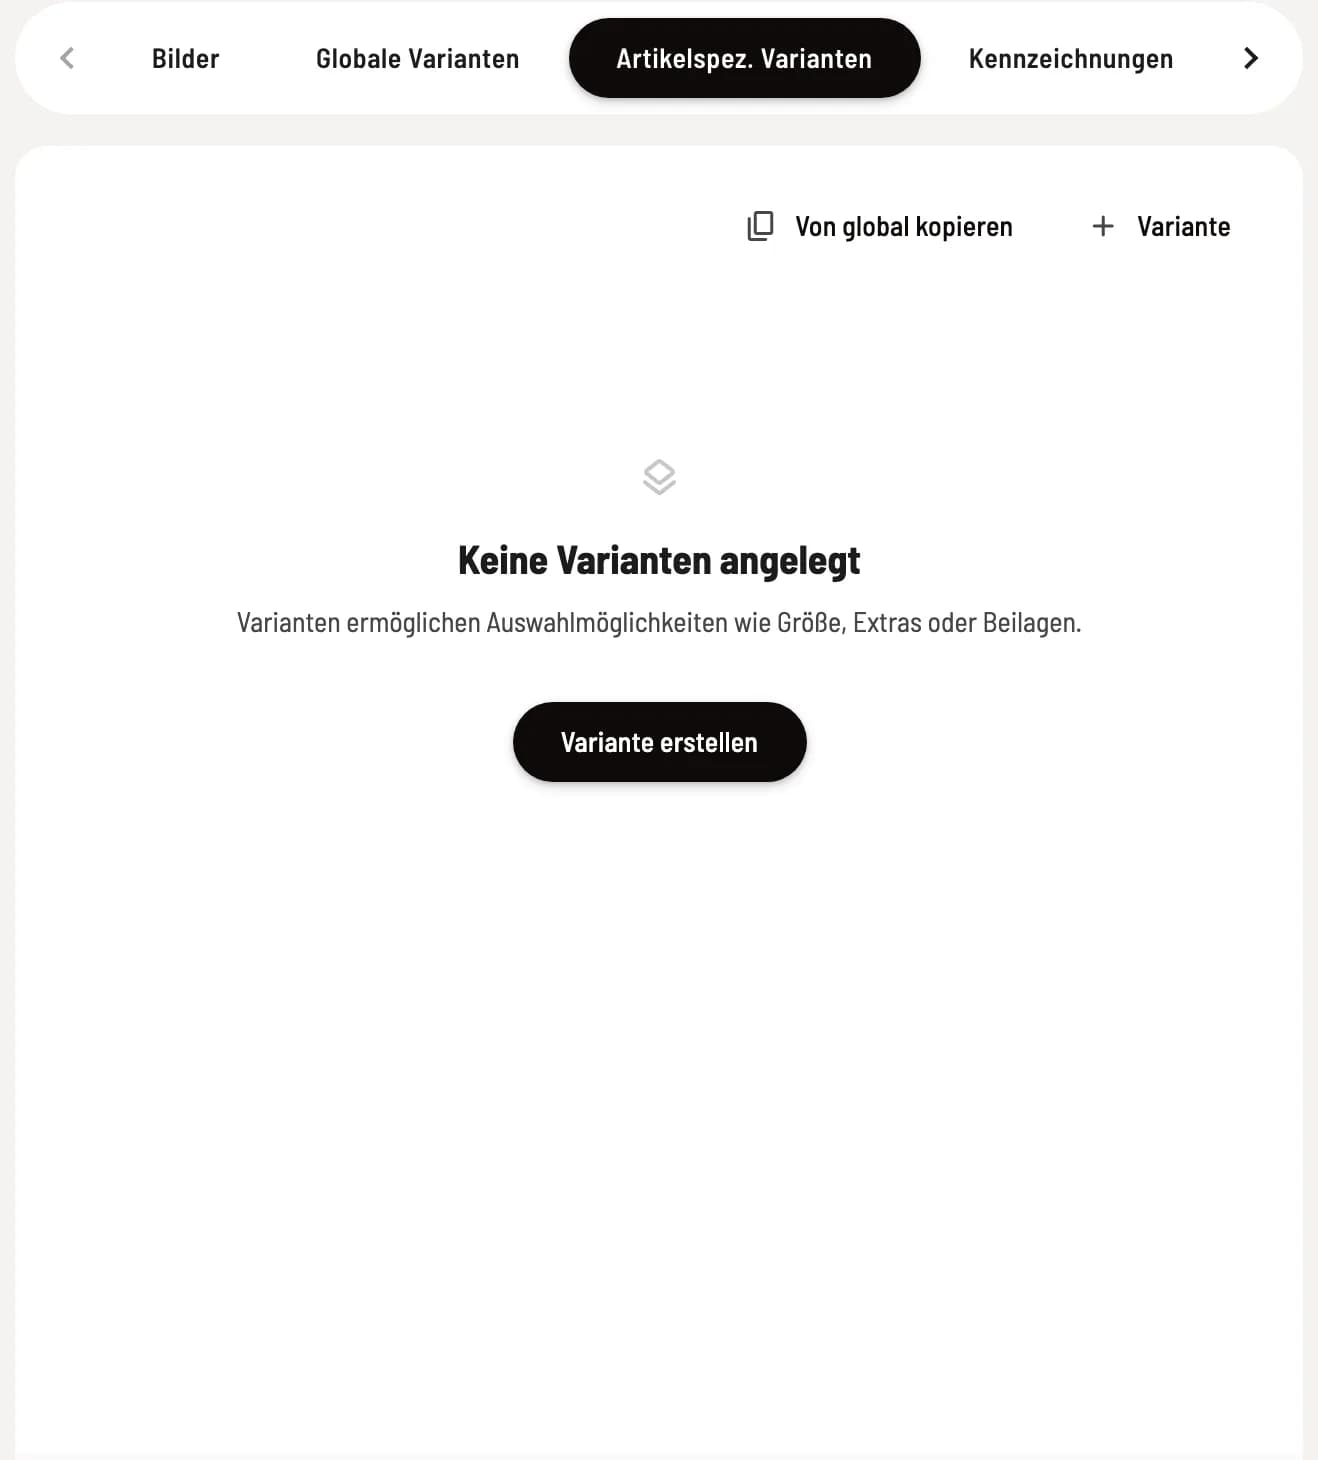
Click on + Variant. Enter the variant name (e.g., Side Dishes) and activate the Multiple Selection, Mandatory Selection, and Publicly Visible switches. Use + Option to define the choices—for each option, Name, Price (€) as an additional charge, Max. Quantity (blank = selectable only once), and optionally, your own labels.

Article-specific variants apply only to that one article and do not appear in the global list. Using Copy from global, you can copy an existing global variant group as a template and then customize it independently. Duplicate or delete a variant using the next to the variant name. Every variant must have at least one option—the last one cannot be deleted. As long as a variant is incomplete (e.g., without a name), Save remains disabled for the entire article.

Tab “Labels”

allergens, additives and properties are marked

allergens, additives and properties are marked

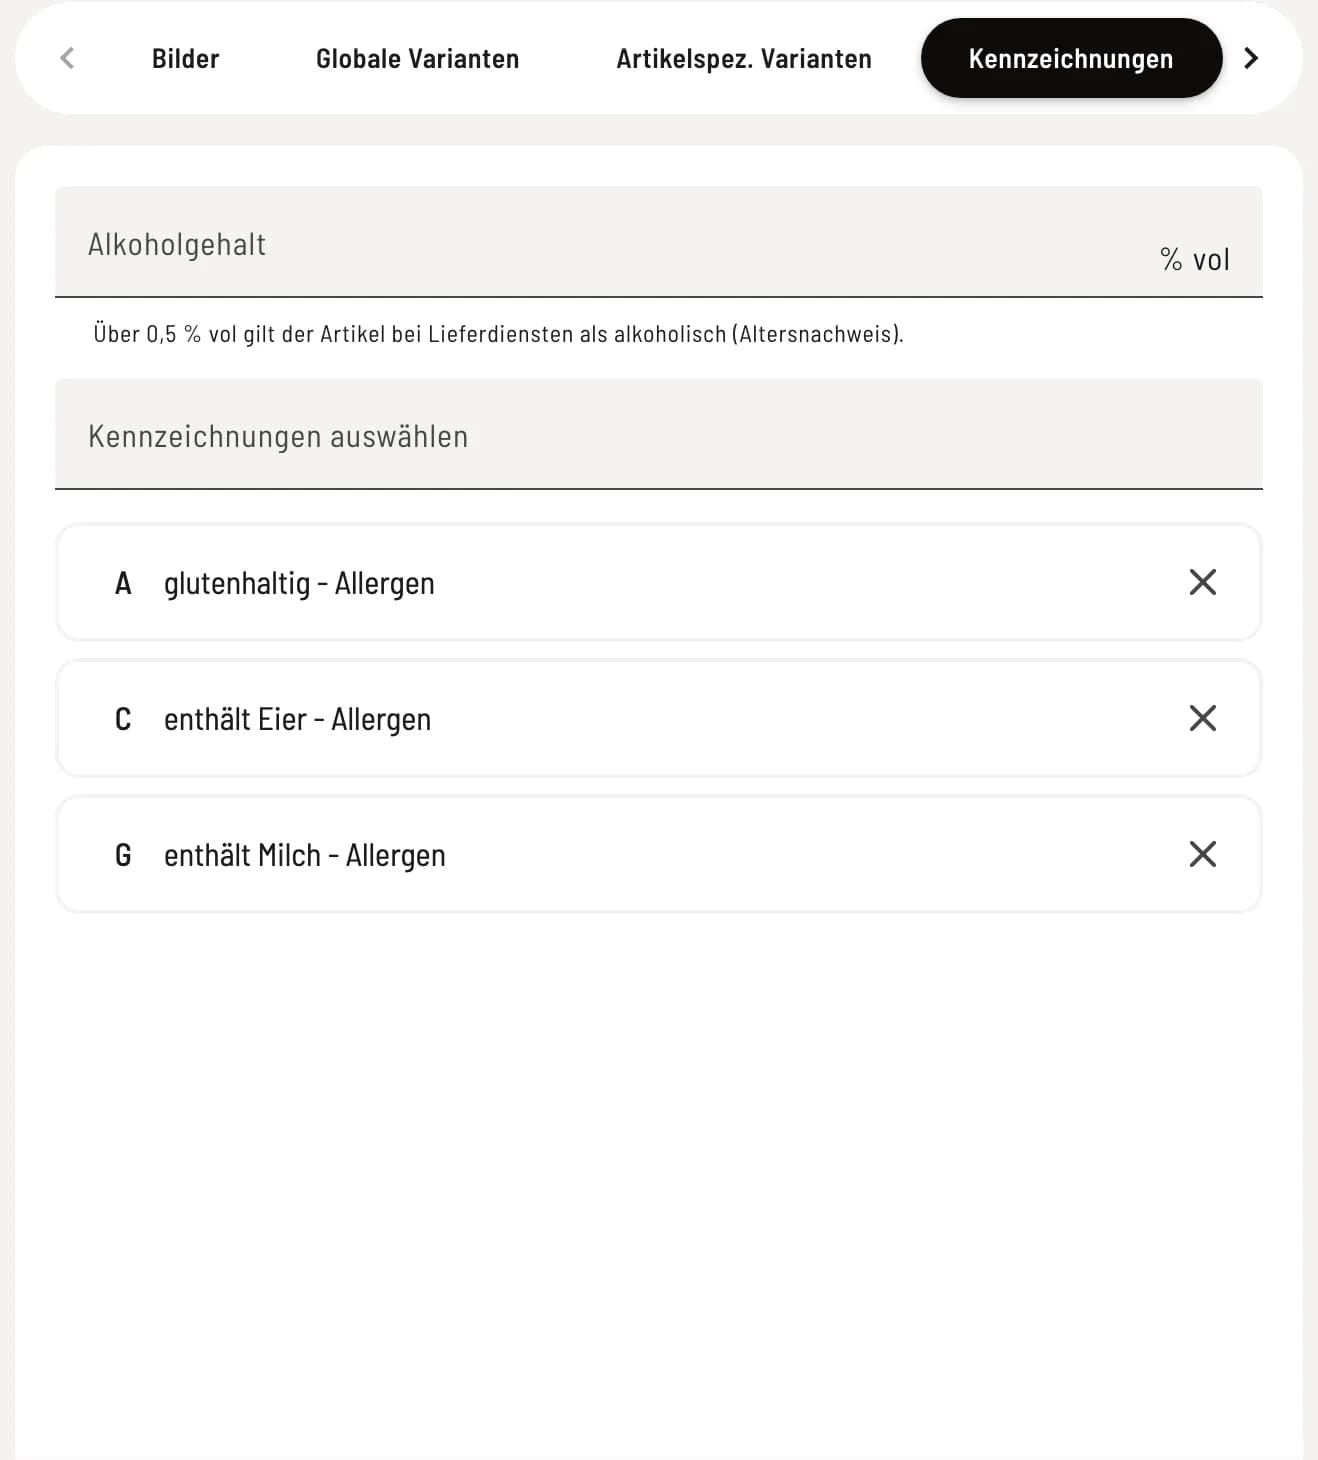
In the Select Labels field, choose all applicable markers, such as A Contains gluten or G Contains milk. These will appear as letters or numbers after the item name and as symbols on both the digital and printed menus.

You can manage the list of available labels centrally under Menu → ⋯ → Edit Labels or via the link at the bottom of the tab. Information on which markers are included and what is legally required can be found under Manage Labels.

Tab “Recipe”

Store internal recipe

Store internal recipe

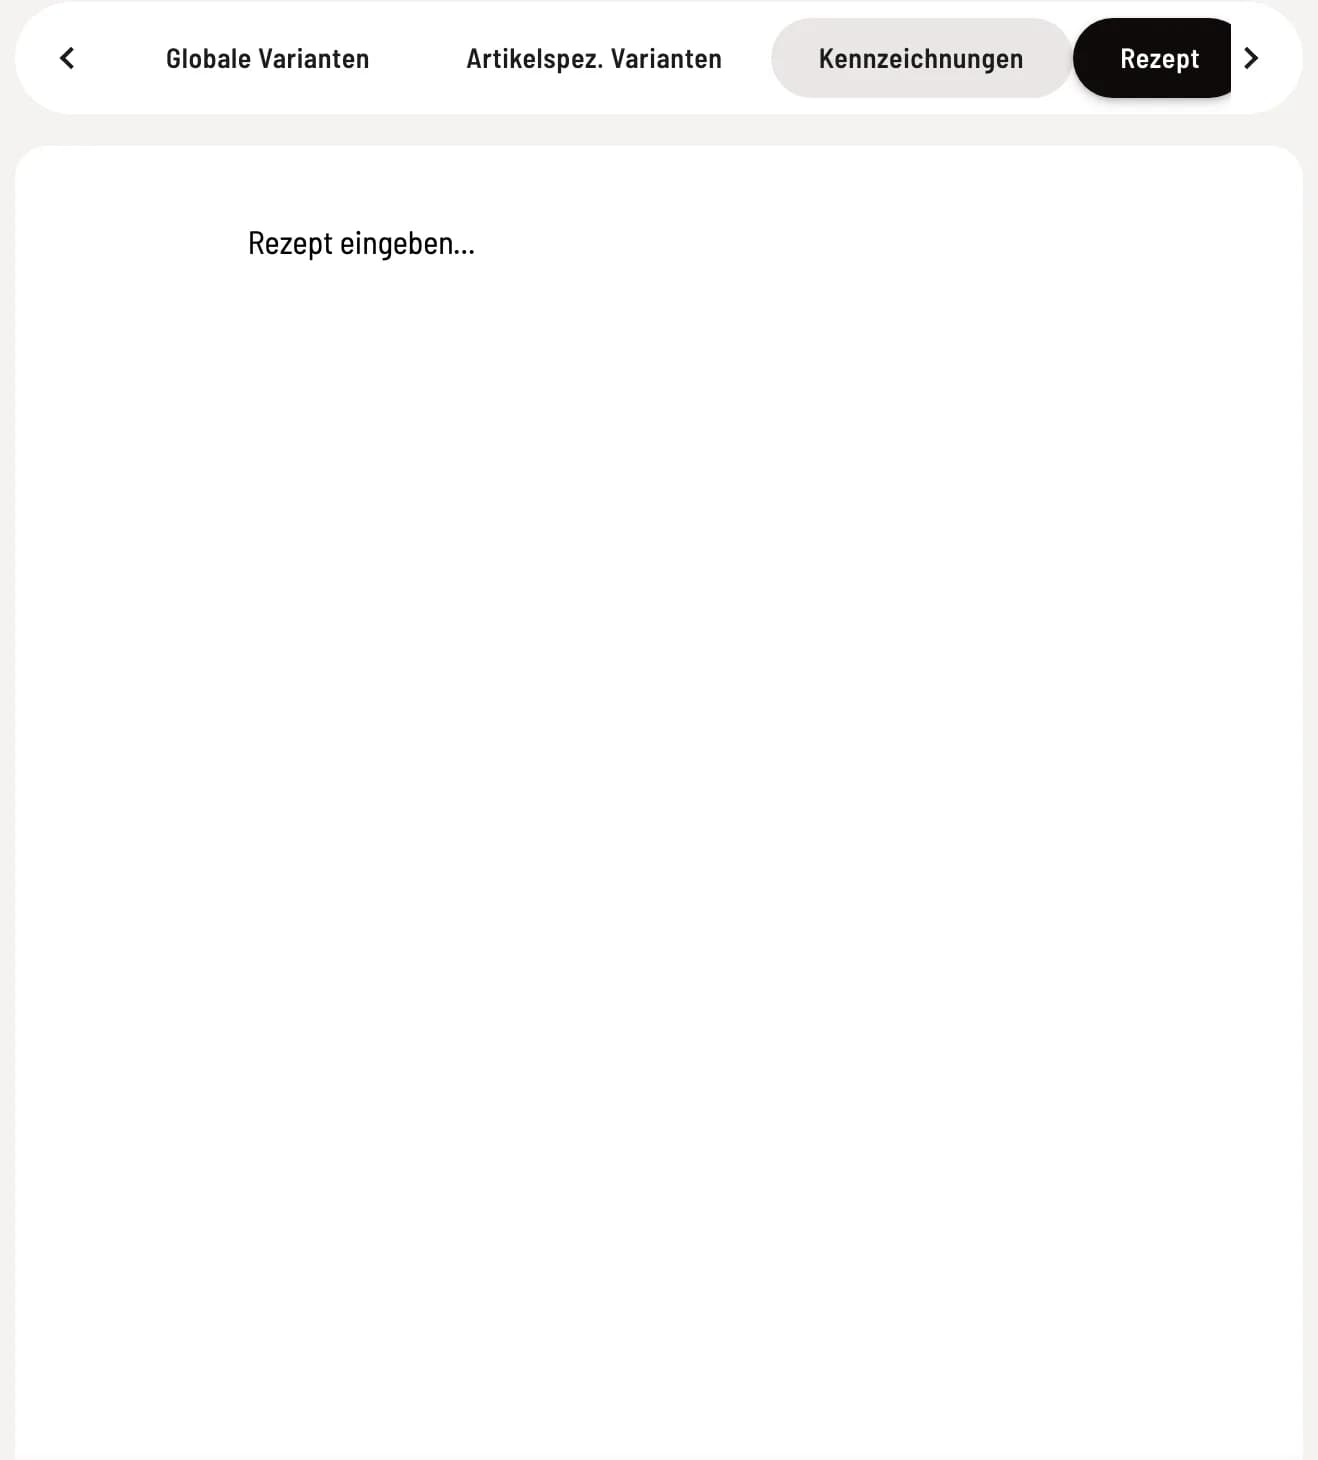
Click in the Enter recipe… field and start typing. The editor works like a word processor: Use the block menu to select text, headings 1 to 3, quote, separator, bullet points, numbering, image, or table. Inserted images are automatically resized.

The recipe is strictly internal: guests never see it. Waitstaff and kitchen staff can find it in the POS app in the item details view —a handy reference for temporary staff and new cooks. The tab is for free text only: ingredients with quantities for automatic inventory deduction don't belong here, but in the inventory management section.

Tab "Deposit Items"

Attach a deposit to the item

Attach a deposit to the item

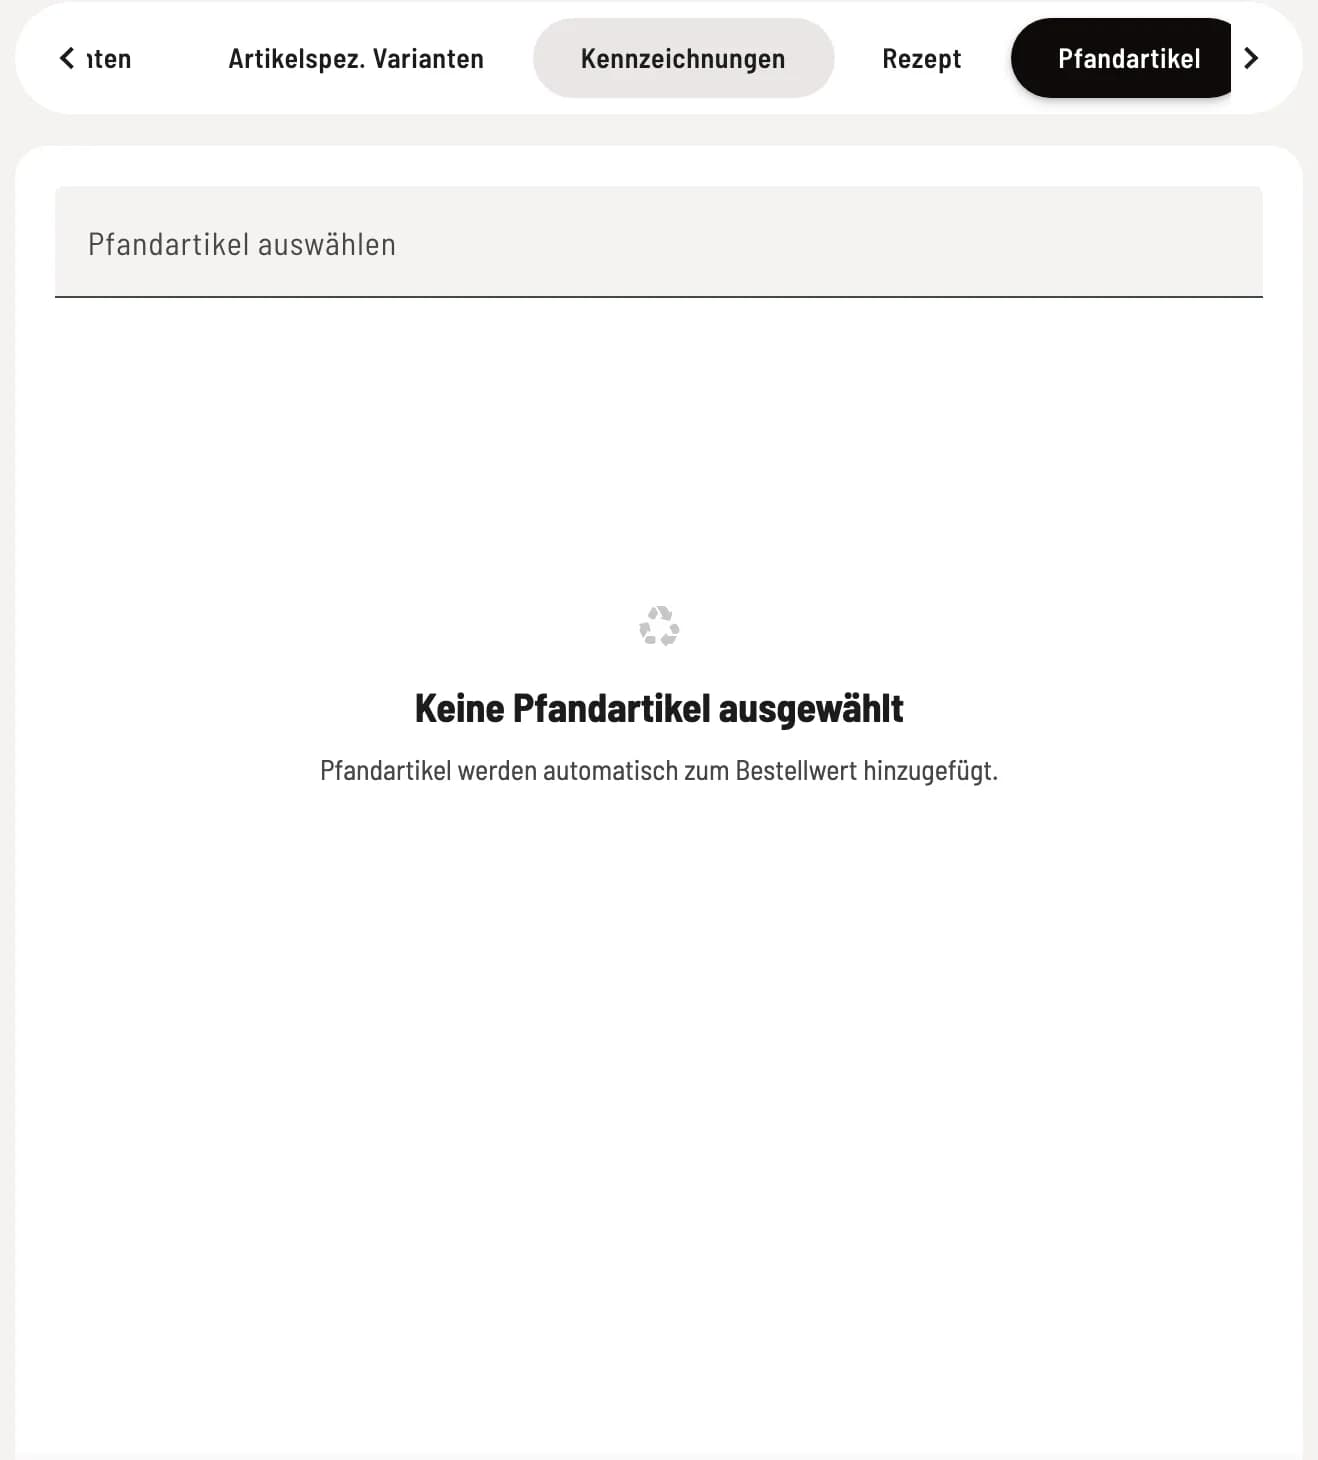
In the Select Deposit Item field, choose a previously defined deposit, for example, Bottle deposit €1.00. The POS app will then automatically add it to every order.

You can add deposit items under Menu → ⋯ → Edit Deposit Items. All information regarding the amount, tax rate, and refunds can be found under Deposit Item and Deposit Return.

Tab “Included items”

Add components of an item to your order

Add components of an item to your order

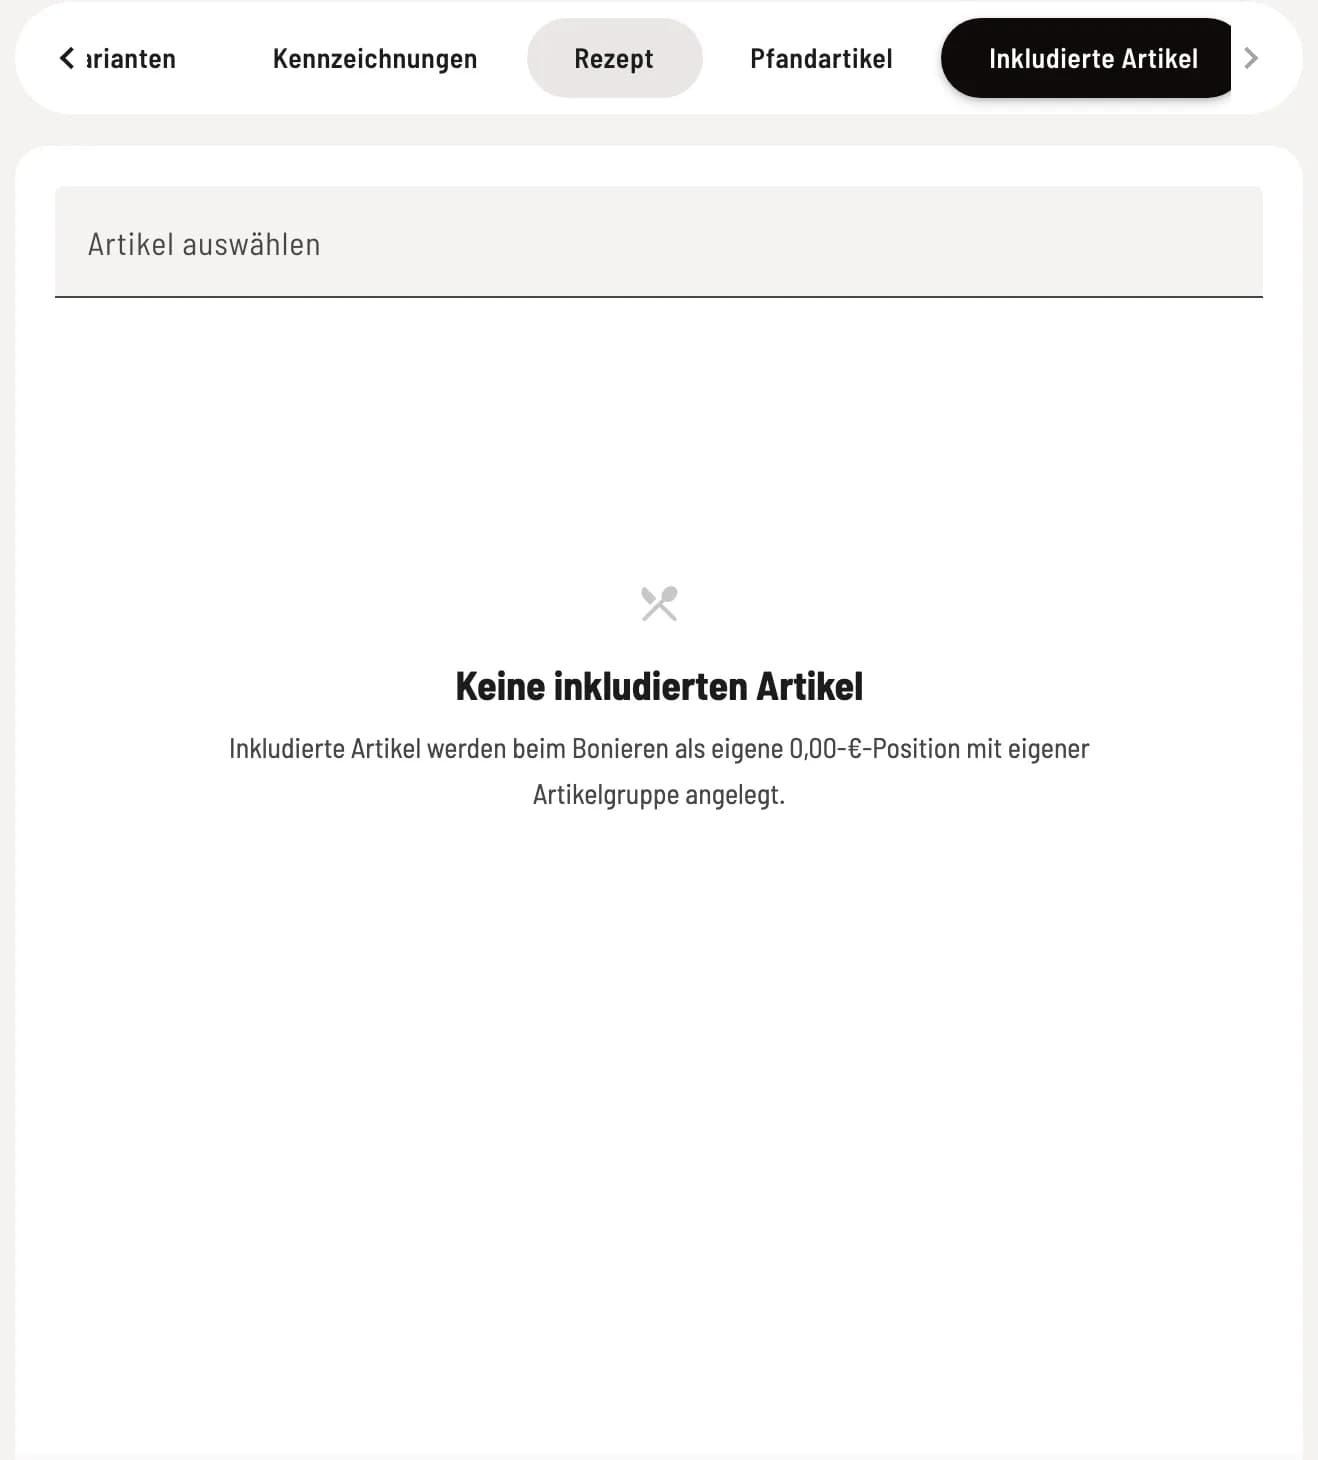
In the Select Items field, choose the items included in the main item. For example, a breakfast order includes orange juice. When the order is processed, the cash register creates the juice as a separate €0.00 item with its own item group—meaning it is printed on the beverage printer without being charged again.

The price of included items is already included in the main item. Each item can only be listed once; there is no quantity limit—for every unit of the main item sold, exactly one entry is created for each included item. If the included item itself contains other included items, these are not broken down further. Small notes below the line warn of differing tax rates and indicate that no deposit is charged for included items.

The left side: tax rates, prices, PLU, descriptions

The tax rates are differentiated between In-House and Takeaway; the rates defined in the settings are available for selection. New items are pre-filled with 7% in both fields—for beverages, you will usually need to change the in-house rate to 19% yourself. The Happy Hour, Employee, and Reduced fields represent different prices for the corresponding price categories; leaving them blank means the regular price applies. The Color determines the color of the item tile in the POS app.

The PLU is a short number that helps service staff find items more quickly in the POS app; it's used in both text and PLU searches and must be no longer than ten characters. Duplicate PLUs will only result in multiple hits; unique assignments are still recommended. The internal description is only visible to service and kitchen staff, while the public description appears on the menu. Active hides the item from the POS system without deleting it; Sold Out leaves it visible but unavailable for ordering.

Each item has a fixed price. There is no field where the server can enter an arbitrary amount when ringing up the order. For variable prices, you either create separate items for each price level ("Special of the Day 9.90", "Special of the Day 12.90") or ring up an item with a price of €0.00 and adjust the amount during checkout using a discount or a surcharge.

Additional article settings: the seven tabs: Servire Handbook | Servire