
Data import (CSV/ZIP)
Import menu data from a CSV or ZIP file, checked and only in the fields you select.
With Data Import, you can import a CSV file or a ZIP file containing images. Typical uses include changing prices in Excel, restoring a backup, or importing a menu from another restaurant. A file from the Data Export process always serves as the template.
Perform import
Check file
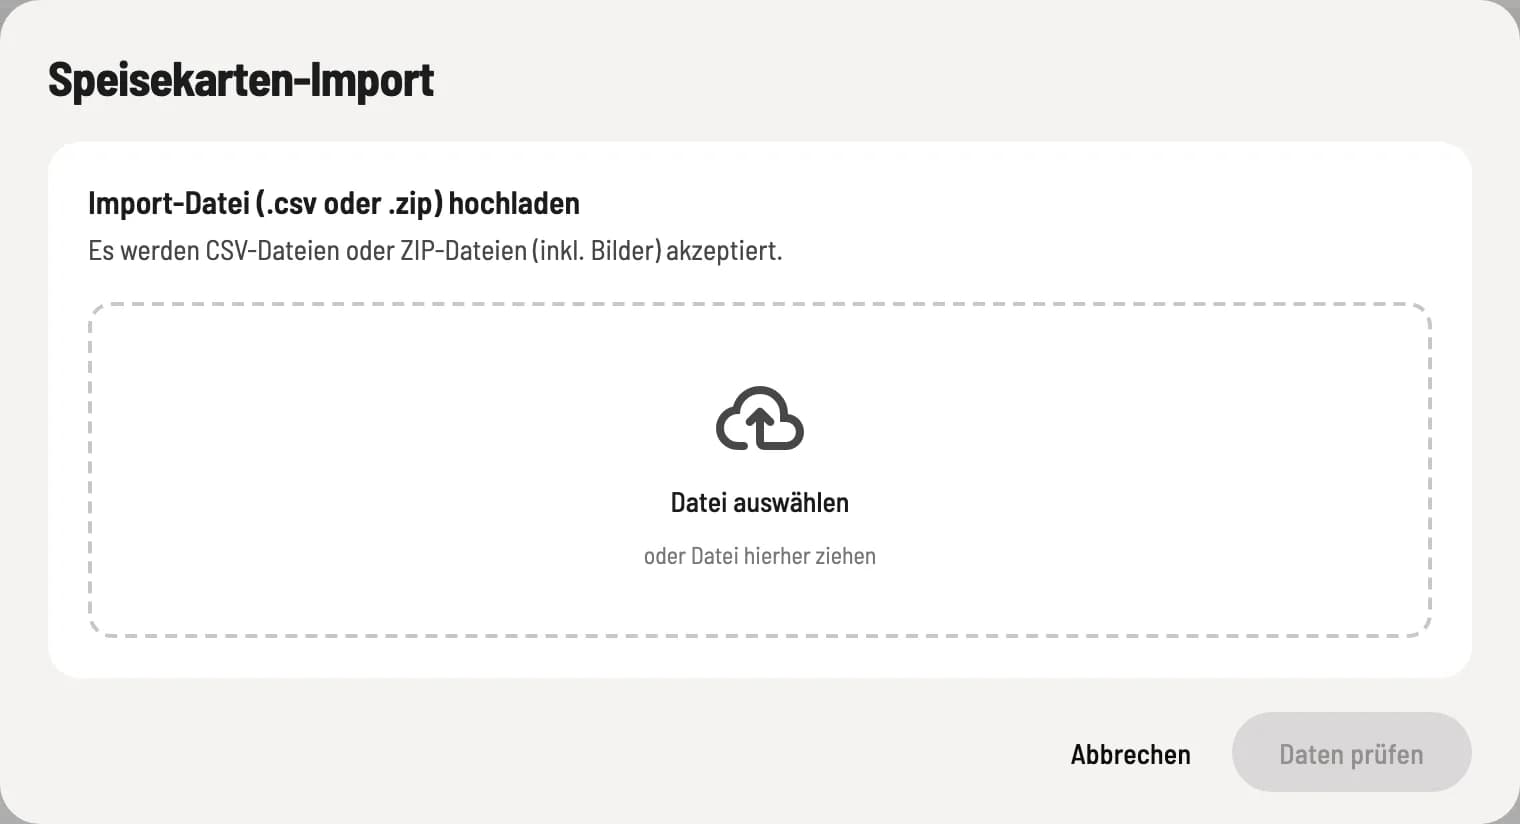
In the menu header, click on ⋯ → Import Data. Drag the file (.csv or .zip, up to 50 MB) into the field or click on Select File, then on Check Data. Nothing will be changed yet.
After the check, you'll see each row with Type, Name, and Modification: Update for existing entries, Create for new ones. Check the boxes to select which rows to import; at the top are All, None, ** item Only**, and Variants Only. Above that, select the field groups to import: Basic Data, Prices, Status, Recipe, Images, Variants, and Assignments. Everything else remains unchanged. Import Data saves the changes.
Regulate
Matching is done via the ID in the file, not the name. Unknown IDs are created anew.
New item require the field groups Basic Data, Prices and Assignments as well as article group and both tax rates in the file.
An empty cell removes the information from the item, such as PLU or description, but only in the selected field groups. If a column is completely missing, the information remains unchanged.
Nothing is deleted during import.
Errors such as missing columns or invalid values are displayed by checking the row number. If an item refers to an article group that does not exist here, a message appears.
Before a large import, create a data export as a backup. If you're unsure, test with just a few lines first.