
Create areas and a table plan
This is how you create areas like a restaurant or terrace in the Web desk and place the tables.
Areas represent the spaces in your restaurant, such as the dining room, terrace, and courtyard. Each area has its own table plan, which the staff taps in the POS app. You edit the plans in the Web desk under Table Plans; the i next to the title explains how to use it.
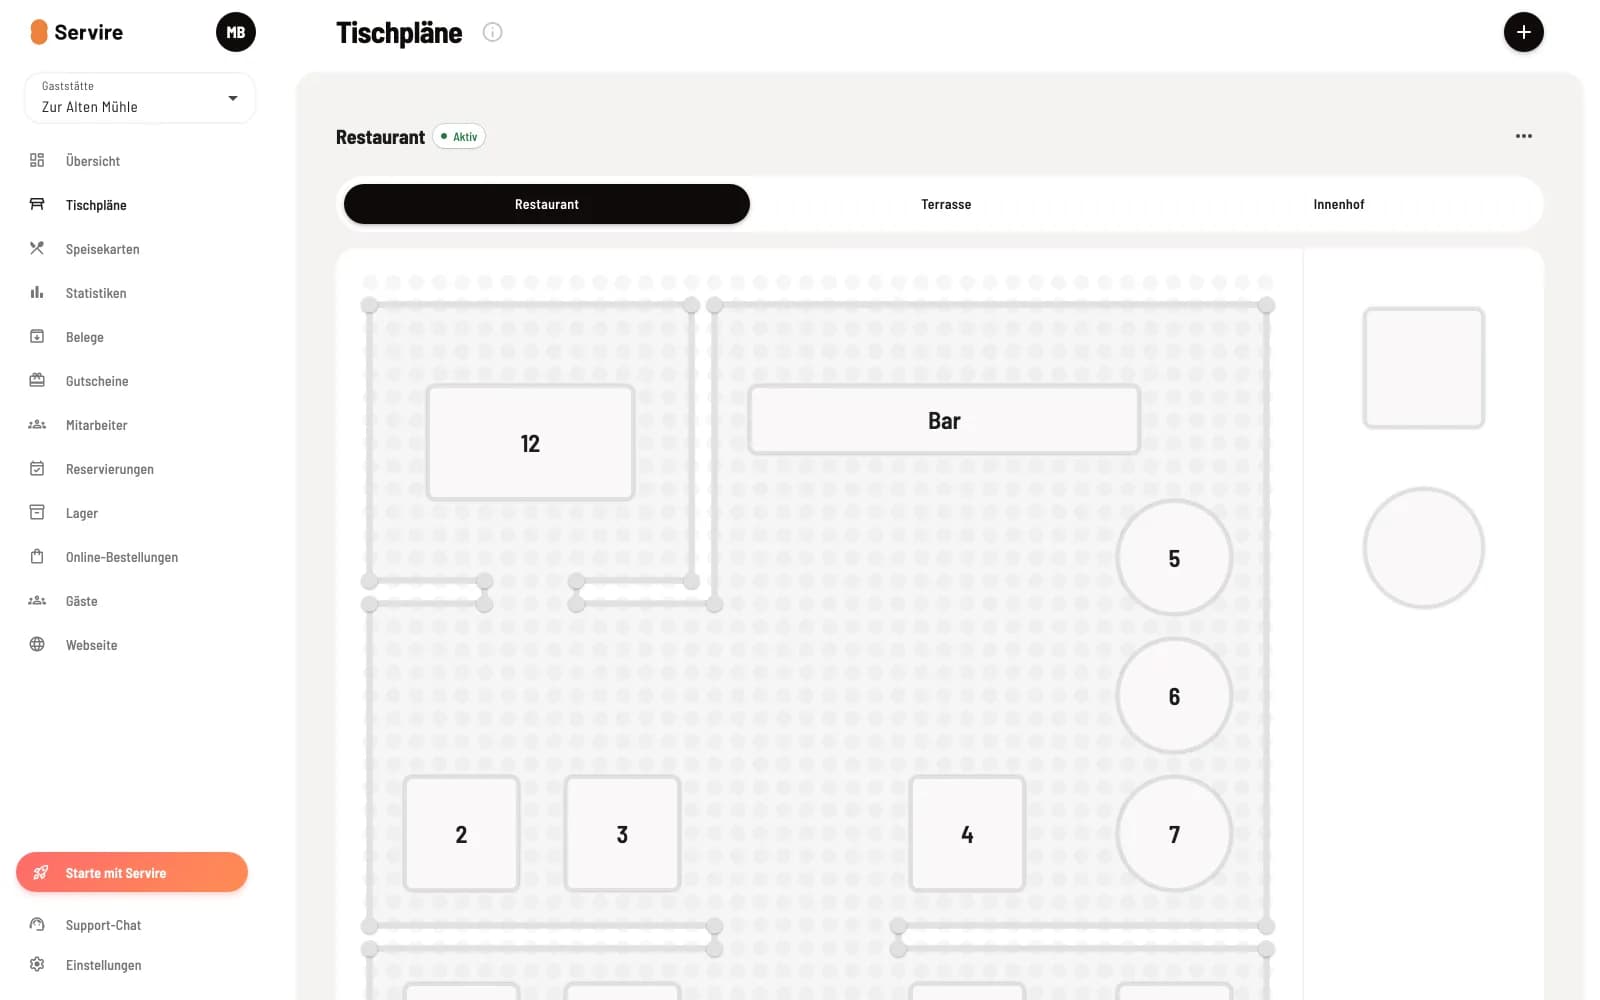
Create area
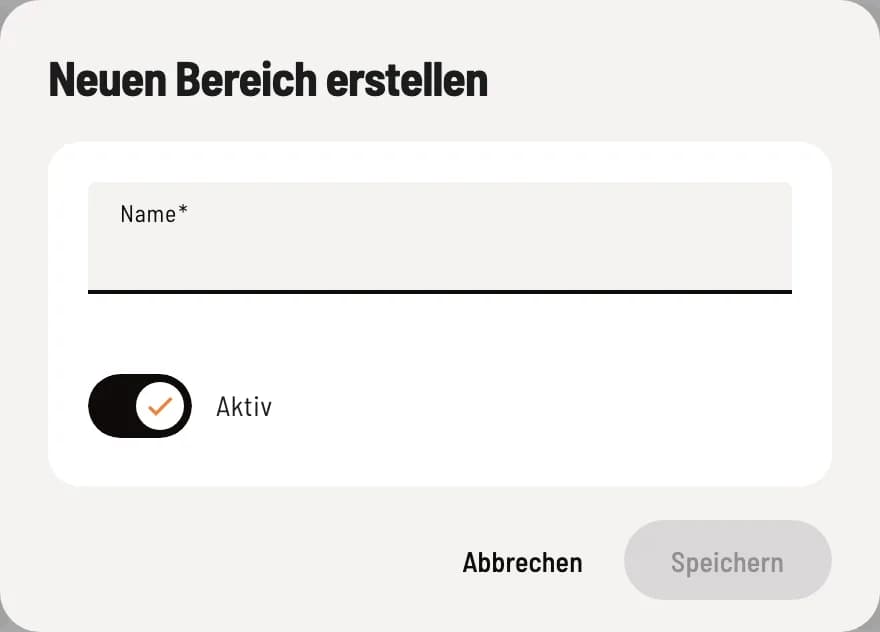
Create new area
Click on + (Create area) in the top right corner. Enter a name (maximum 25 characters) and leave Active selected so that the area appears in the POS app. The area will have its own tab.
Set up tables and create a floor plan
Drag a square or round table from the right edge onto the surface. It will snap to the grid and be assigned a sequential number. Use the handle in the bottom right to resize it, and the handle in the bottom left to rotate it in 9-degree increments. The gray points at the corners define the space: dragging a point moves the corner, clicking on a wall creates a new one, and you can remove it from the corner's menu using Delete Edge.
Double-clicking a table opens Edit Table with Name, Color, Capacity (People), Online Reservation Available, and Active. Shared Table (Multiple Occupancy) appears if the table is online reservable and has capacity; online reservations are included in the Max rate.
Save first: Changes only take effect after you click Save below; Cancel discards them after confirmation. You can only change the floor plan in the Web desk. In the checkout, you move orders between tables, not the tables themselves.
Manage areas
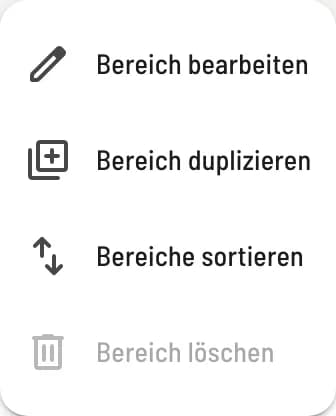
Menu of the area
Above ⋯ next to the area name you will find Edit area, Duplicate area, Sort areas (from two areas onwards) and Delete area.
Duplicate Area copies the area with all tables; in the dialog box, you select the restaurant and the name of the new area. This allows you to transfer a plan to another restaurant.
If something cannot be deleted
While a shift is running, saved tables and areas cannot be deleted. Moving them is possible.
If there are open orders on a table, neither the table nor its area can be deleted or deactivated. You must either settle the orders or move them first.
If you delete an area, all its tables disappear as well.