
Manage menu categories
This is how you create and manage categories such as hot drinks, appetizers, or pizza.
Categories organize a menu, for example, Hot Drinks, Beers, and Wines on the Drinks menu. In the POS app, they appear as tiles or as a bar above the items.
Create a new category
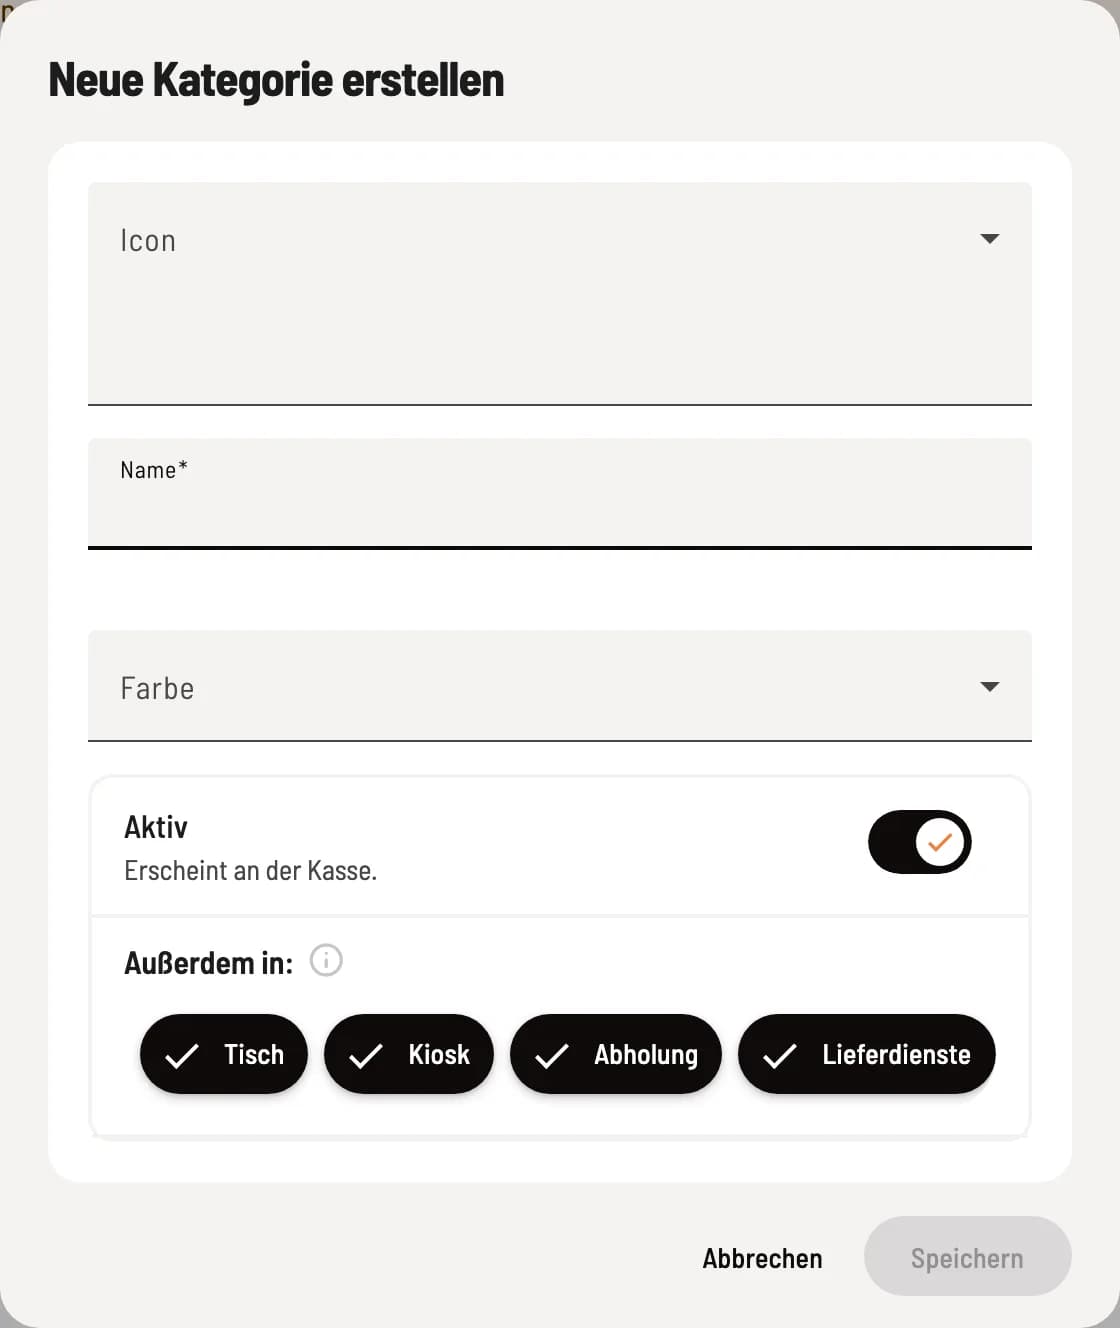
Create category
Select the menu tab at the top and click + (Create new category) at the top of the menu. Choose an icon, enter the name (maximum 50 characters), and optionally a color. Use Activity and the channels to determine where the category appears. Save creates it.
The new category is empty. You can create item via the + in its header: Create, edit, and delete item.
Edit, duplicate, or delete category
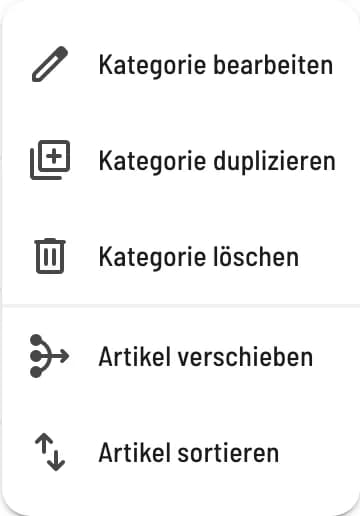
Category menu
In the category header, click on ⋯: Edit category, Duplicate category, and Delete category. If the category contains item, **Move item ** will also appear, and if there are two or more articles, **Sort item ** will be added.
Delete category also removes all item within it. The checkbox on the left in the header allows you to select all item in the category at once, for example, for batch editing.
Printers follow the article group
Which printer prints a receipt depends not on the category, but on the product group of each item. Two item from the same category can be printed on different printers.