Skip to content
Servire: The POS system for your hospitality business
Get started

Settings

Setting up a sevdesk connection

What you need to prepare in sevdesk, how to establish the connection, and how to add past cash register closings.

What the connection does

After each cash register closing, Servire creates a receipt with the day's results in sevdesk: revenues broken down by tax rate, all payment methods, and the cash transactions from the cash book. Not every individual receipt, but the totals, just as they appear on the Z-report. Your tax advisor can then work directly with this data in sevdesk—eliminating the need for manual data entry and monthly exports.

The integration does not replace your existing accounting system. You will still need to manually enter purchases, incoming invoices, and personnel costs using the corresponding receipts.

Step 1: Prerequisites in sevdesk

Three things must be correct in sevdesk before you can configure anything in Servire.

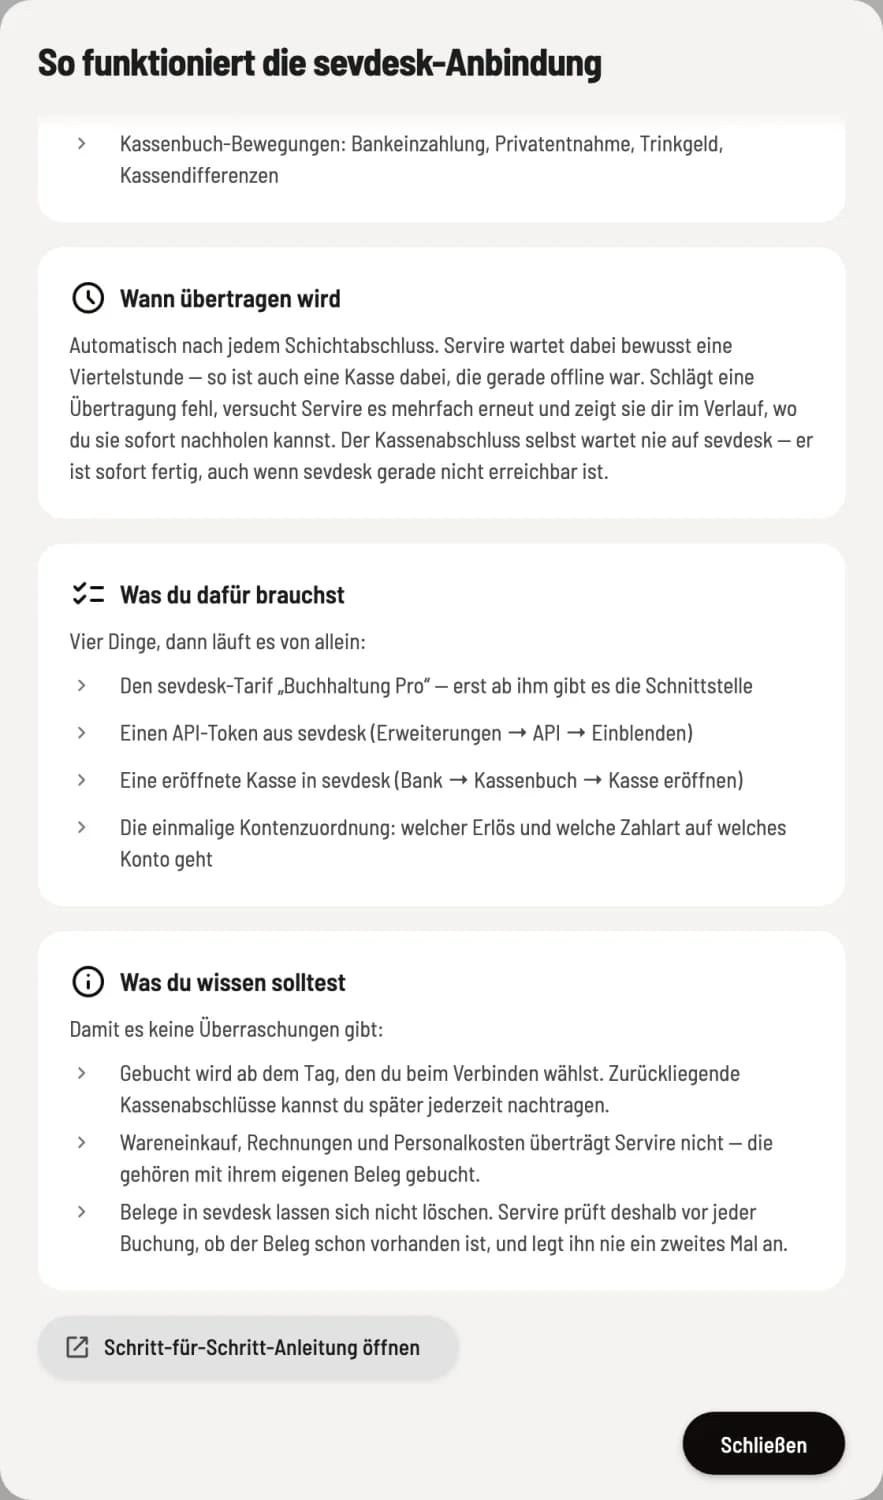
Accounting Pro Plan. The interface that Servire uses is only activated with this plan. Lower-priced plans do not include an access key.

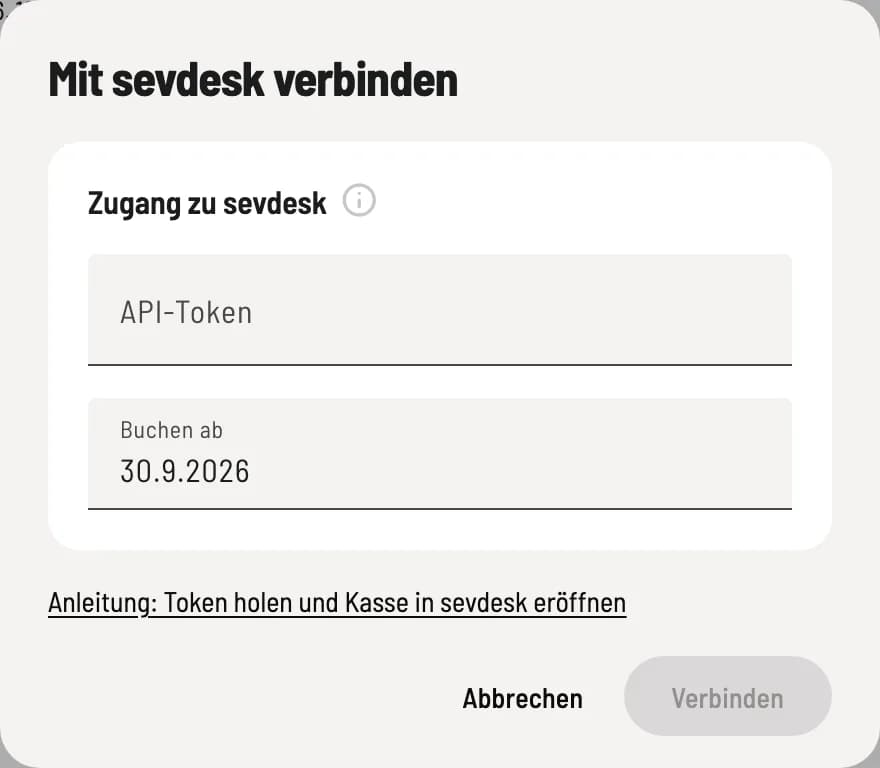
Get your API token. In sevdesk, open Extensions in the main menu and then API. Click Show and enter your sevdesk password. The token is a 32-character string. Copy it—you'll need it in Servire shortly.

Open a cash register. Open Bank, then Cash Book, and click Open Cash Register. Enter the opening balance and the date to which this balance applies, and confirm with Post. Without an opened cash register, Servire has no account to which it can post your cash receipts.

Check the initial inventory beforehand.

The opening entry cannot be changed retroactively. Check the amount and date before posting – any error can only be corrected afterwards via a contra entry.

Step 2: Establish a connection to the server

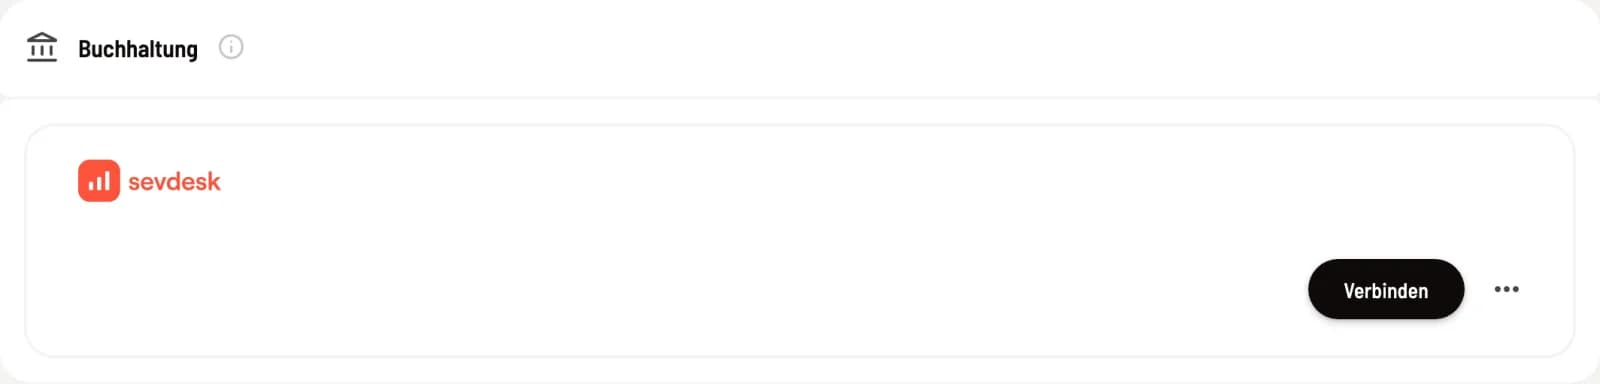
In the web desk, open Settings, then the Integrations tab. There you will find the Accounting card with sevdesk. Click on Connect.

In the dialog box, you enter two things: the API token from sevdesk and the Post from field. The date determines from which business day the service transfers data—the default is today.

It is stored encrypted at Servire and never saved in the browser. Servire checks it immediately and reports back which sevdesk client the connection is with.

Step 3: Assign accounts

Now you need to specify once which sevdesk account each transaction will be posted to. Click on Assign Accounts on the card.

They assign the following:

  • Revenue per tax rate (0%, 7%, 19%)

  • Each payment method — cash, debit card, credit card, voucher, invoice

  • Tips, deposits, and voucher redemptions

  • Cash book transactions such as bank deposits, private withdrawals, and cash discrepancies

The selection is taken directly from your sevdesk chart of accounts. You don't need to create anything there.

Servire only begins transferring data once you confirm the assignment. Before that, the cash register reports are collected and waiting.

Clarify things with a tax advisor

Ask him which revenue and payment accounts he would like to see. This only takes five minutes and will save you from having to make rebookings later.

From now on, it will run automatically.

After each cash register closing, Servire creates the receipt in sevdesk. Servire deliberately waits a quarter of an hour to ensure that any cash register that was recently offline is included. Therefore, please allow approximately half an hour from closing to receipt generation.

The cash register closing process itself never waits for sevdesk. It's completed immediately, even if sevdesk is currently unavailable. If a transfer fails, Servire will attempt it multiple times and display the incident in the history, where you can immediately complete it.

Enter past cash register statements

The transfer will begin on the date you selected under Book from. Everything before that will remain unaffected initially. You have two ways to retrieve it anyway.

When connecting: Set the Posting from field to a day in the past. Servire will automatically update the cash register closings from that point onward.

Later: Click on Add Reports on the map and select a time period. Servire will add the missing receipts within the next few minutes. Reports can be added for up to 24 months.

Choose the time period carefully

Receipts can no longer be deleted in sevdesk. Therefore, only select days that your tax advisor has not yet entered. Anything Servire has already transferred remains untouched and will not be generated a second time.

If something isn't working

The map in the Integrations tab tells you what the problem is.

Token invalid — sevdesk rejects the stored key. Retrieve the token in sevdesk and click on Renew token. The cash register closings from the interim will then be processed.

Cash register missing — no cash register account has been opened in sevdesk yet. Create it under Bank → Cash Book and click Check again in Servire.

Assignment incomplete — at least one transaction does not yet have an account. Open Assign accounts and confirm again. This also happens if you create a new payment method later.

Under History you can see each individual transfer with business day and status — and you can repeat them individually there.

Who is allowed to set up the connection?

You need a paid plan starting with Servire Solo and the permission May manage accounting integrations. As the owner, you have this automatically. You grant this permission to employees under Employees in the Edit Employee dialog.

Setting up a sevdesk connection: Servire Handbook | Servire