
Restaurant settings can be found in the Web desk.
All information about your business on one page: tariff, PIN, information, opening hours, invoices, branding and order processing.
In the Web desk , under Settings → Restaurant, you manage all the information that describes your business. Check which restaurant is selected in the top left corner under Restaurant: Each restaurant has its own settings.
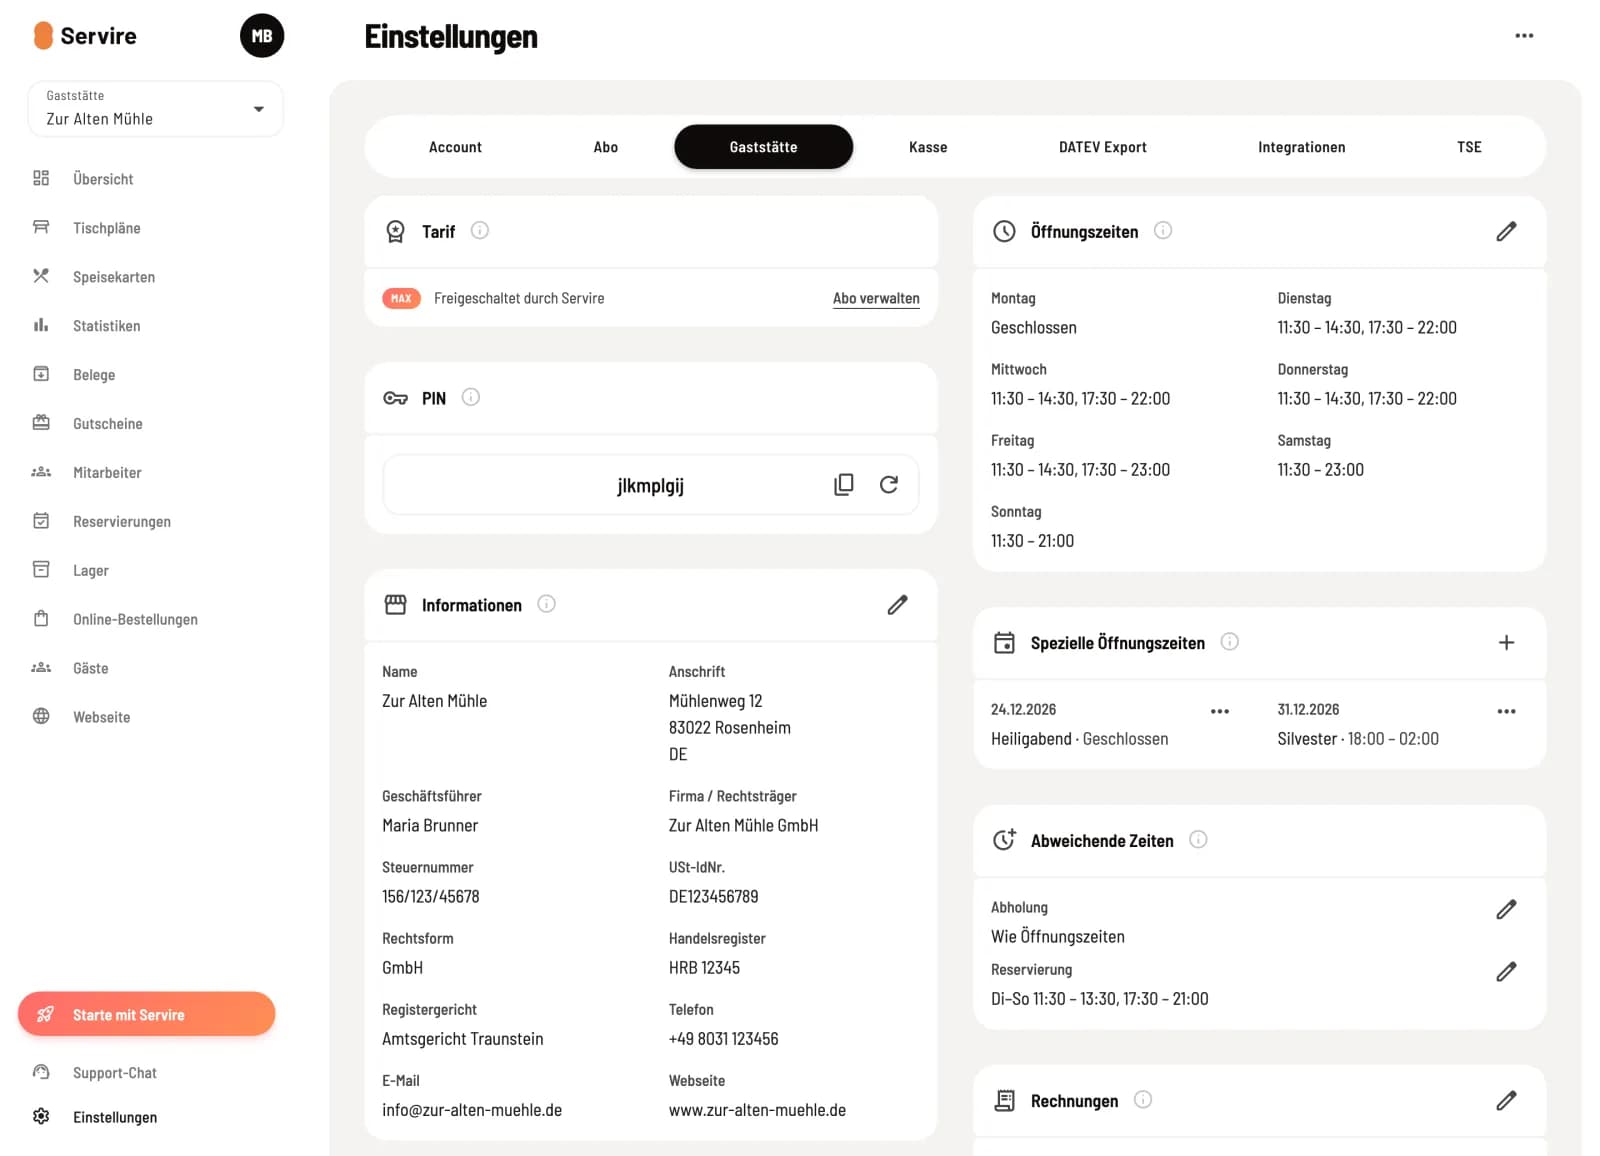
Reiter Restaurant
On the left are Tariff, PIN, Information, Branding and Order Processing, on the right Opening Hours, Special Opening Hours, Varying Hours and Invoices with the Receipt section. At the very bottom is Delete Restaurant.
Here's how you can change something
The pencil icon in the upper right corner of a map opens the dialog. Save saves your settings, Cancel discards them; if you have made any changes, the dialog will ask you to confirm. Switches directly on the map save immediately. The info icon next to each heading briefly explains the area.
Images (receipt logo, logo, app icon) are saved immediately after uploading. Replacing and removing them also takes effect immediately; Cancel does not undo these actions.
The cards in detail
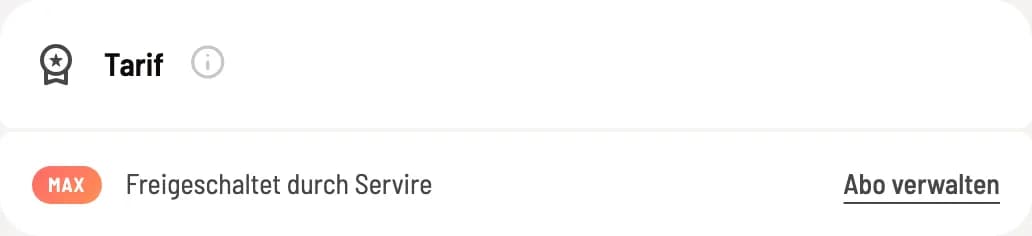
Tarif
Displays this restaurant's current rate and its remaining validity period. Manage subscriptions leads to the Subscriptions tab; see Manage subscriptions and invoices.
Visibility: Deviating hours and Branding only appear in the Max plan (also during the trial period). You can manage opening hours and special opening times in any plan. Payment methods, discounts, and checkout procedures are found in the Checkout tab: Set up the checkout in Web desk.