Setup
Connect receipt printer to server
Here's how to add your Epson receipt printer to the POS app.
Once your printer is physically connected (see Connecting a receipt printer physically), add it to the POS app. Servire automatically finds compatible Epson printers on the network or via Bluetooth — you don't need to manually enter IP or MAC addresses.
Same network
The iPhone/iPad and printer must be on the same Wi-Fi network for the app to find the printer. For Bluetooth printers, it is sufficient for the printer to be switched on and within range.
Add printer to the POS app
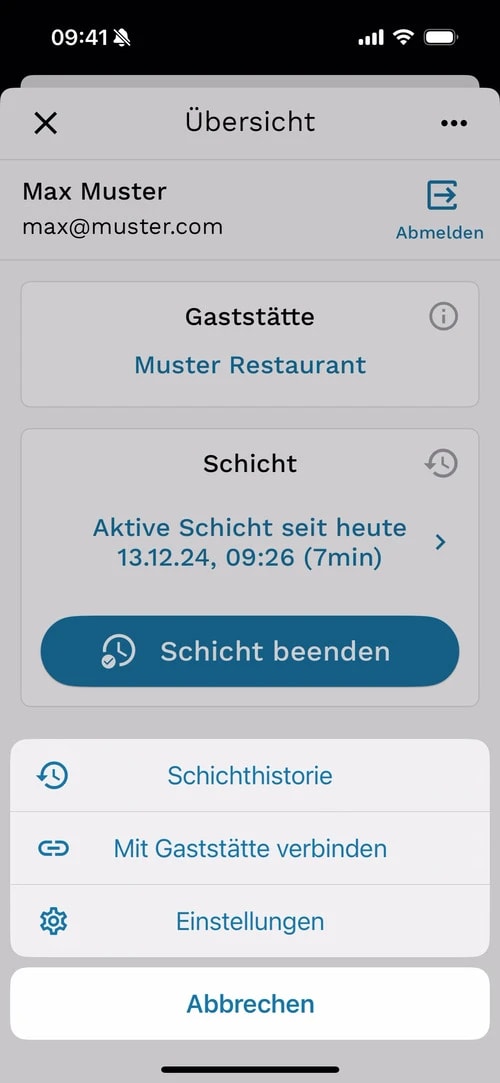
Schritt 1 von 3
1. Open settings
In the Servire POS app, open the menu and tap on Settings.
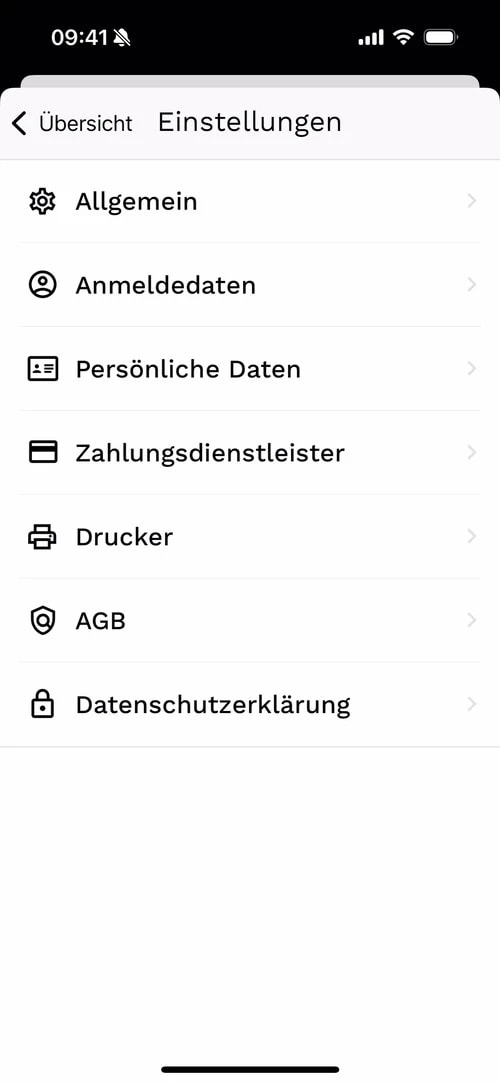
Schritt 2 von 3
2. Select printer
In the settings, tap on the Printer entry.
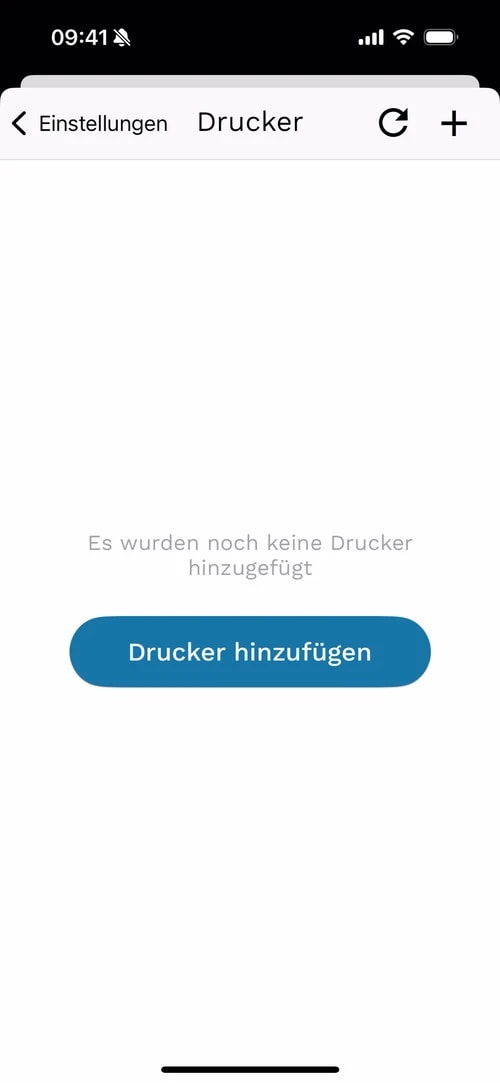
Schritt 3 von 3
3. Add printer
Tap Add Printer (plus icon in the top right corner). The app will automatically search for printers and, after a few seconds, display all found printers with their IP and MAC addresses. Select your printer, confirm the model series (e.g., TM-m30, TM-T88), and enter a name such as Counter, Kitchen, or Bar. Save. Done.
Test connection
After adding the printer, it will appear in the printer list. Tap on the printer and select Test Print — if a test receipt prints, the setup is successful.
Multiple printers
You can add as many printers as you like — for example, one printer each for the counter, kitchen, and bar. You can configure which items are printed in which area under Configure receipt printers.
What to do if the printer cannot be found?
-
Check Network: The iPhone/iPad and printer must be on the same Wi-Fi network. For cellular networks, use the Service Hub as a Print Hub.
-
Restart Printer: Turn the printer off, wait 10 seconds, then turn it back on.
-
Print Self-Test: While turning on the printer, press and hold the paper feed button. The printer will print a self-test with its IP address. If it displays an IP address like
192.168.x.x, the printer is on the network. -
Check Model: Make sure it is an Epson™ printer. Other brands only work via the Print Hub.