Introduction
Quick Start Guide
Overview of the Servire modules and your first day with the POS system — POS app, web desk and Servire hub working together.
Servire is a modular point-of-sale (POS) system for the hospitality industry. Instead of a single app, it consists of three interconnected components: the POS app for operation, the web-based desktop for setup and analysis, and the Servire Hub for kitchen monitoring, customer display, and centralized printing. This quick start guide provides an overview—the individual workflows are explained in detail in the subsequent manual articles.
Basic requirements
To operate, you need a stable Wi-Fi connection (all devices on the same network), at least one iPhone or iPad as a POS terminal (iPhone XS or SE 2nd generation or later, iPad 6th generation or later — each with iOS 17 / iPadOS 17 or later), and at least one network-enabled receipt printer (e.g. Epson TM-T20II, TM-M30 or compatible) for kitchen receipts and customer invoices.
For card payments, add a SumUp terminal — or use Apple Tap-to-Pay directly on an iPhone XS or newer (no additional device required). For multiple tables and areas, multiple iPhones or iPads are recommended; they all synchronize in real time.
The three server modules
The Servire iOS app is your everyday point of sale—take orders, print receipts, and process payments. The web desk (desk.servire.de in your browser) is your back office—set up menus, staff, printers, and departments, and view statistics and reports. The Servire Hub runs in your browser on an additional device and handles kitchen monitors, customer displays, digital menus, or centralized printing—depending on your setup.
First day with Servire
The typical path from initial installation to first order involves four steps: creating an account, connecting the restaurant, starting a shift, and taking the first order.
Schritt 1 von 3
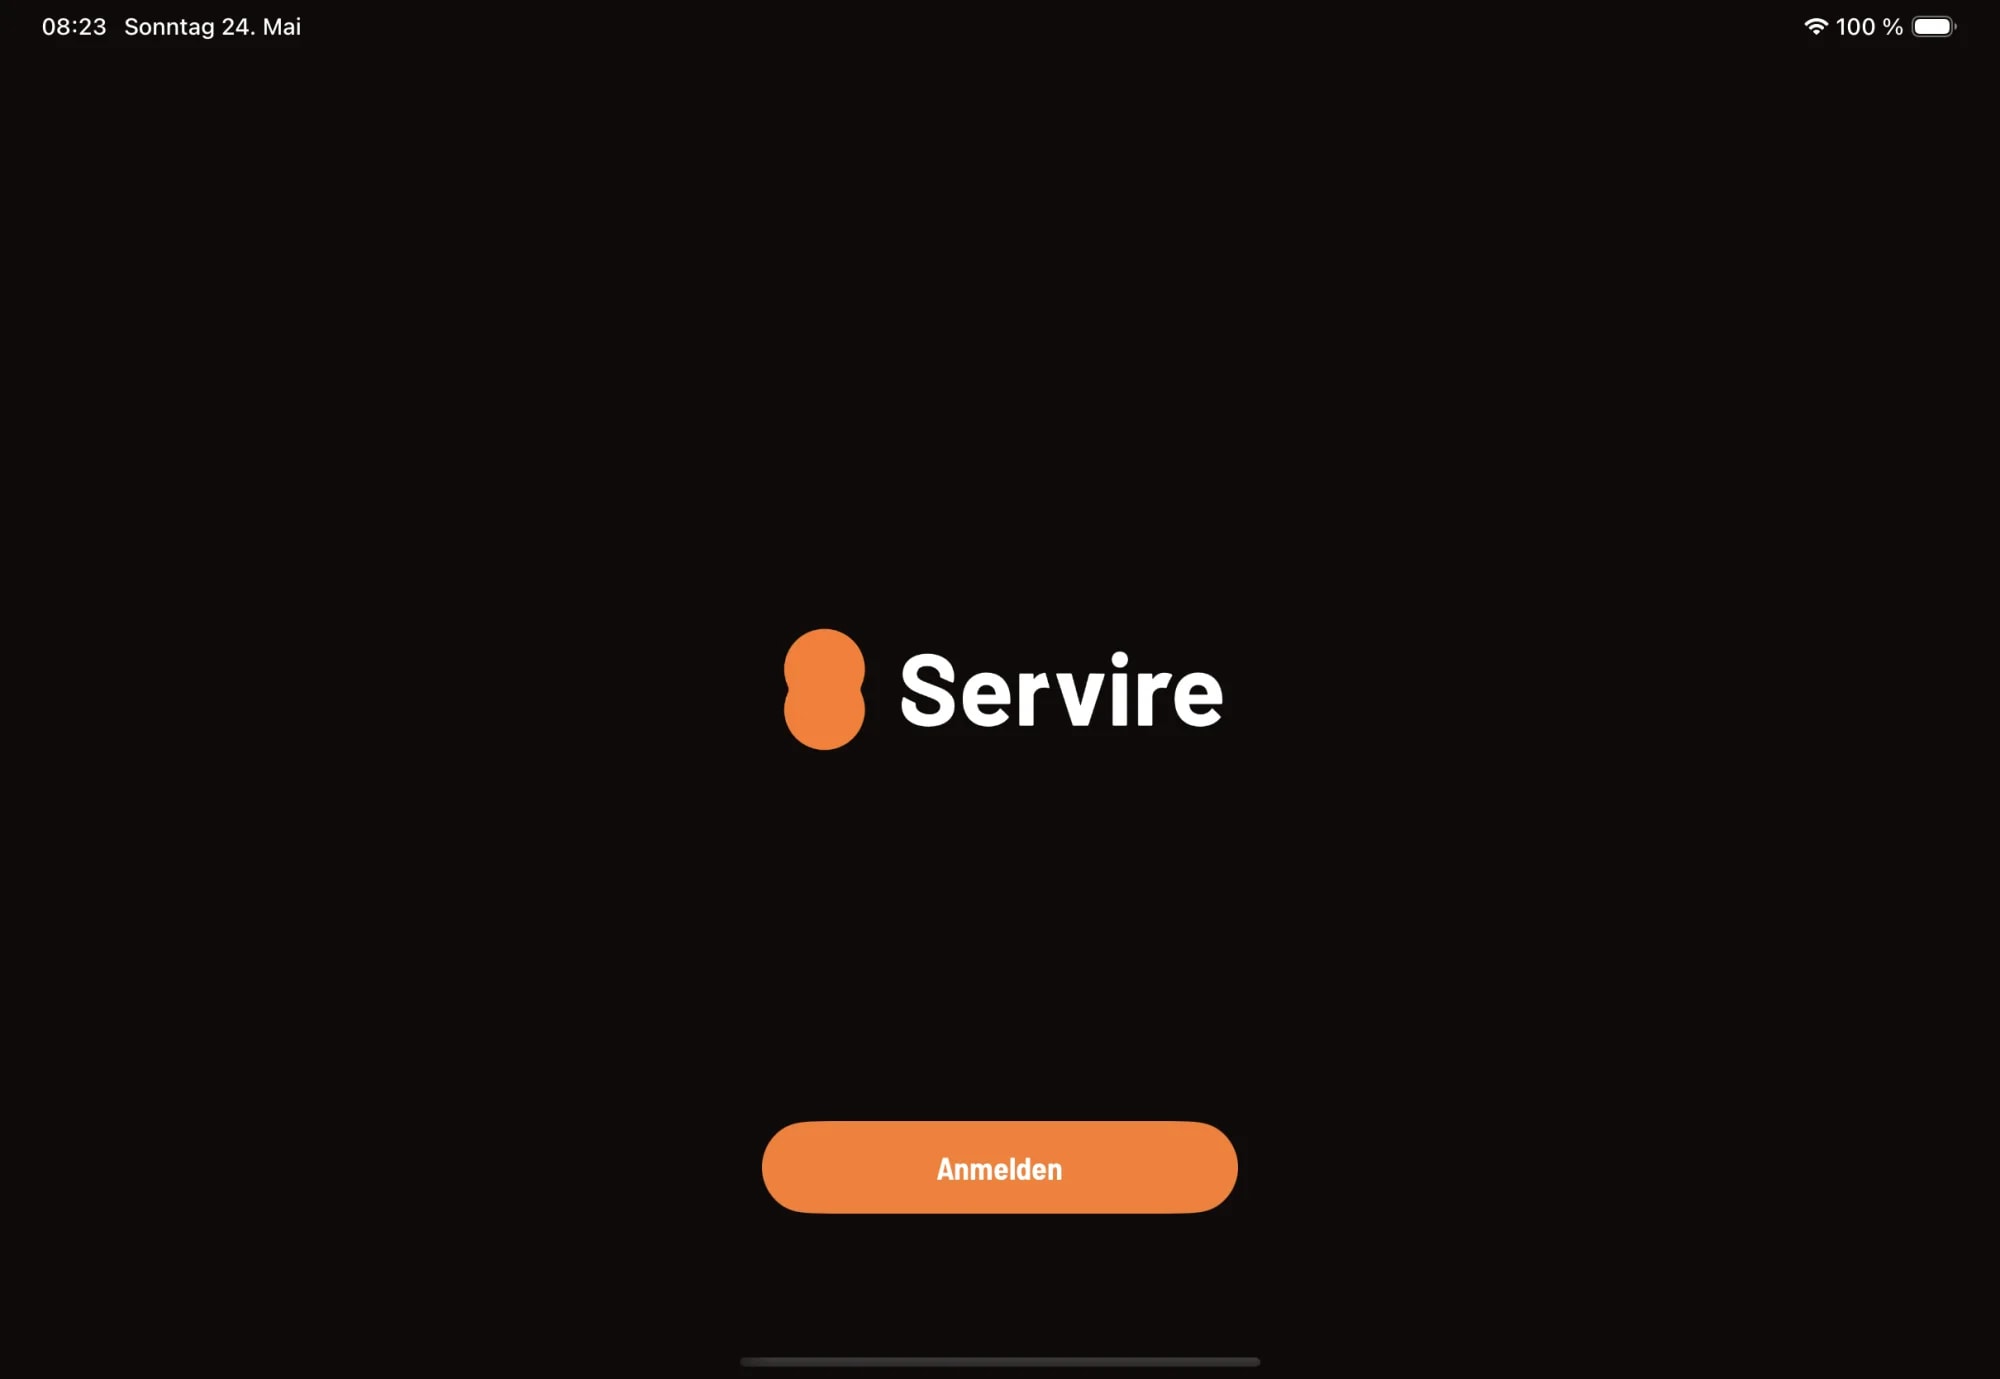
Step 1: Start the app
After installing the Servire app from the App Store, the home screen will open. Tap Sign in — as a new user, register briefly with your email address and password (see Servire registration).

Schritt 2 von 3
Step 2: Start shift
In the overview, tap "Start shift" — from this moment on, all tasks will be assigned to the new shift. Immediately after registration, you can either create your own restaurant or connect to an existing one using the PIN from the web desk.
Schritt 3 von 3
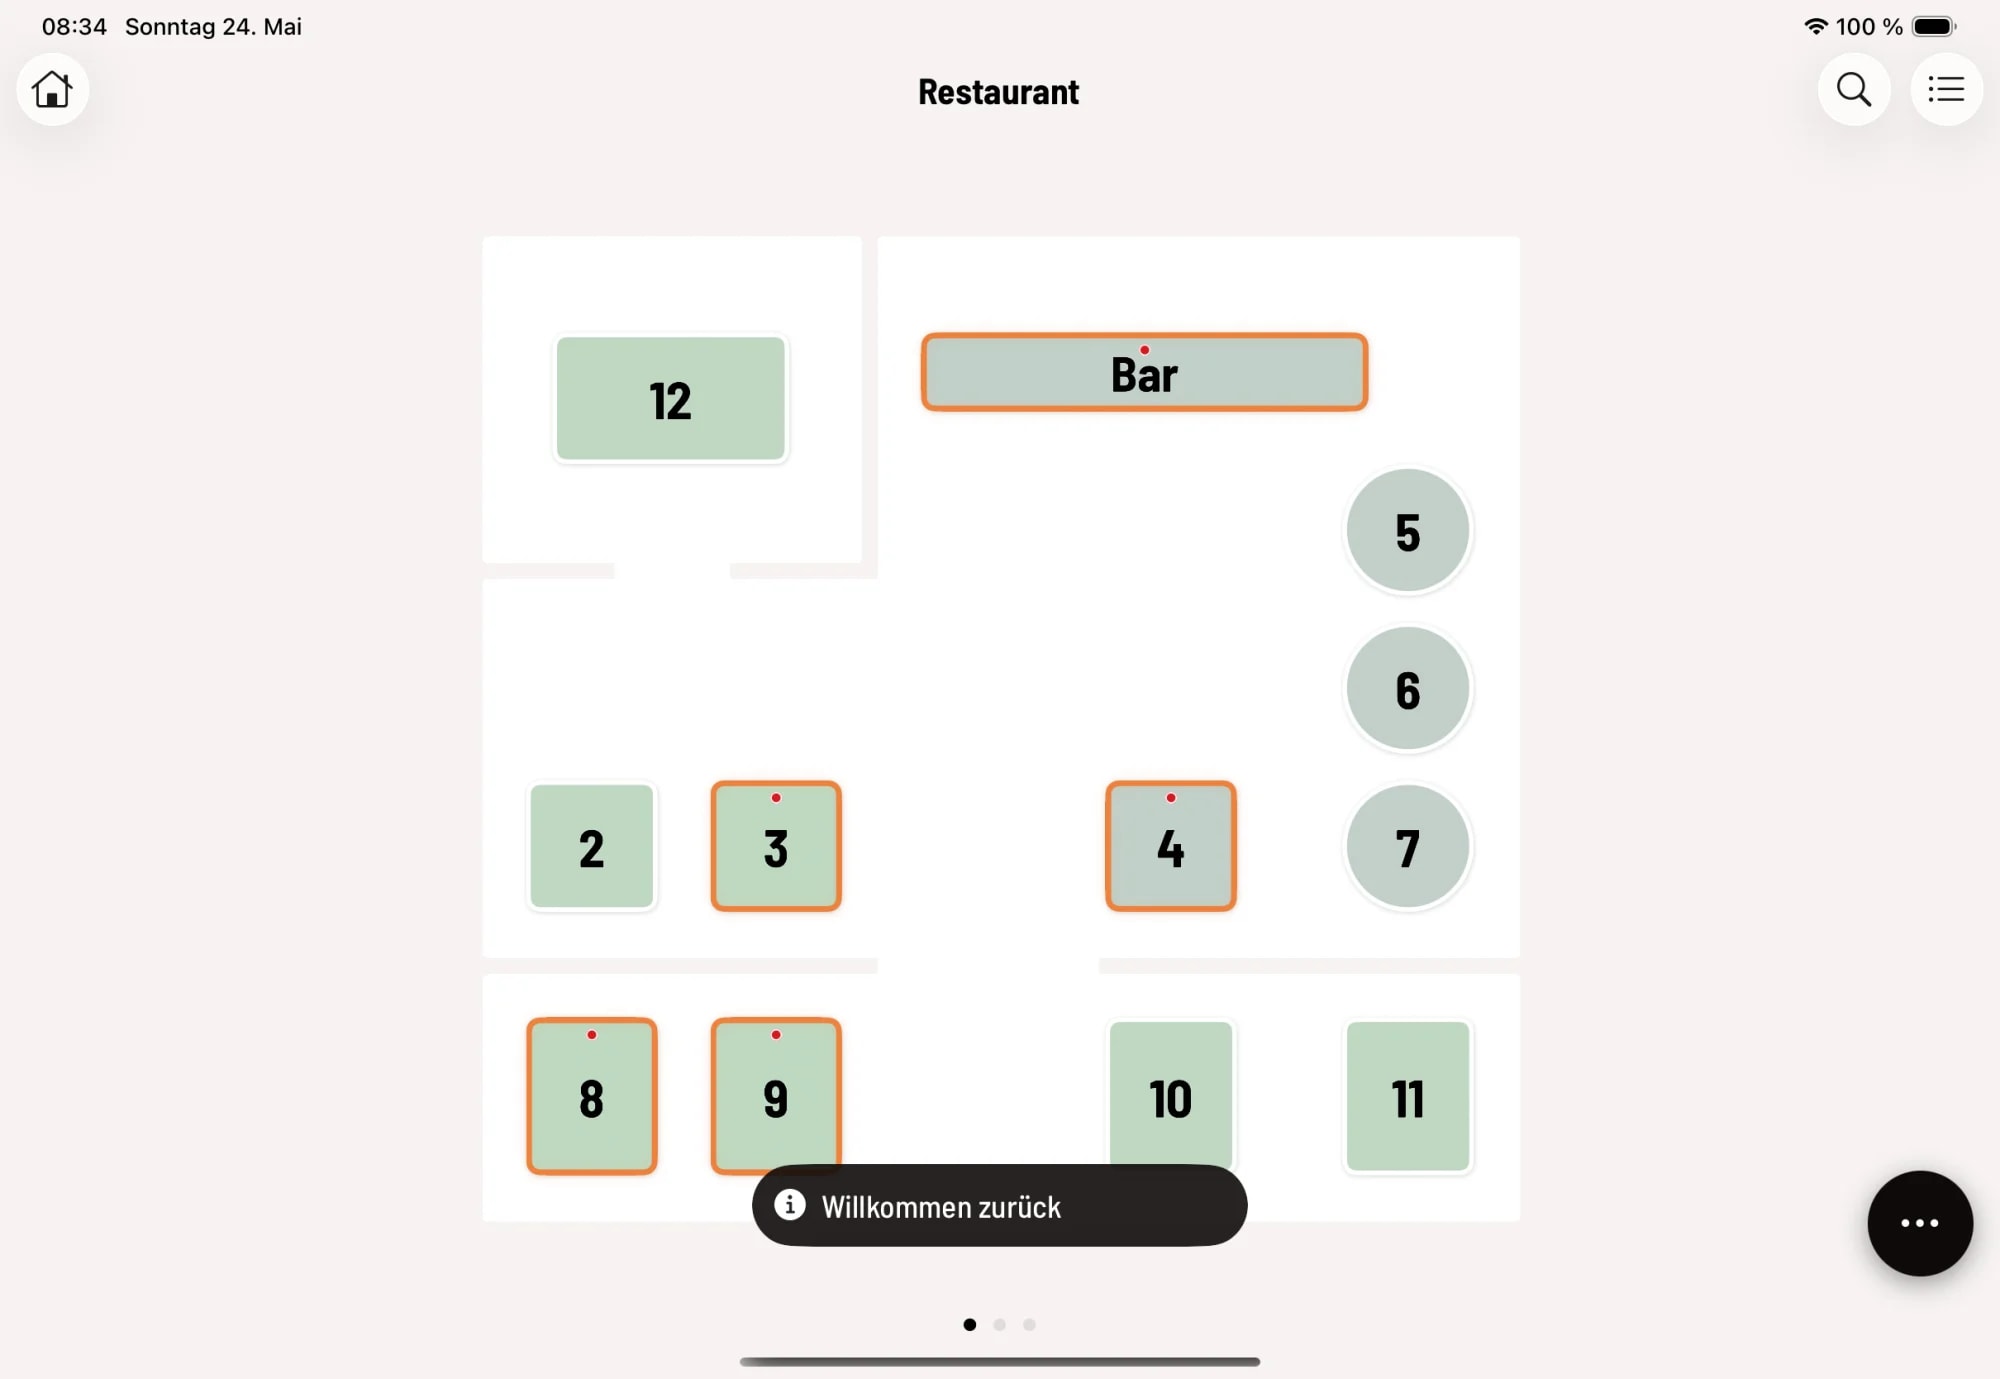
Step 3: Table plan
After your shift starts, you will automatically be taken to the table plan. Here you can see all the tables in the restaurant. Tapping on a table opens the menu for placing an order.
Workflow: From tap to receipt
Schritt 1 von 4
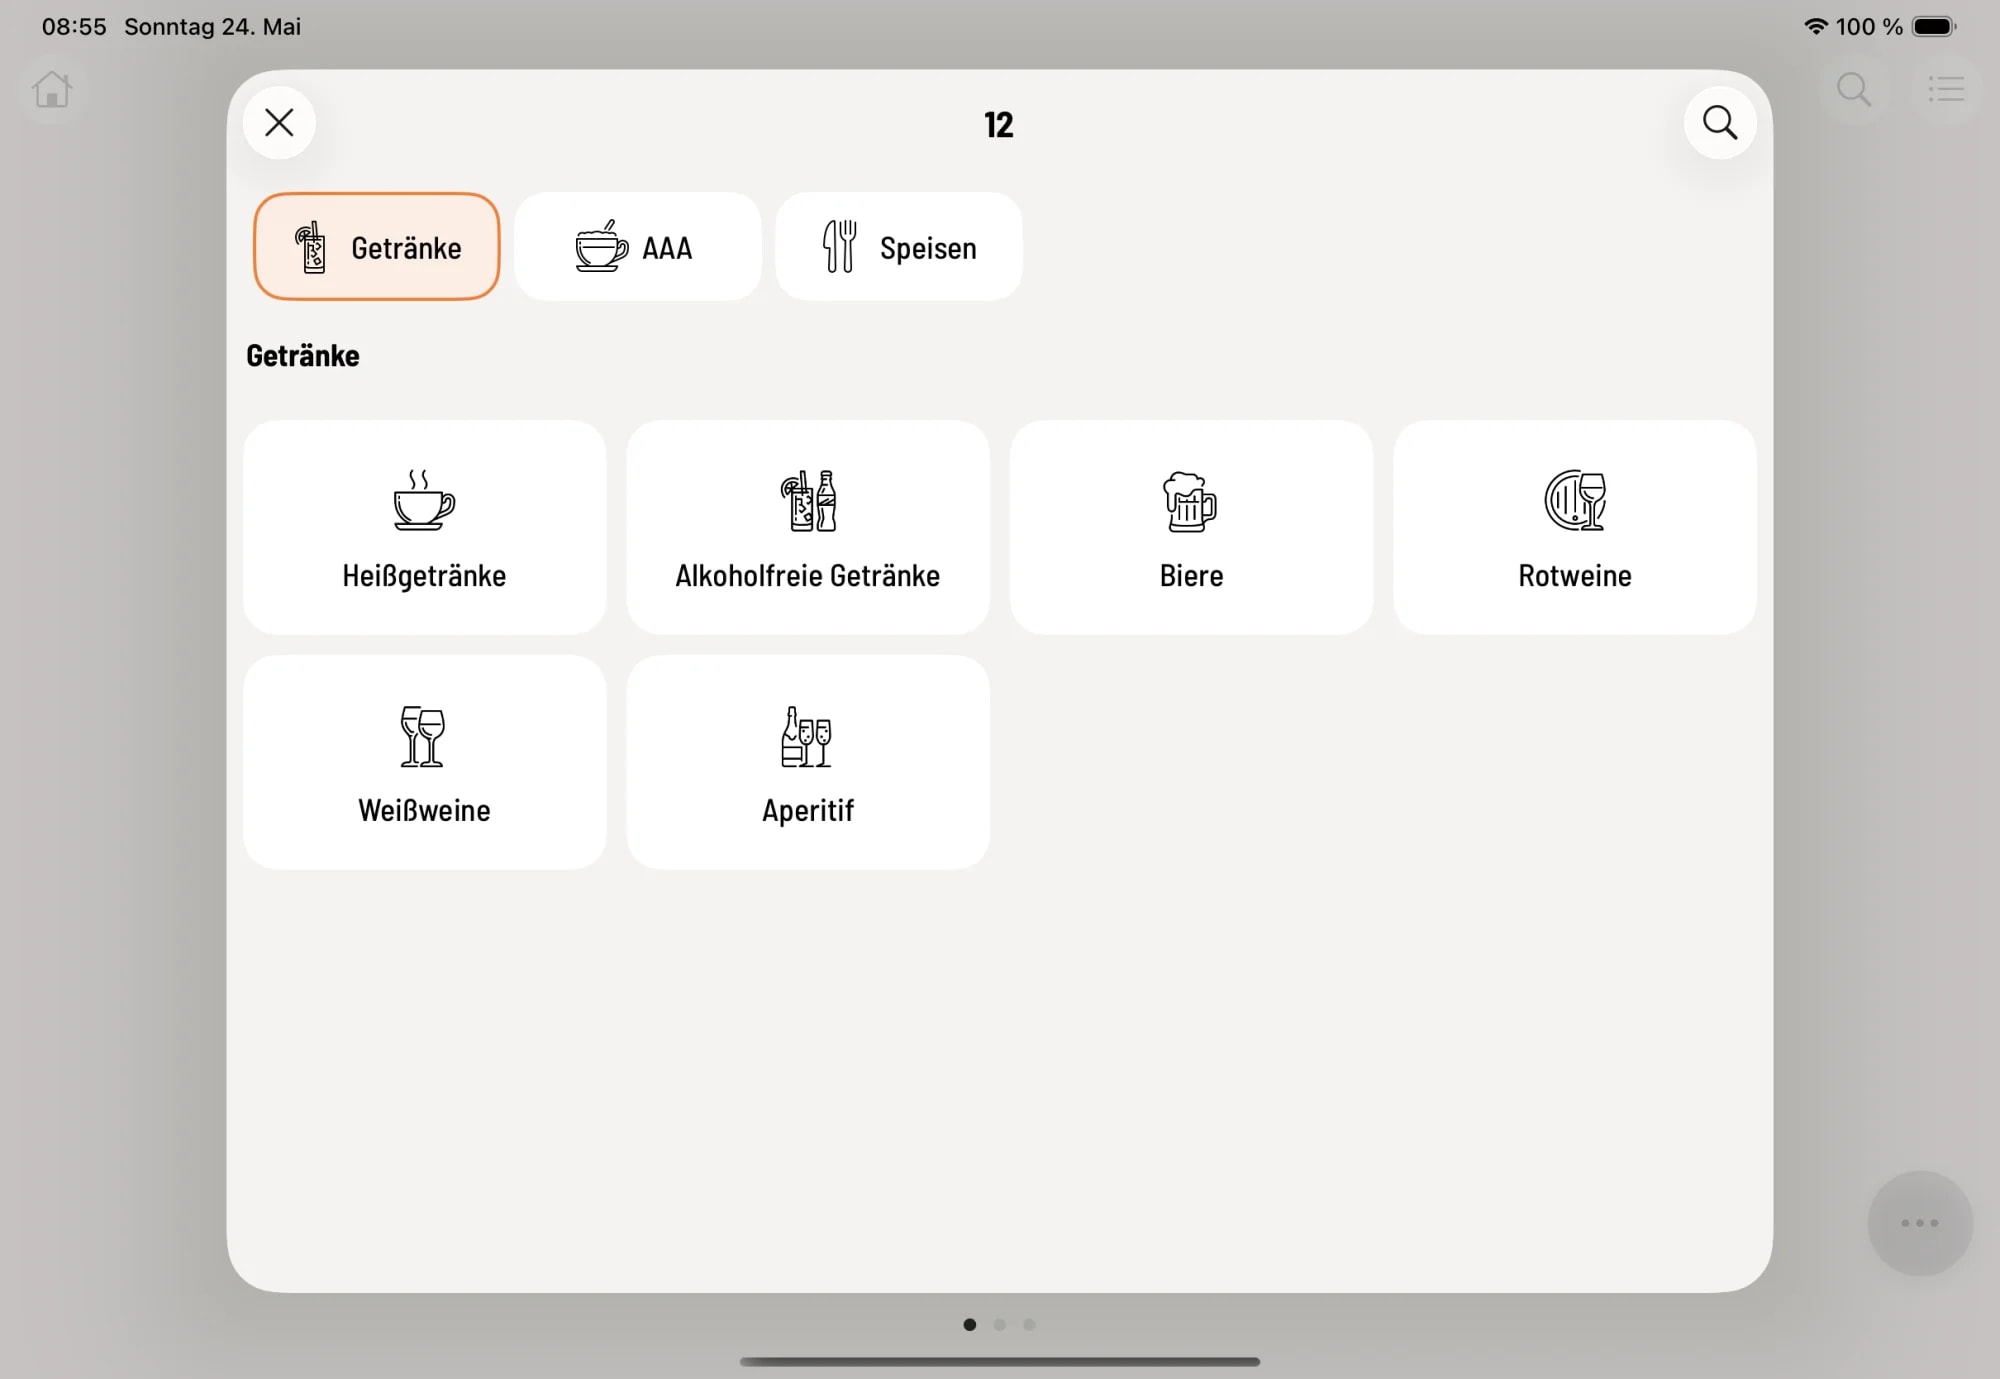
Open menu
Tapping an empty table opens the menu. Select a menu item (e.g., drinks), then a category, then an item—each tap adds an item to the order.
Schritt 2 von 4
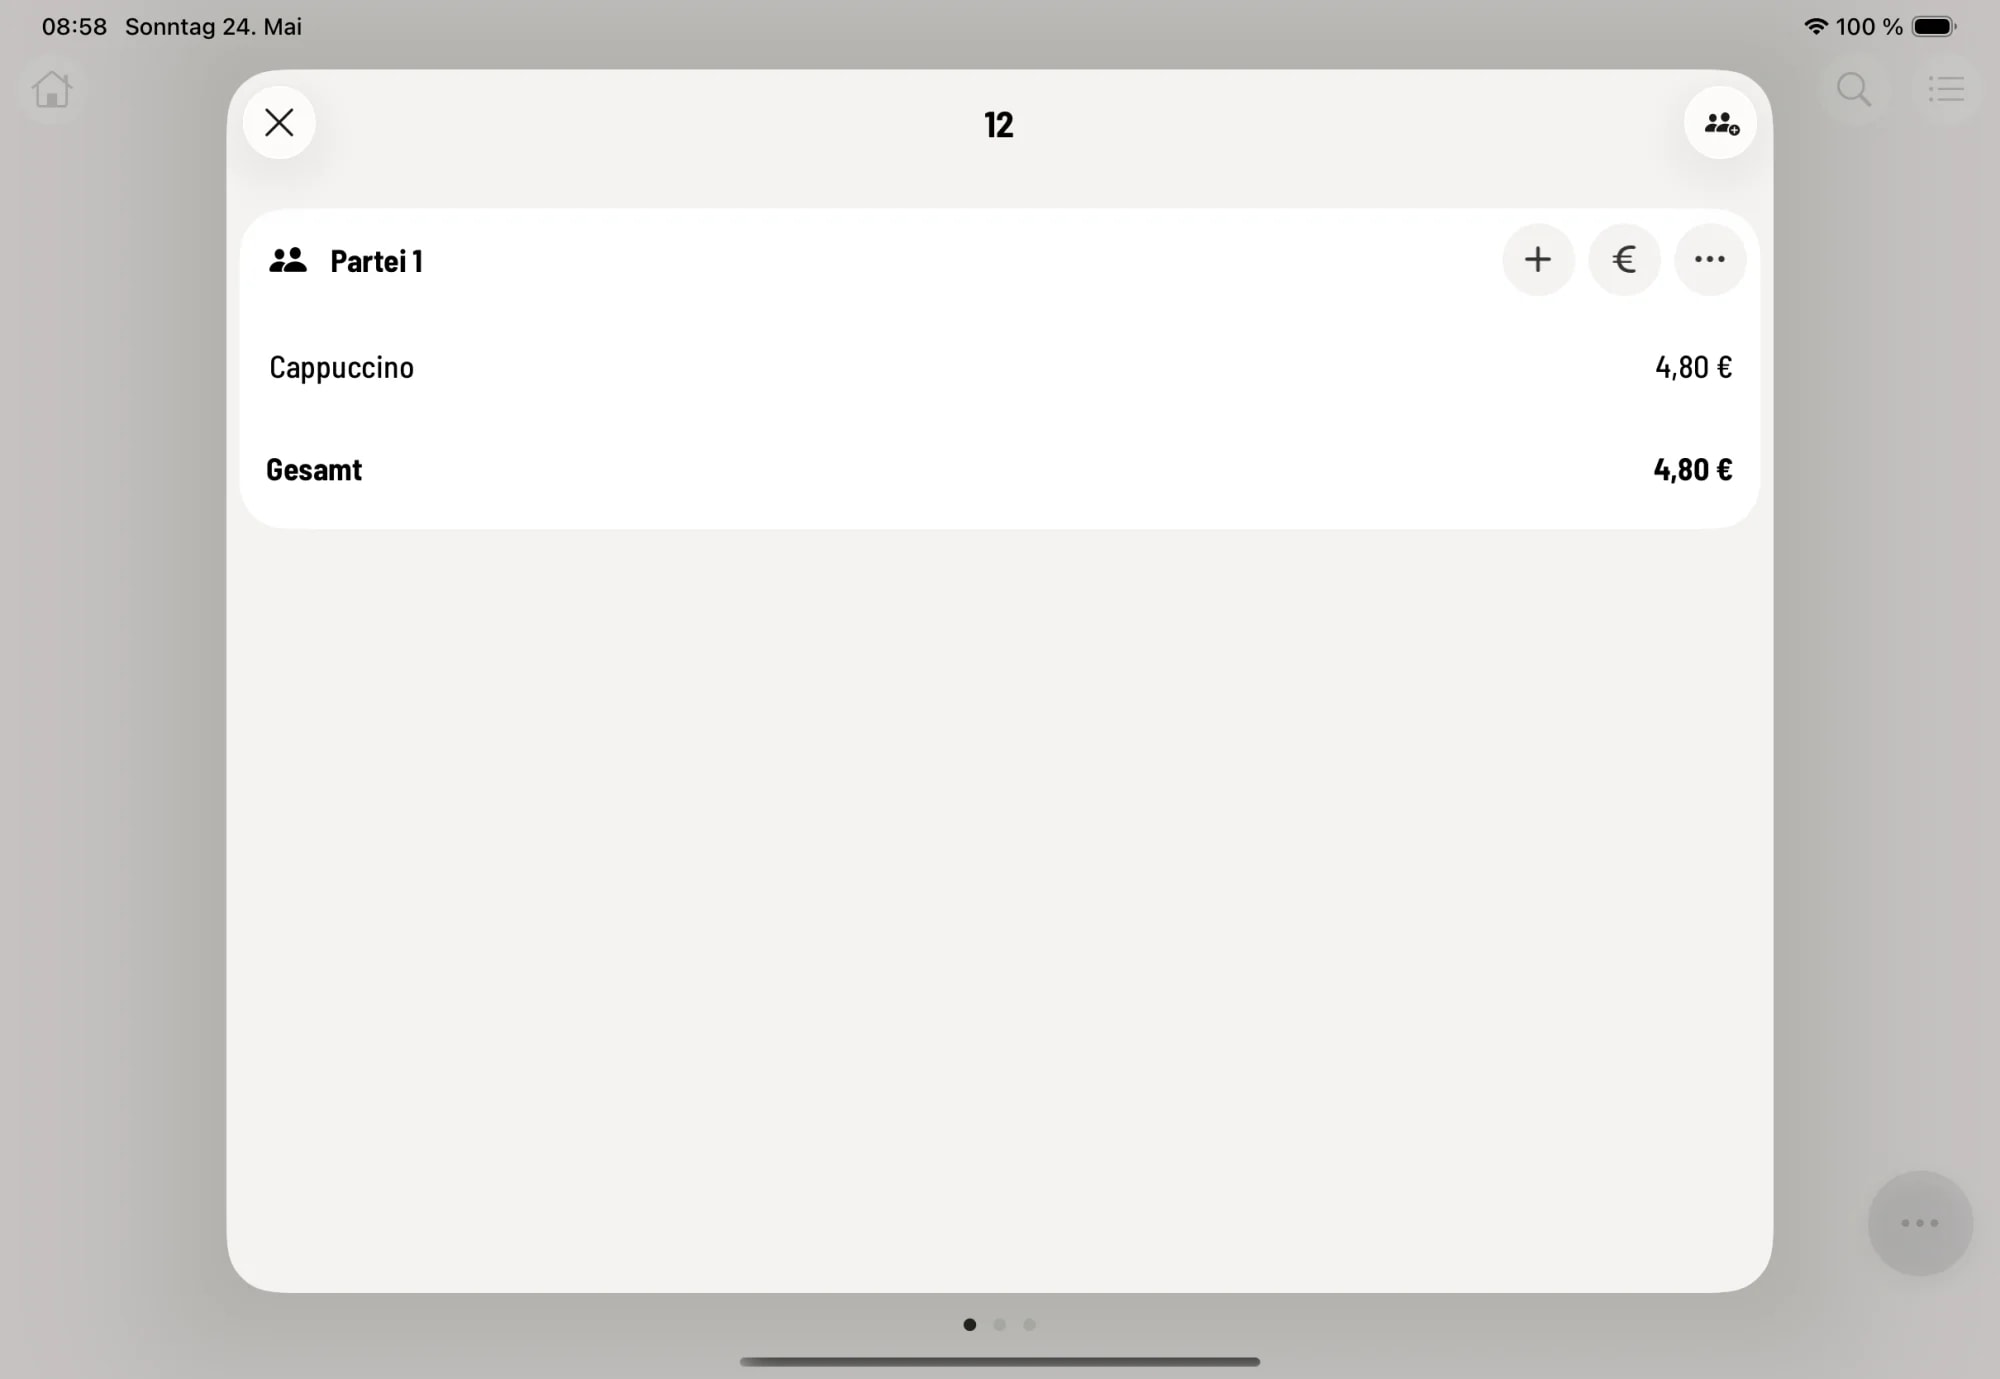
View order
Clicking "Done" takes you to the order overview with all items, parties, and the total amount. Here you can add notes, discounts, or the number of people.
Schritt 3 von 4
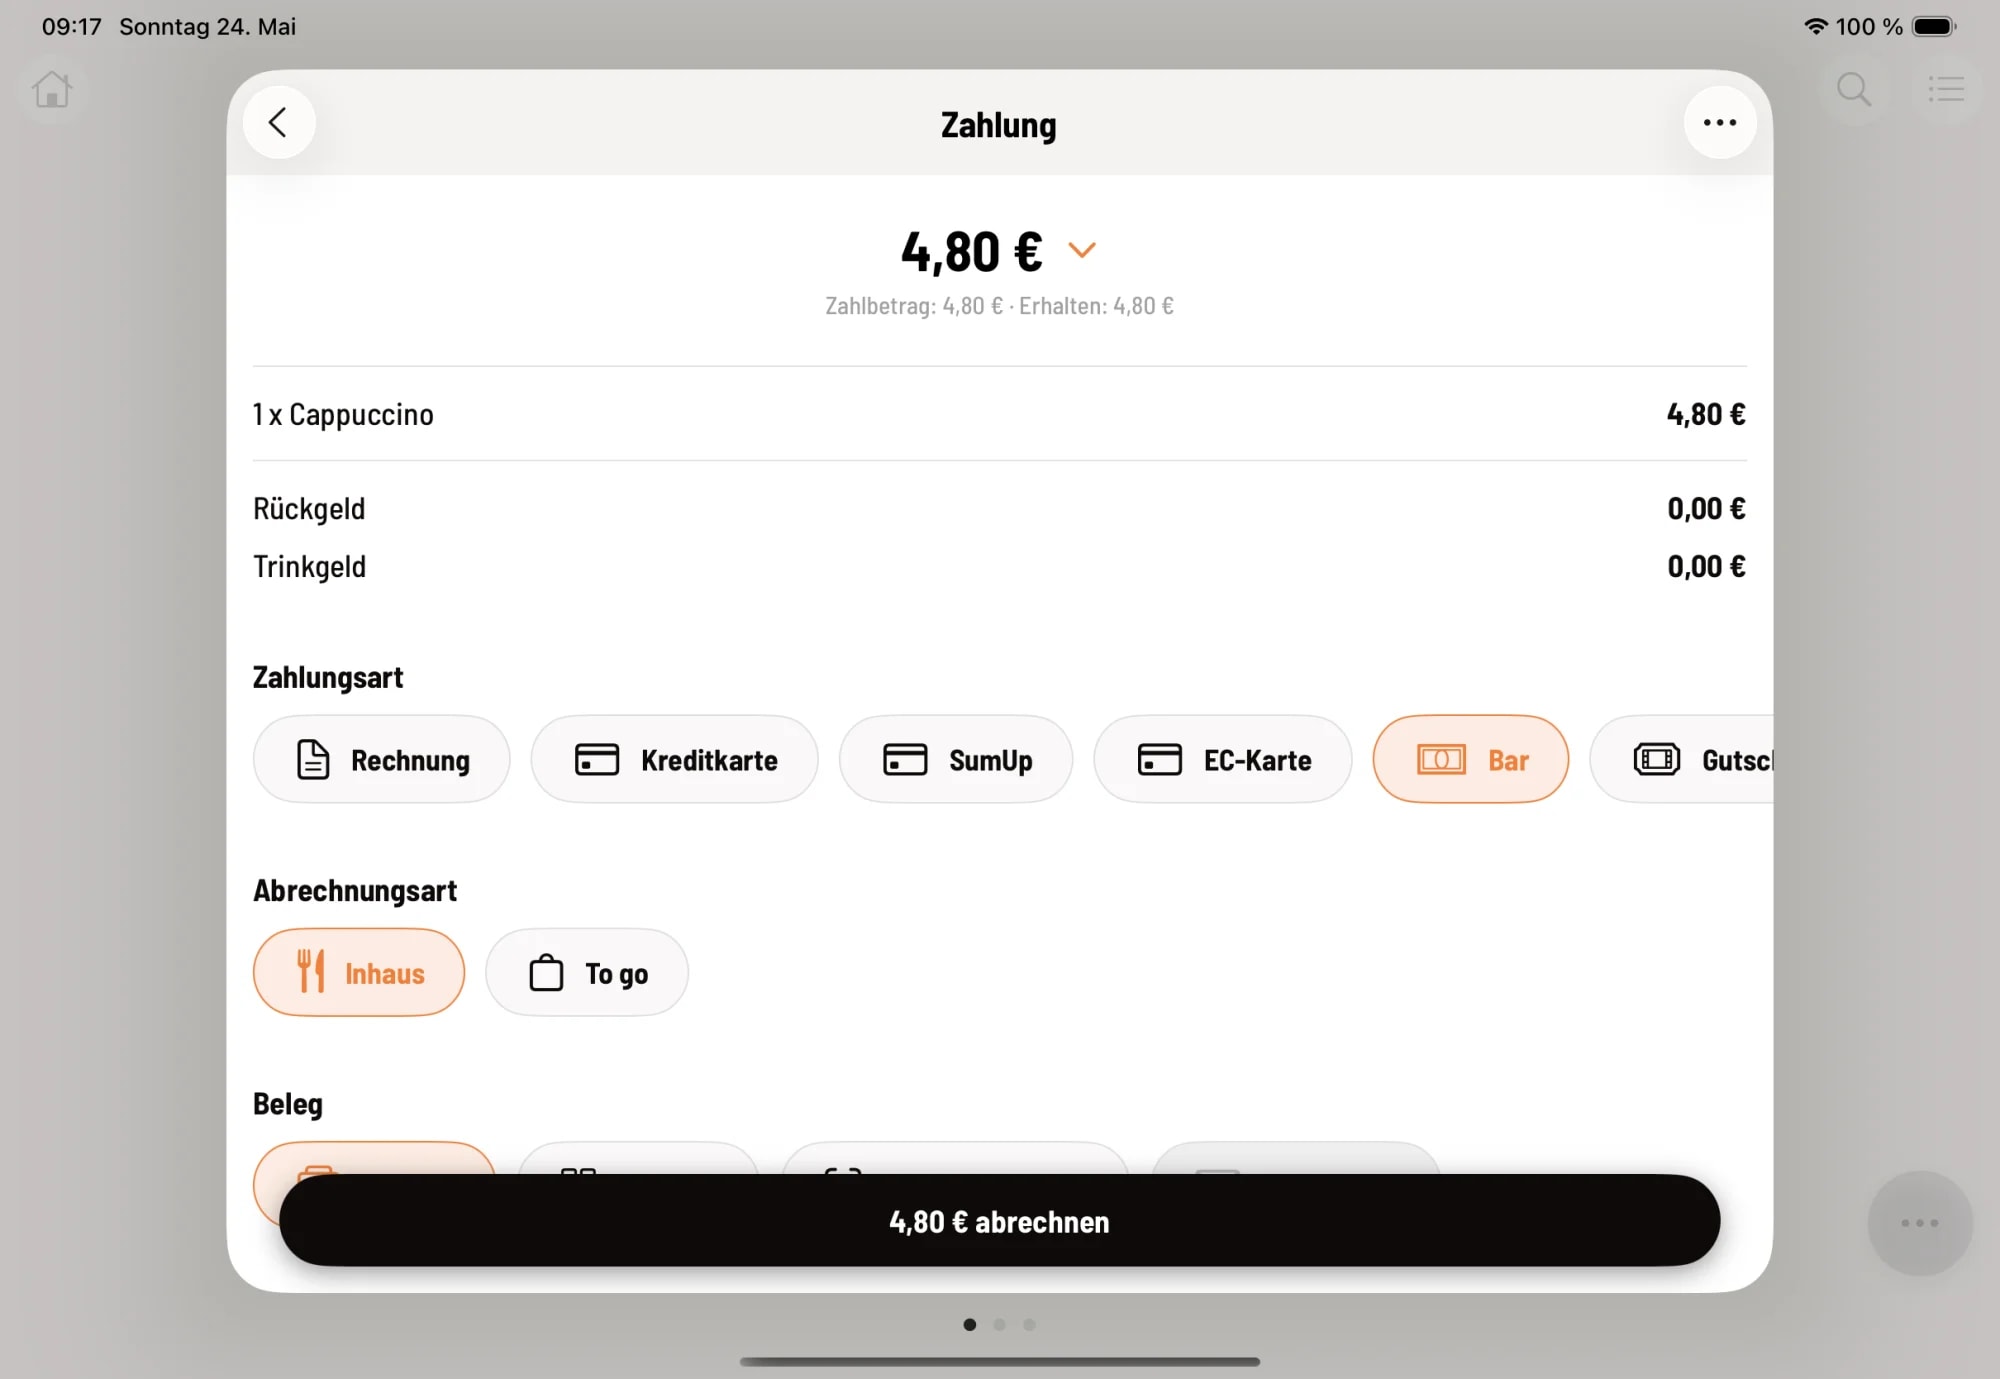
Billing
When settling accounts, you select the payment method (cash, card, debit card, voucher), enter the tip, and print the receipt or send it via QR code/email. TSE-compliant signature creation is automatic in the background.
Schritt 4 von 4
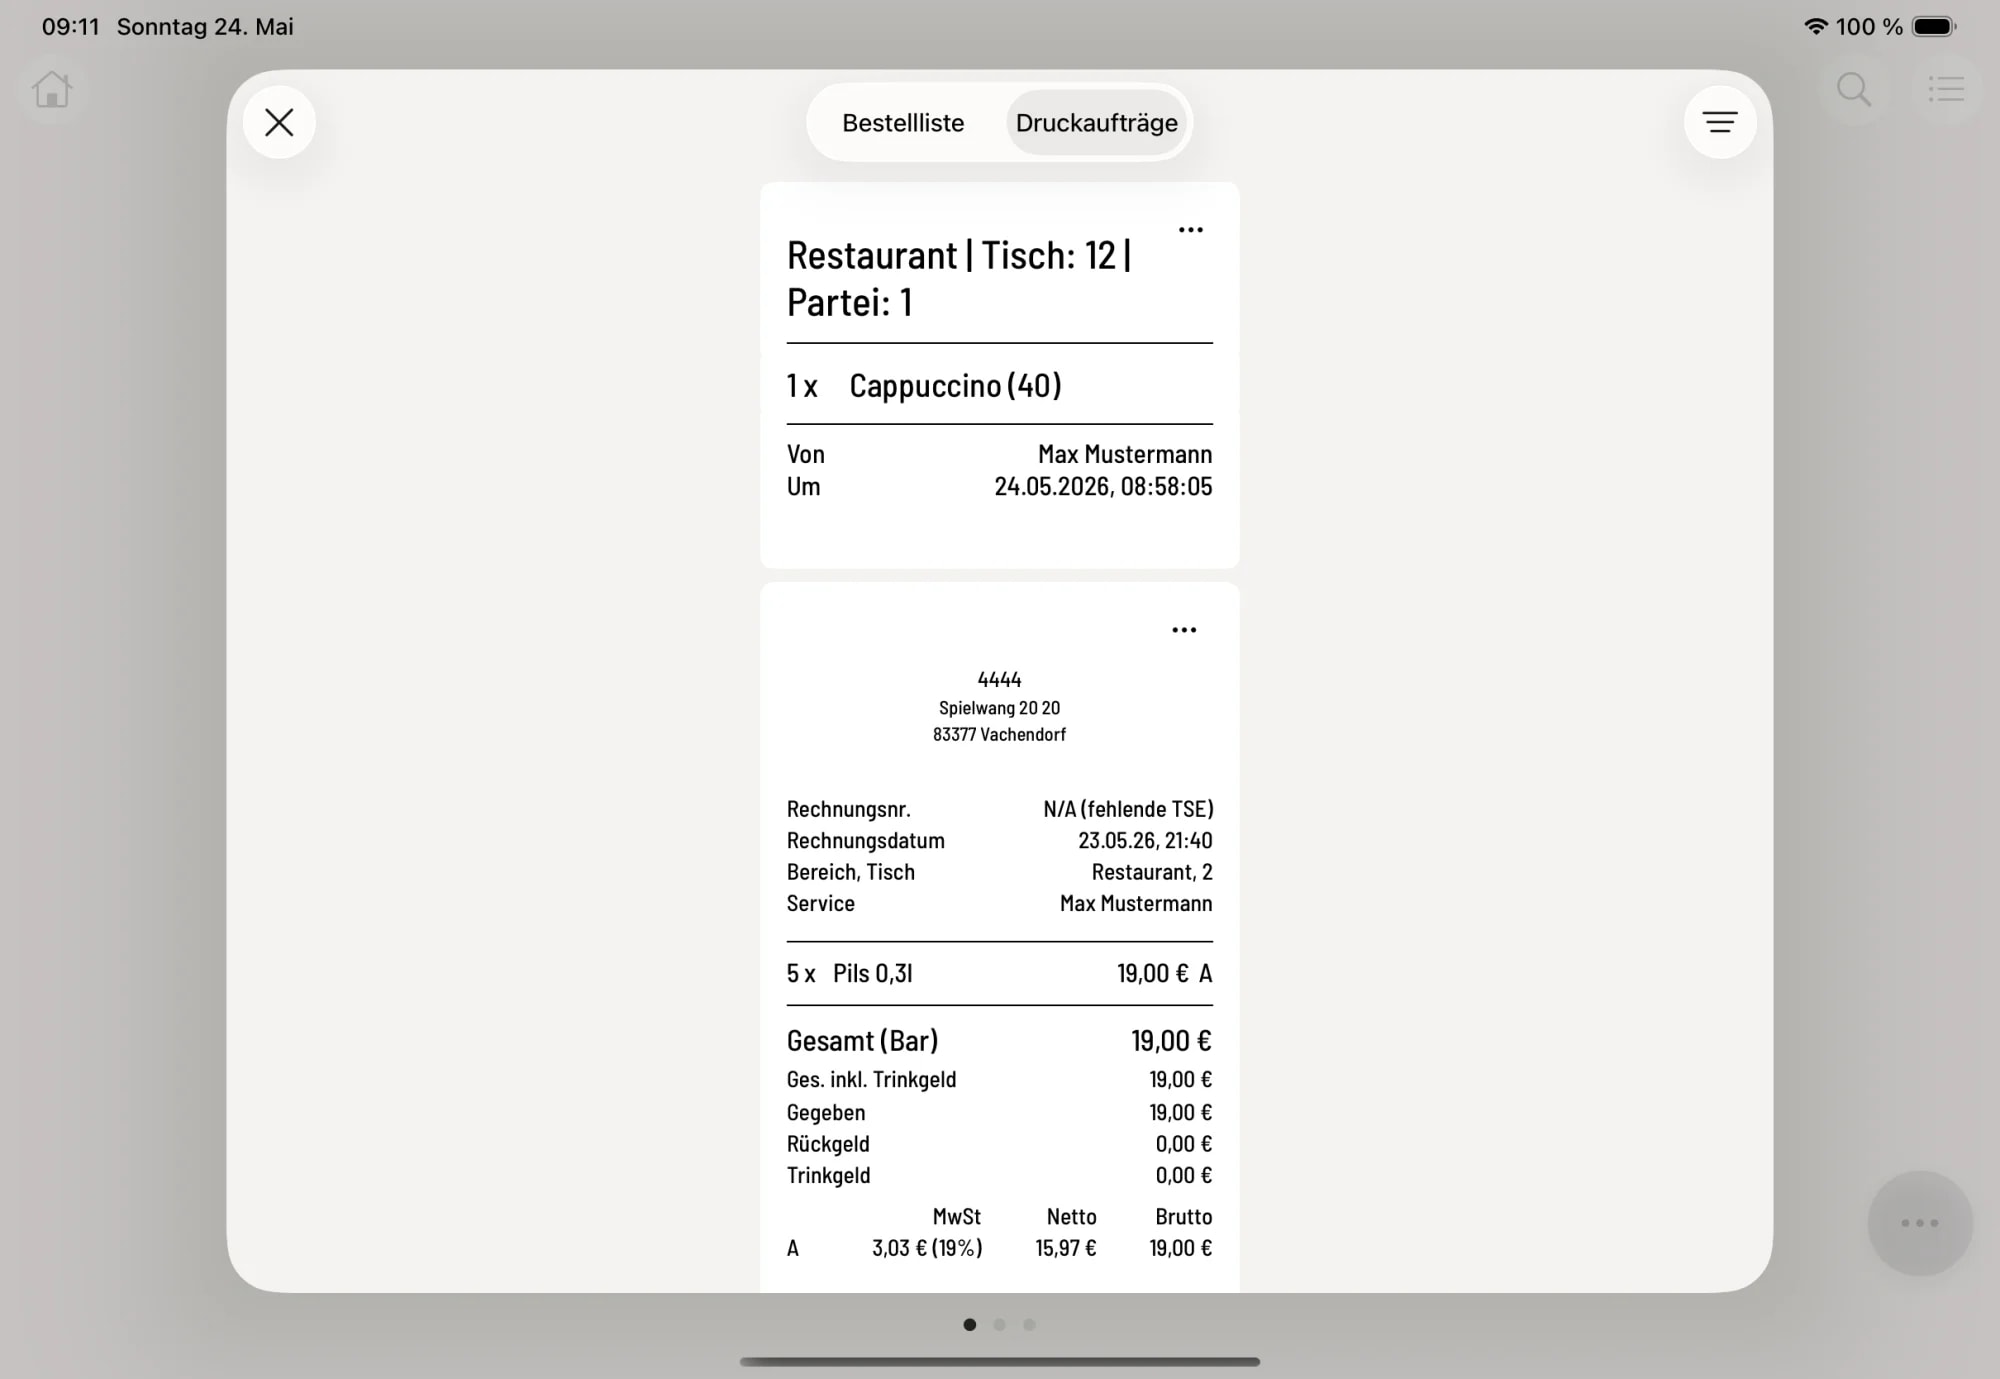
Print orders
All printouts from the shift—kitchen receipts, customer invoices, Z-reports—are added to the print jobs list. Here you can preview them and reprint receipts as needed or share them as PDFs.
Action menu for special workflows
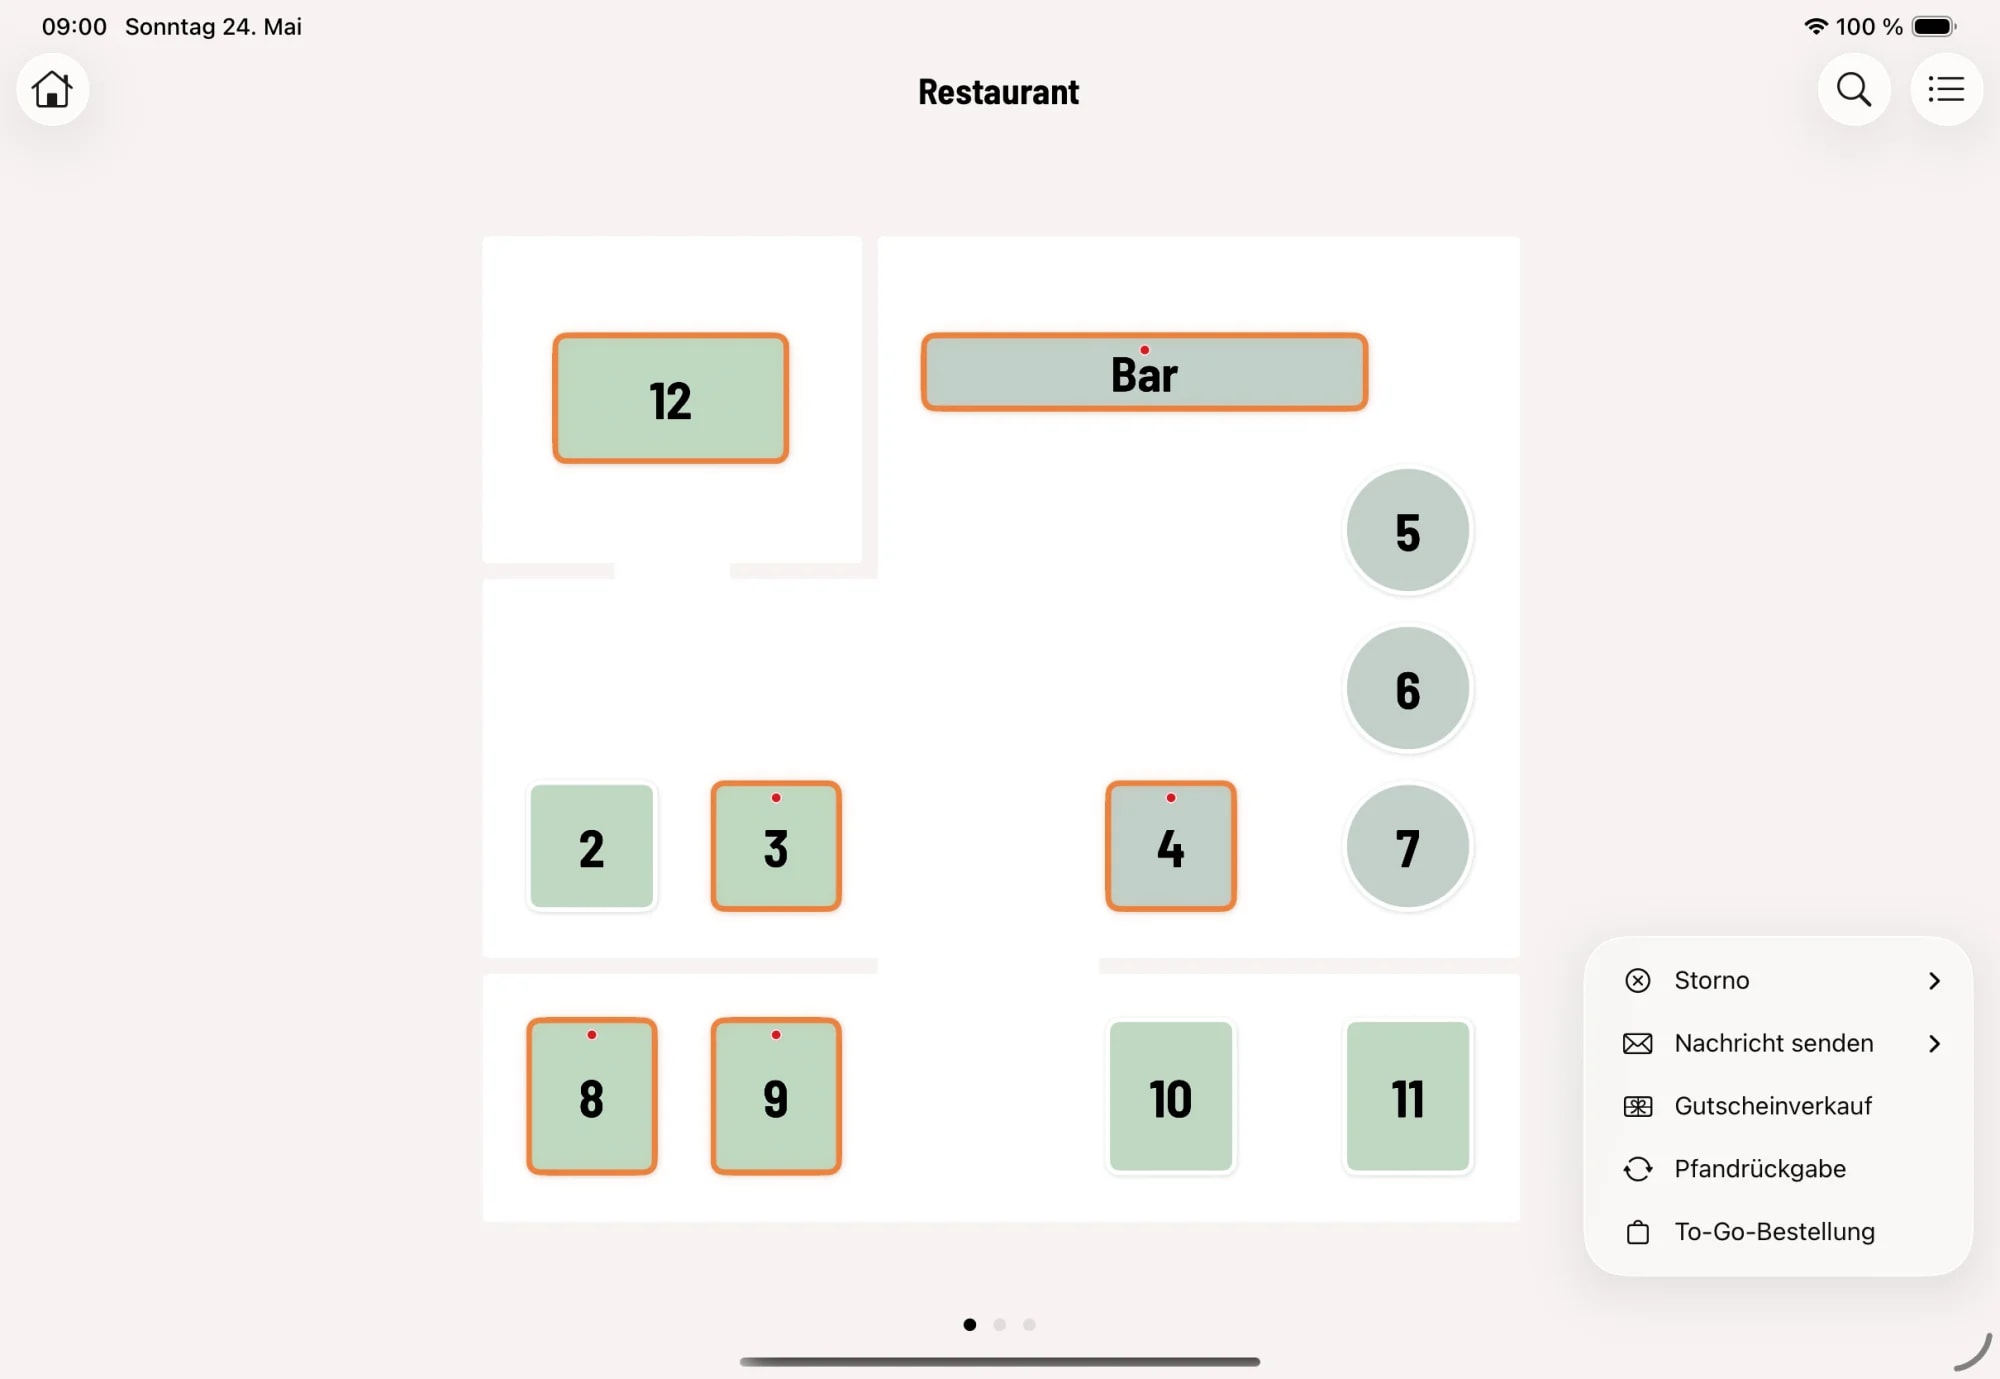
Schritt 1 von 1
Three dots in the bottom right corner
The floating action menu in the bottom right corner of the table plan bundles workflows unrelated to tables: To-go orders, deposit returns, voucher sales, printer messages, and cancellations of settled bookings.
Check shift information at any time
Schritt 1 von 1
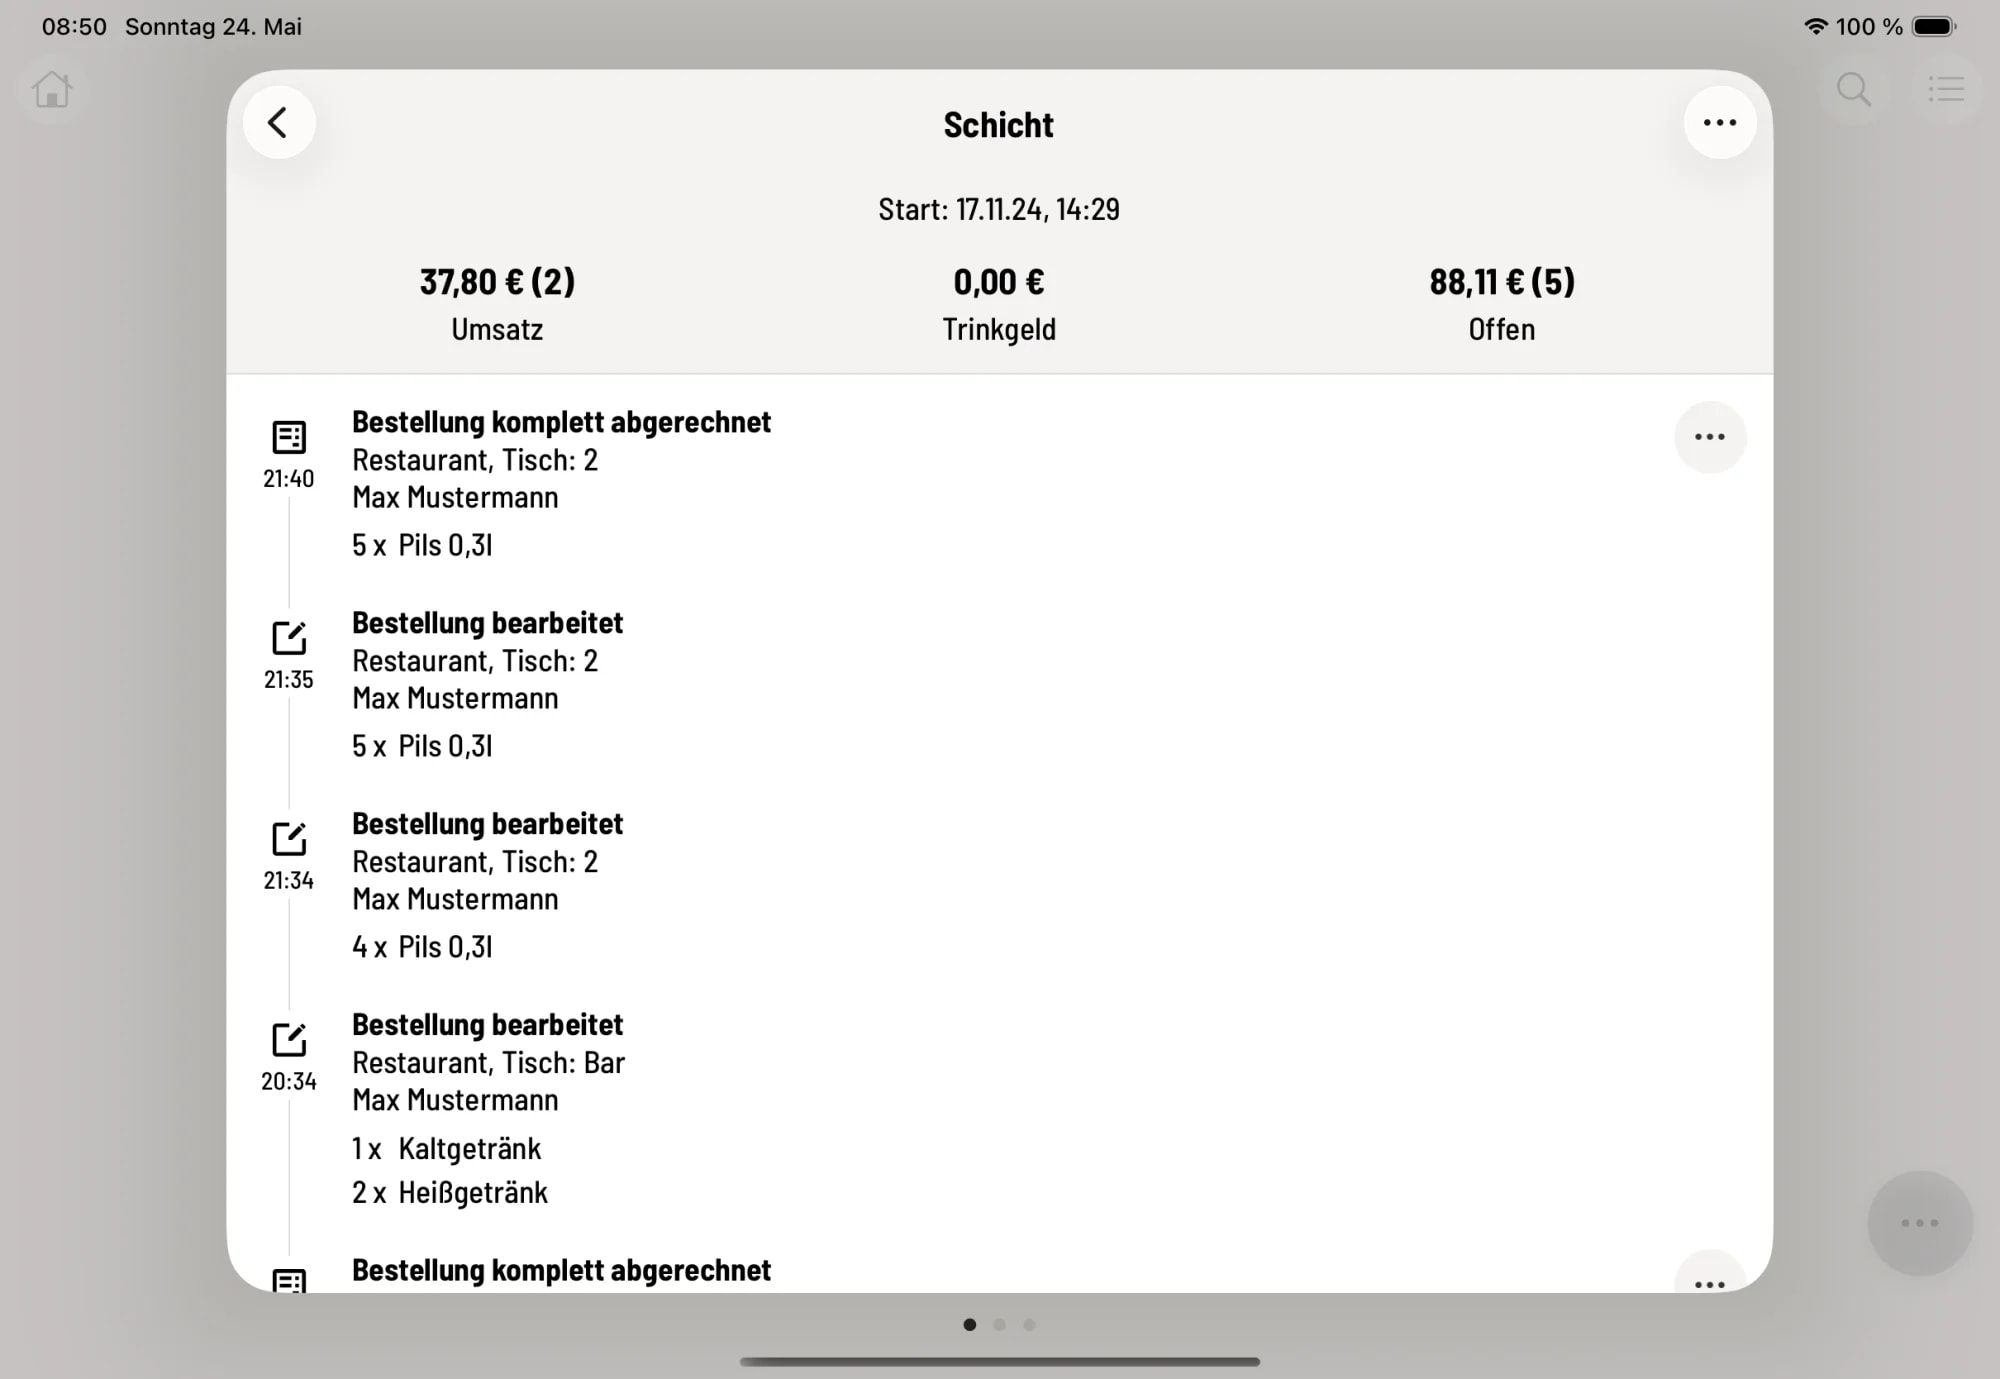
Live overview of the shift
In the overview, tap on the shift card to see all actions chronologically—sales, tips, open tables. Use the printer icon in the top right to generate an X-receipt as an interim summary.
Web Desk: Back office in the browser
Log in to desk.servire.de with the same account. The web desk is the administration interface: create menus, set up employees with permissions, configure areas and tables, register printers, and define tax rates and price categories. Additionally, you will find statistics (daily, weekly, and monthly sales), shift reports, employee evaluations, and the DSFinV-K export for the tax office.
While the POS app is optimized for user interaction, the web desktop serves as the configuration and reporting tool. Owners typically work in the web desktop, while service staff almost exclusively use the POS app.
Service Hub: Kitchen monitor, display and more
The service hub is an additional component that takes on different roles depending on the setup: kitchen or bar monitor (orders appear on a screen instead of on paper), customer display (shows the guest the current bill), digital menu, or central print hub that forwards print jobs from all iPhones and iPads to one or more printers.
Next Steps
This quick start guide provides the big picture—there's a detailed article for each individual workflow. Recommended topics: Logging in and out, starting and ending shifts, taking a new order, detailed order processing, and changing personal information. You can access all other topics via the search function above or the table of contents on the left.
Are you unsure about the app? In the overview menu you will find the Servire AI chat — it answers operating questions directly in natural language, without you having to consult the manual.