
Setting up a POS system in the Web desk
All settings for the workflow at your cash registers at a glance, with links to each area.
Under Settings → POS, you define how your POS apps work. These settings apply to the restaurant selected in the top left corner and to all POS terminals at that restaurant. Changes appear immediately on all devices.
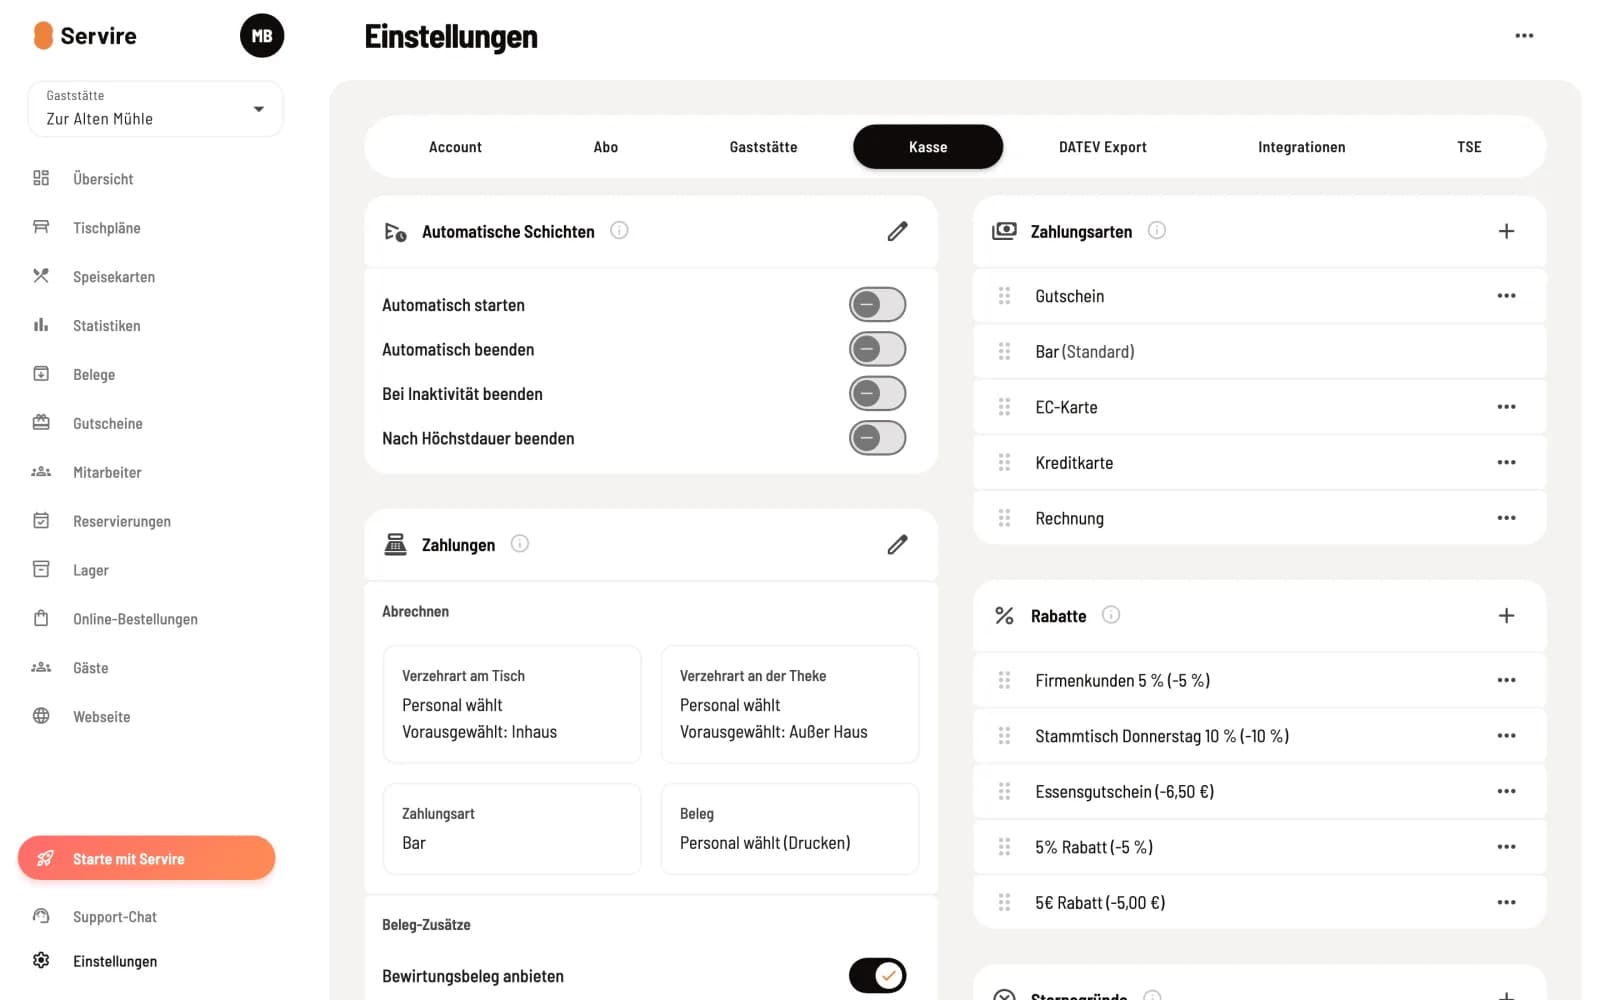
Open the cash register tab
Click on Settings on the left and then on Cash Register at the top. The settings cards are on the left, the lists on the right. The Info icon next to each heading briefly explains what the card controls.
Here's how to change settings
Switches on the map save immediately.
The pencil icon opens a map dialog. Only save will apply the changes. If you close the dialog with unsaved entries, the Web desk will prompt you.
In the lists, you create an entry using +. The three-dot menu opens the Edit and Delete options; you drag entries into the desired order using the sort handle.
The cards
Automatic Layers – Setting up automatic layers
Action Button – Action button and quick buttons
Cash Book & Service Cash Register – Cash book and cash count, service cash registers and allocation, tip payout and kitchen delivery
Reports – Set report printing
Additional settings – Number of people and service time instructions
The lists
Only users with the employee right to change payment settings can modify the Payments section. Parts of the Cash Book & Service Cash Register are locked while a shift is in progress. The card will notify you if this is the case.
You can set settings that apply to a single device, such as font size or product images, in the POS app: POS app settings overview.