
Welcome and setup wizard in the Web desk
What to expect on your first visit to the Web desk and how the assistants will guide you through each module.
When you first log in to Web desk, you'll be greeted by a short introduction. Later, each new area will guide you through the setup process with its own wizard. All wizards look the same: at the top, you'll find a Back button, a progress bar, and a Skip button; at the bottom, a large button to continue.
The greeting
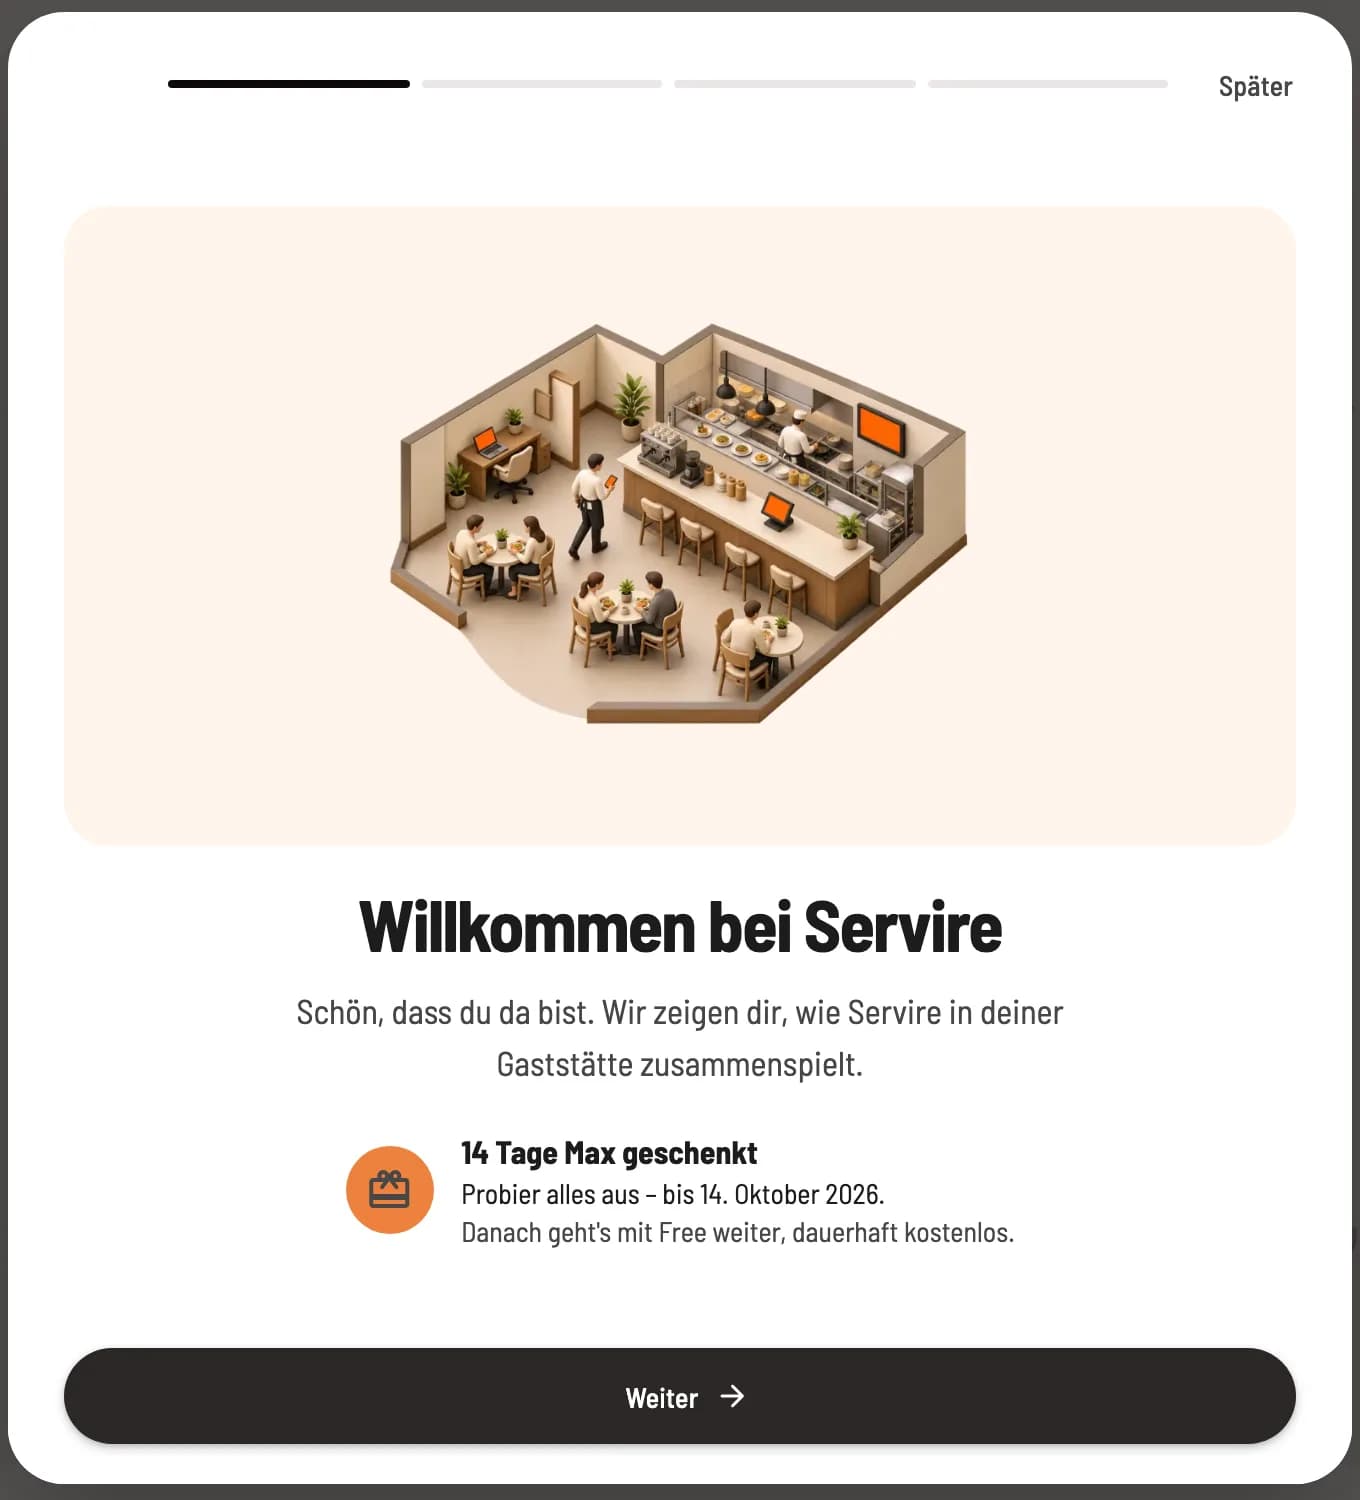
Step 1 of 4
Welcome to Servire
The first page welcomes you. If your restaurant is participating in the trial phase, you'll see the "14 days free" card with the end date displayed here.
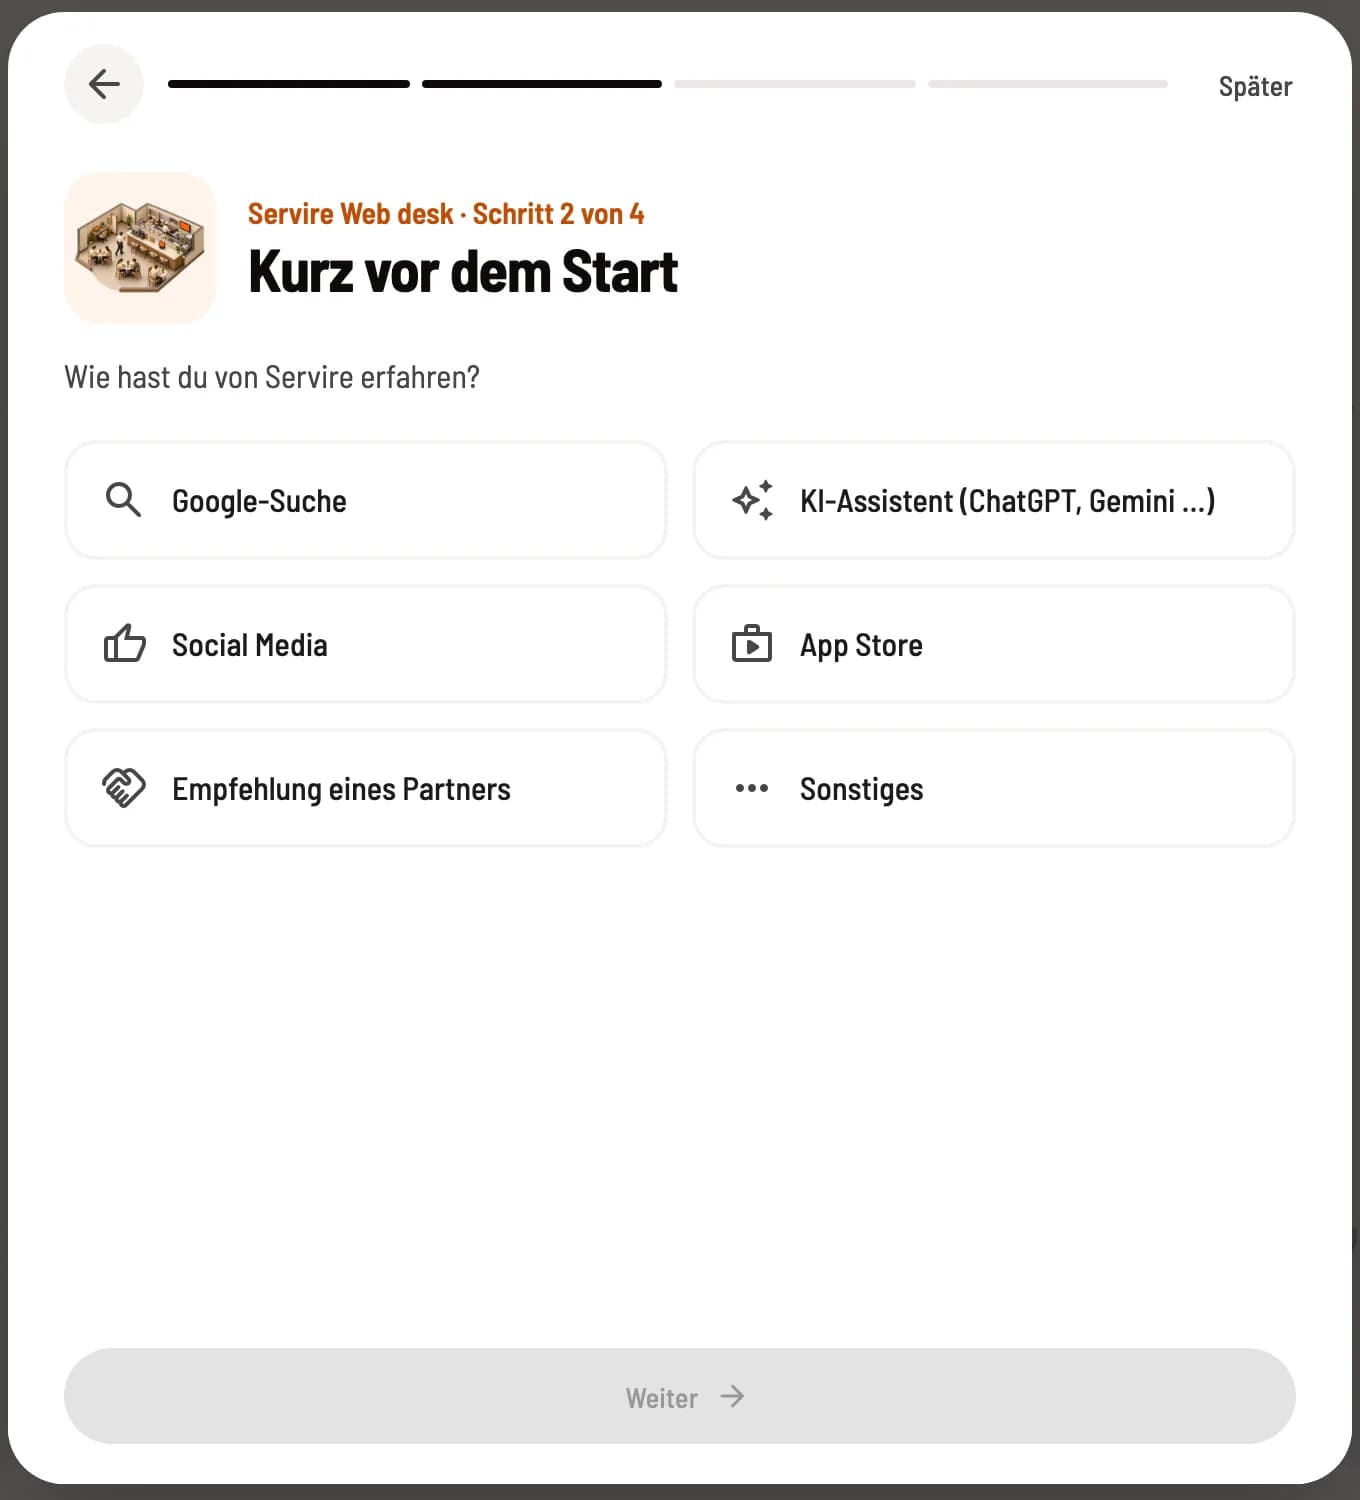
Step 2 of 4
Shortly before the start
As the owner, you answer the question How did you hear about Servire ? once. Under Recommended Partner, you enter the partner code; the consent below is optional. Later, the greeting will close without a response, but it will reappear the next time you shop there. Employees will not see this question.
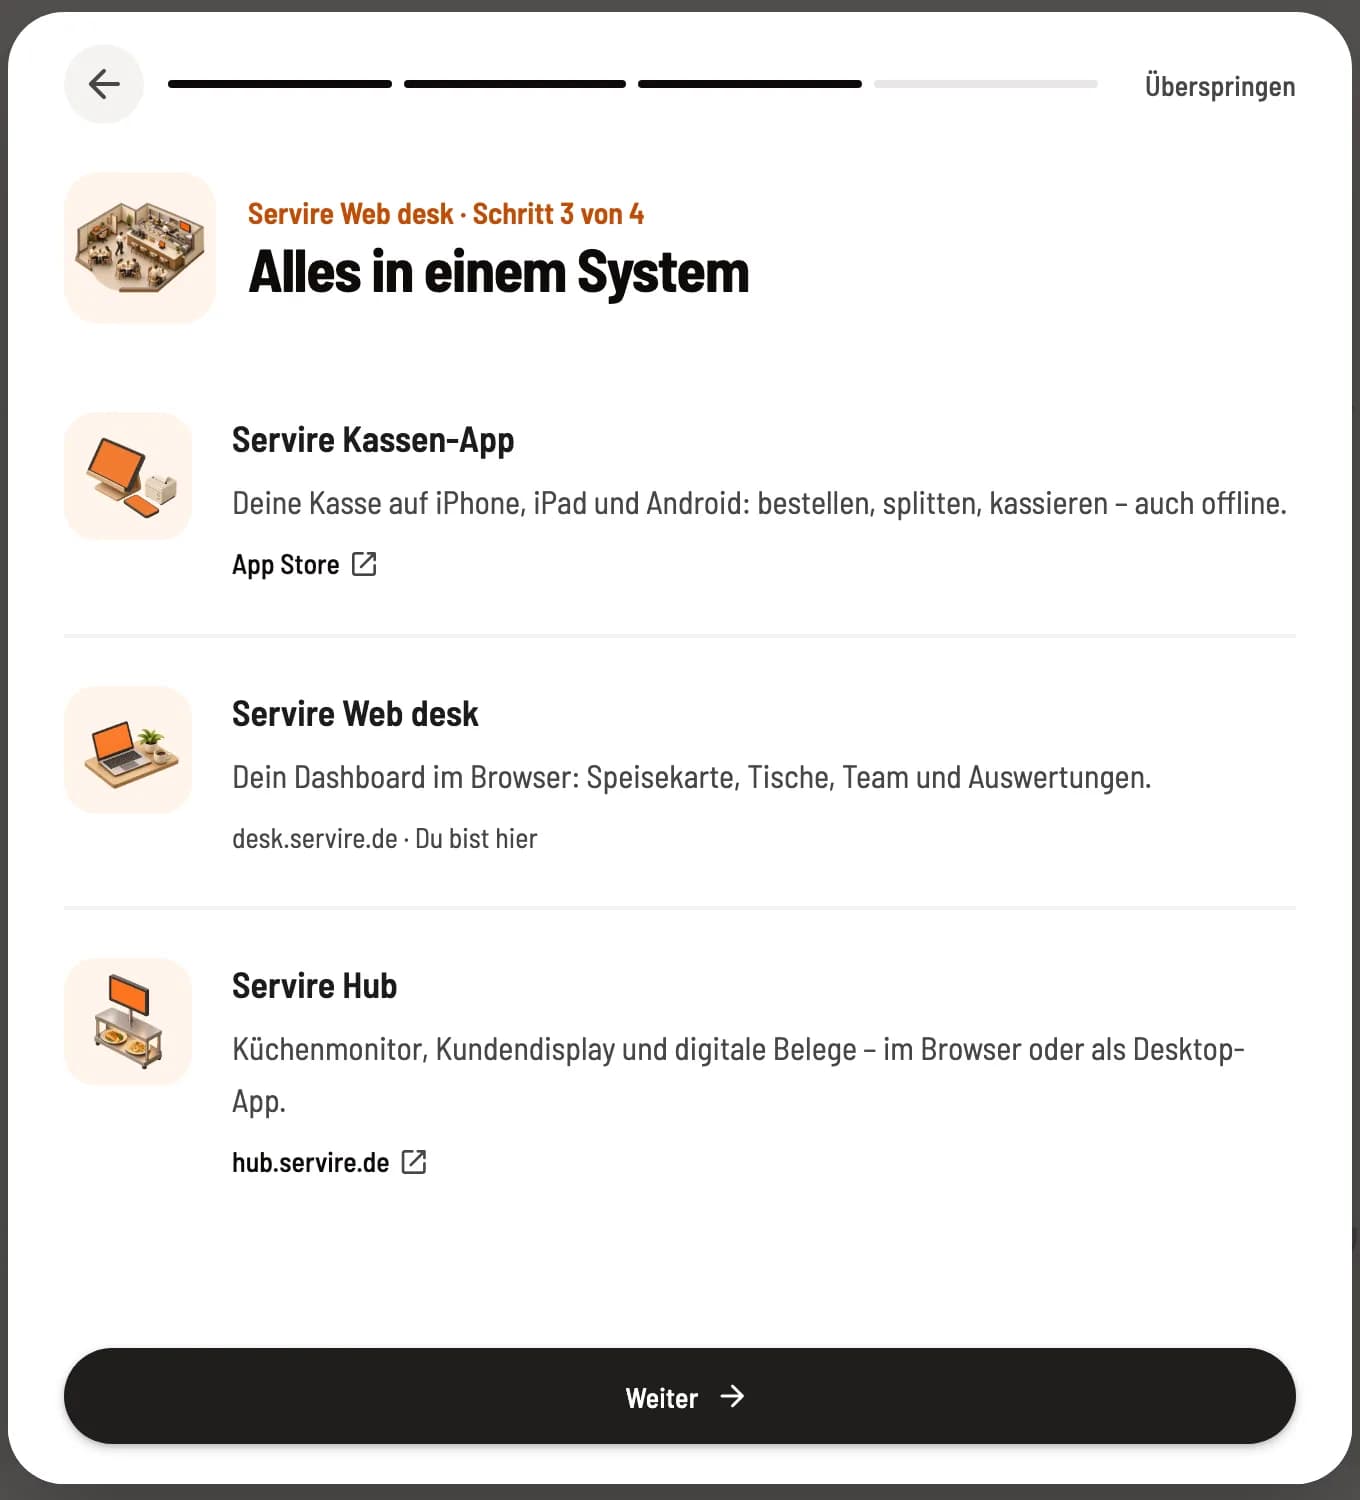
Step 3 of 4
All in one system
The POS app, Web desk , and hub have their addresses. The Web desk displays You are here.
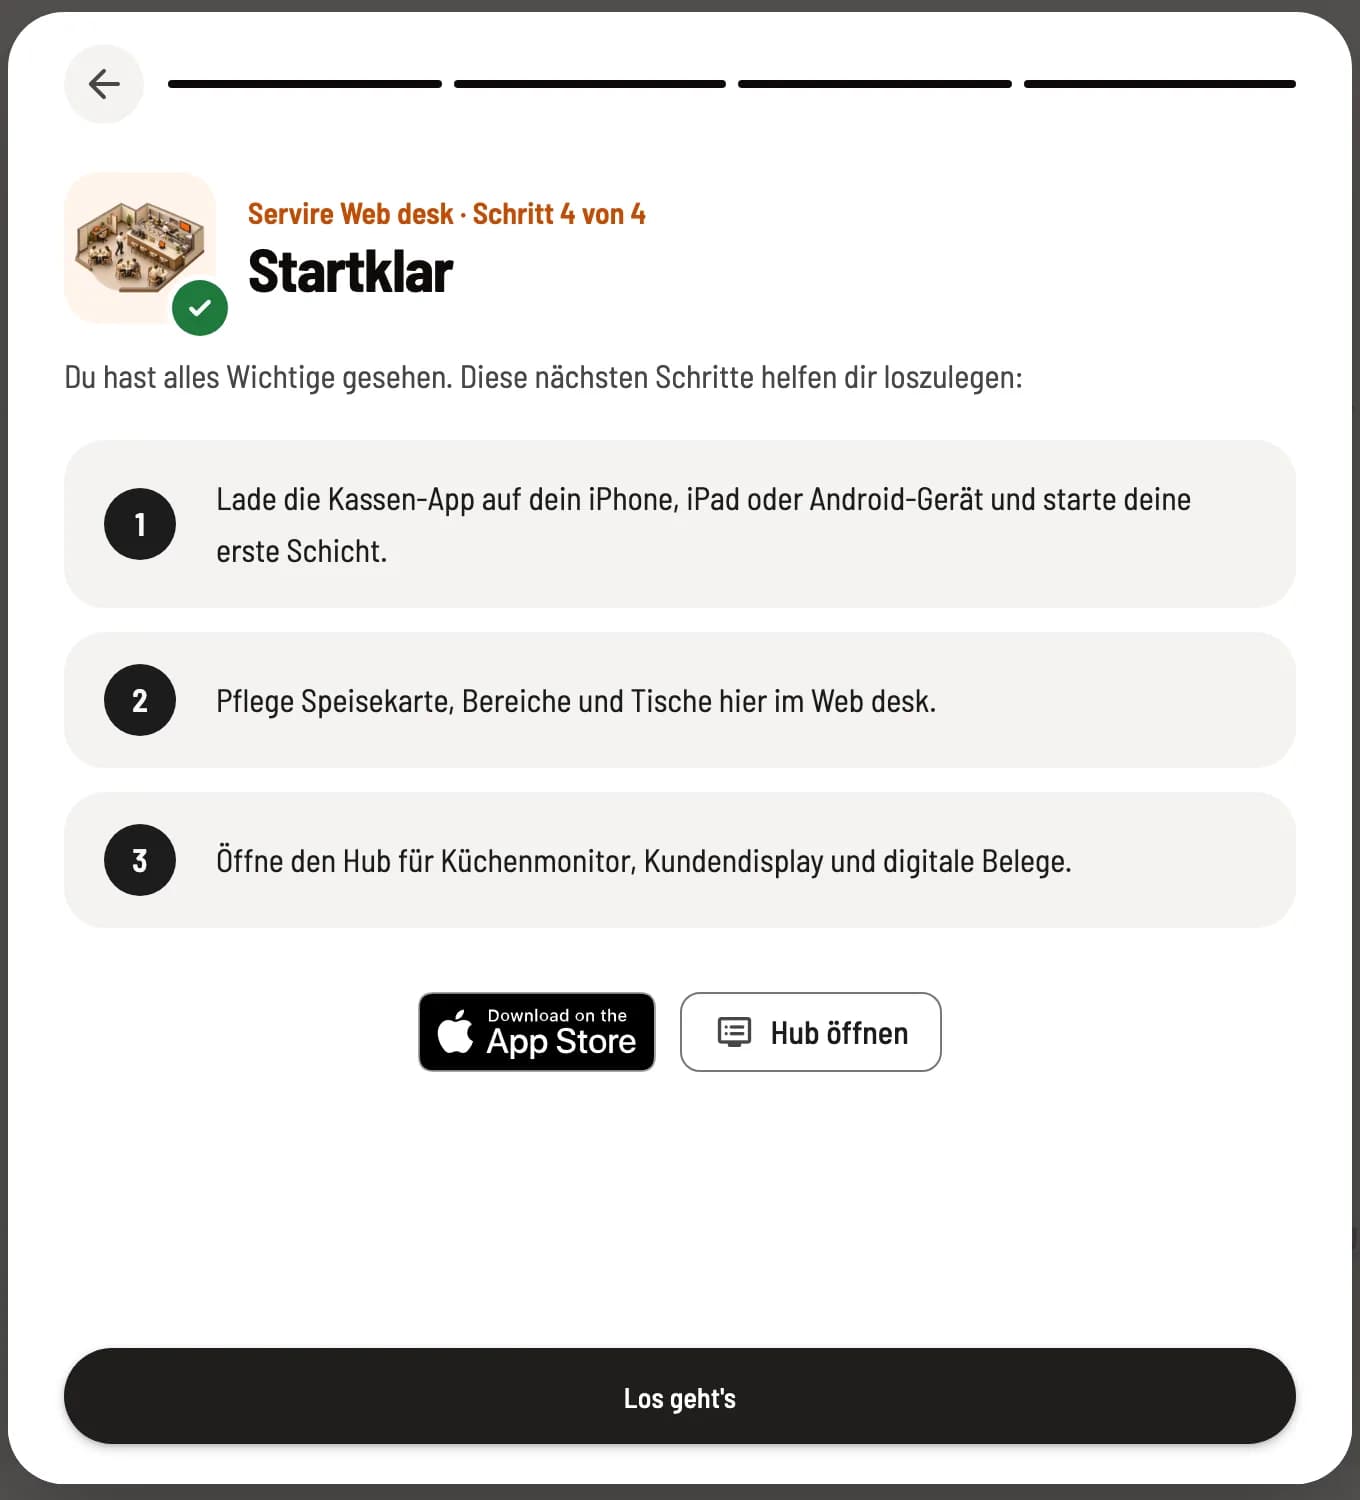
Step 4 of 4
Ready
Three next steps: Download the POS app, update the menu and tables, open the hub. Let's go concludes the welcome message.
The welcome message appears once per account. You can only skip it after being asked about your account origin. The POS app has its own tour: The POS App Introductory Tour.
Assistants for the modules
Upon first opening
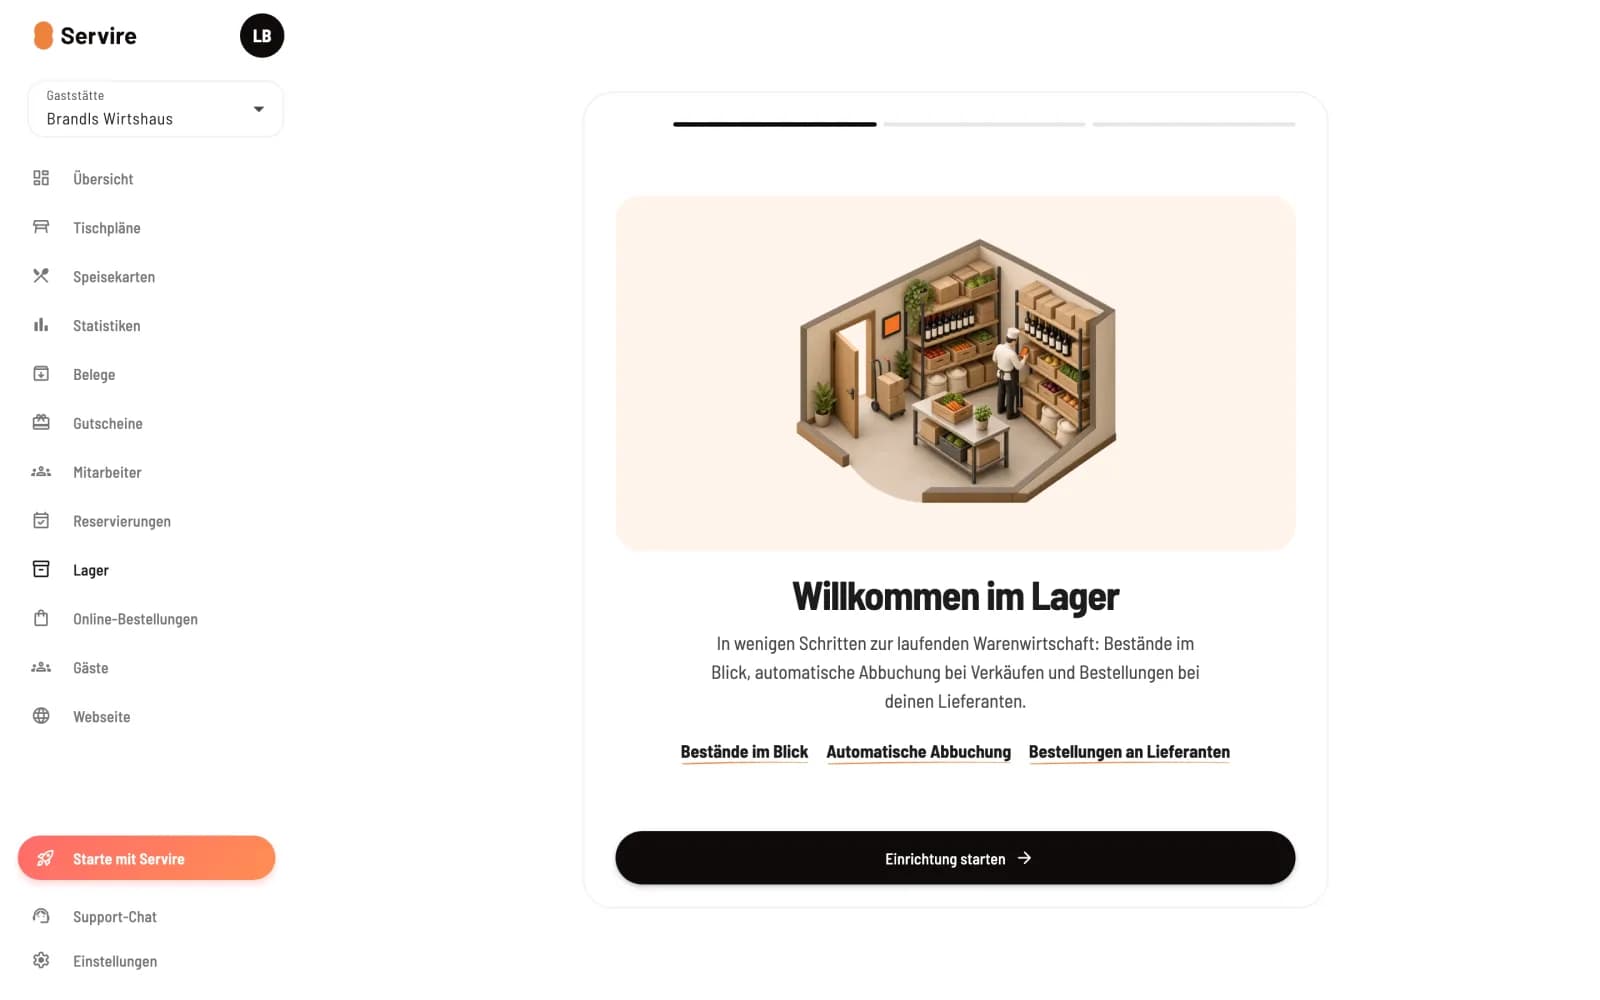
If you open a space that hasn't been set up yet, its wizard will start with a welcome page. Start setup guides you step-by-step through the settings; at the end, the completed page for the space will be displayed.
Guests – Setting up a stamp card: Guest management settings.
Reservations – Times, tables and integration on the website: Reservation settings in the Web desk.
Online Ordering – Ordering methods, menu, payment and QR codes: Setting up guest orders.
Warehouse – create your first warehouse items.
Website – Address, design and content of your website.
Employees → Time Tracking – Rules, invitation and employee data: Activate and set up time tracking.
Statistics – Data basis and times of day: Evaluating statistics in the Web desk.
Prerequisite: Guests, reservations, online orders, inventory, website, and time tracking are included in the Max plan; without Max, they are grayed out in the sidebar. Modules containing guest data will first request a data processing agreement, which only the owner can conclude.
Start with Servire
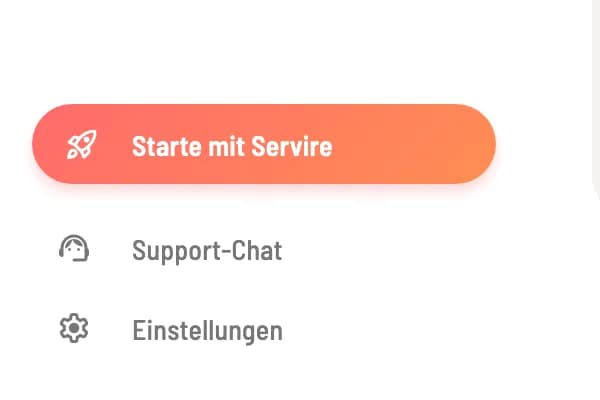
As long as your restaurant doesn't have a paid subscription, the button Start Servire will be displayed at the bottom of the sidebar. This opens Settings → Subscription, where you can select a plan: Subscribe to a restaurant plan.