
Maintain a waiting list
Add guests to the waiting list, notify them by email and take them to an available table.
If everything is full, you put guests on the waiting list. It's at the very top of the book – with their preferred time and how long they've been waiting.
Add guest to waiting list
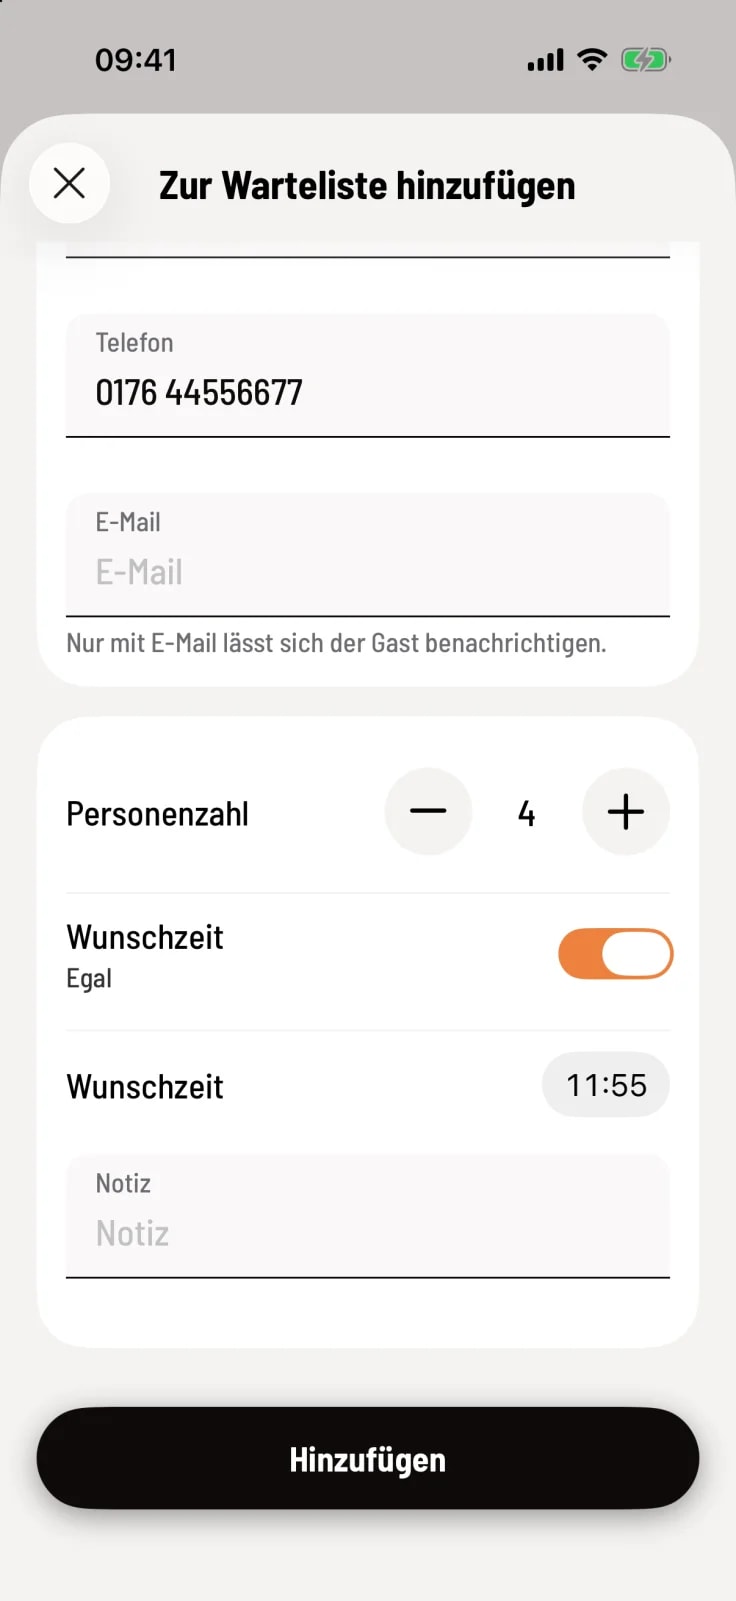
Create entry
Tap on + and Waiting List. First or last name is sufficient. Only with Email can you notify the guest later. Without Preferred Time, Any Time will appear in the list. Tap on Add.
Table available? Let's get a guest.
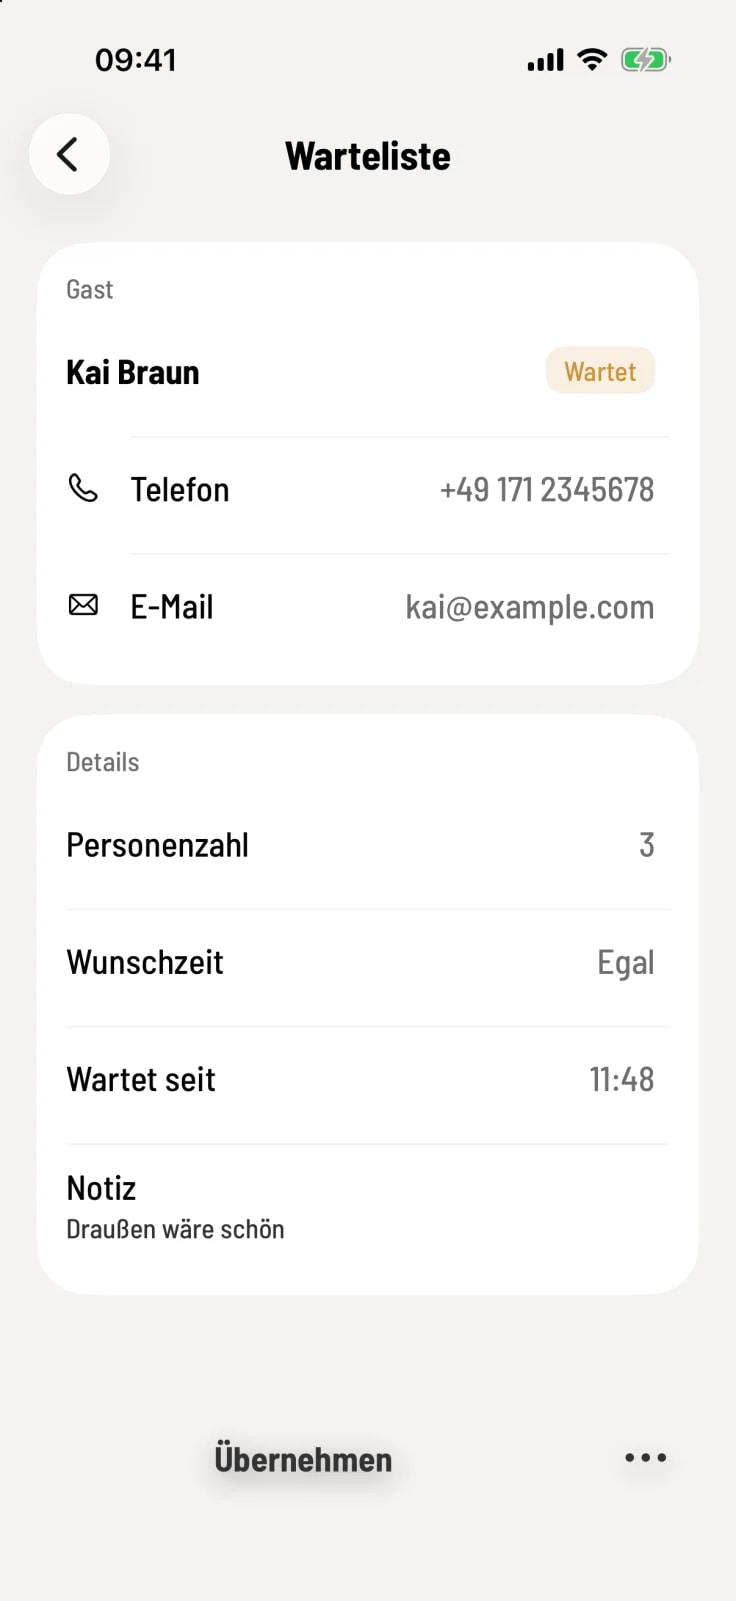
Step 1 of 4
Open entry
Tap on the guest in the waiting list. The card displays contact information, number of people, preferred time, and a note.
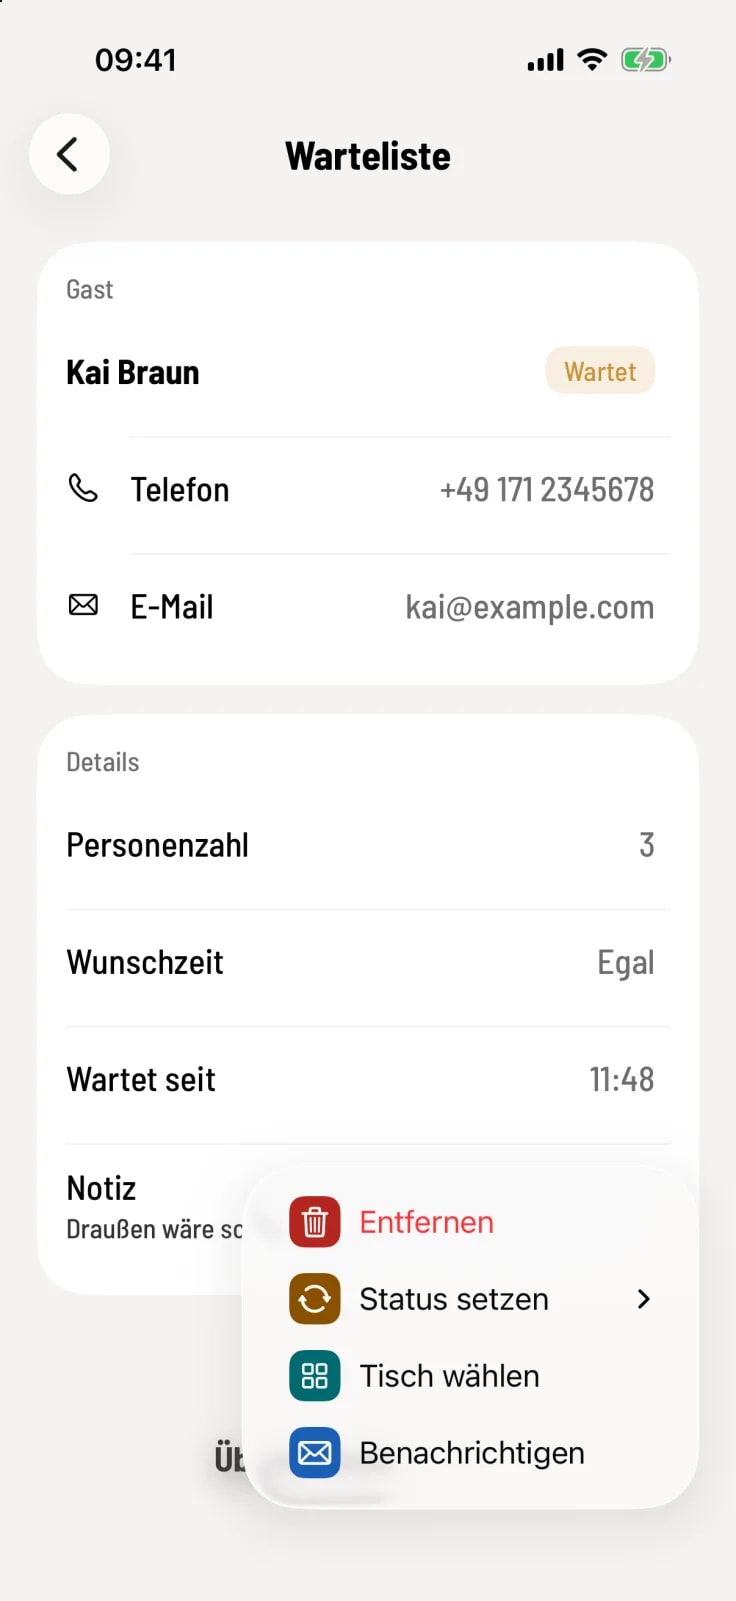
Step 2 of 4
Notify
Under …, Notify sends the guest an email informing them that their table is free. The status changes to Notified.
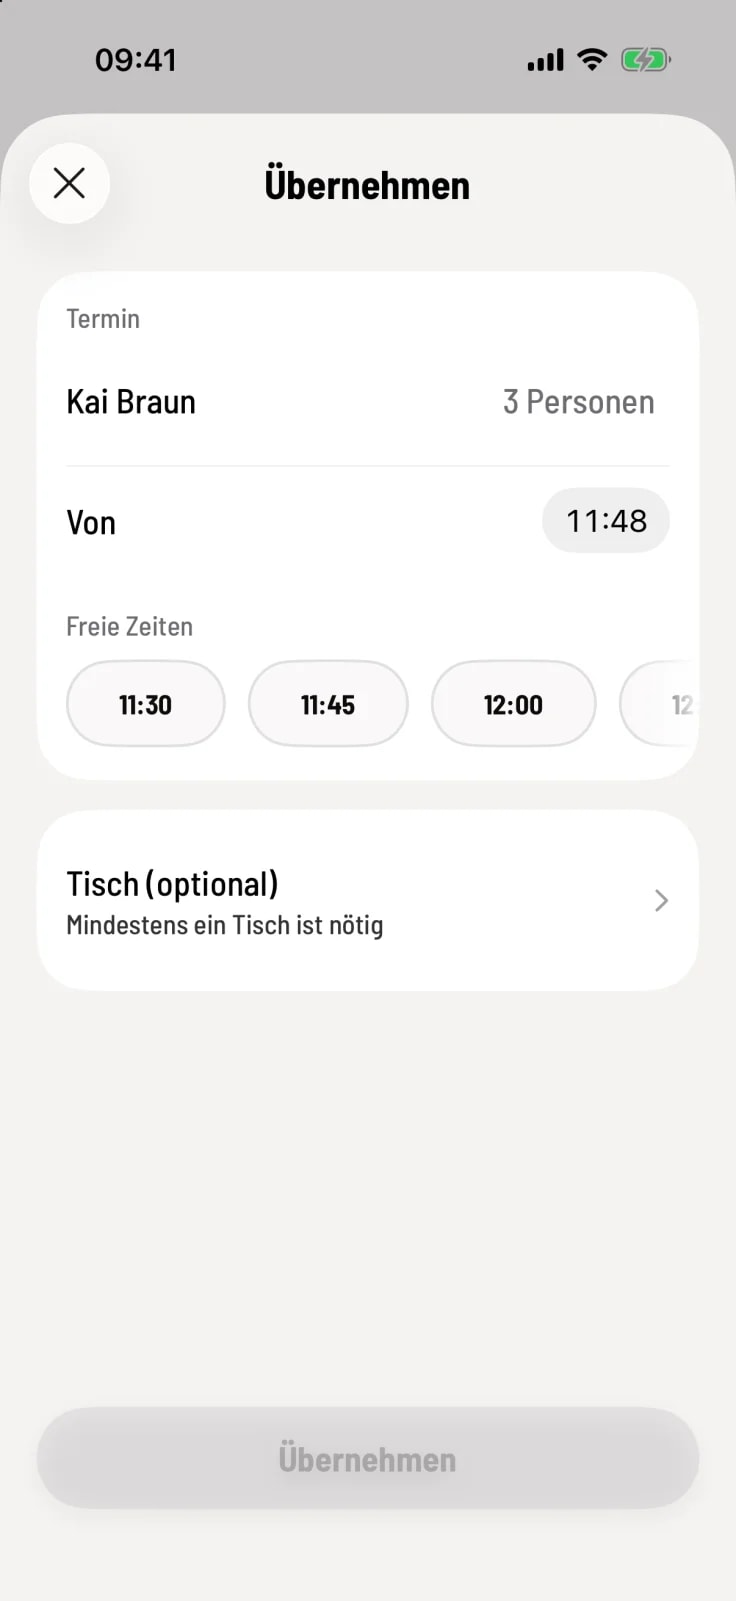
Step 3 of 4
Take over
Tap Apply, check the time, and select a table – a table is required. The entry will then become a confirmed reservation.
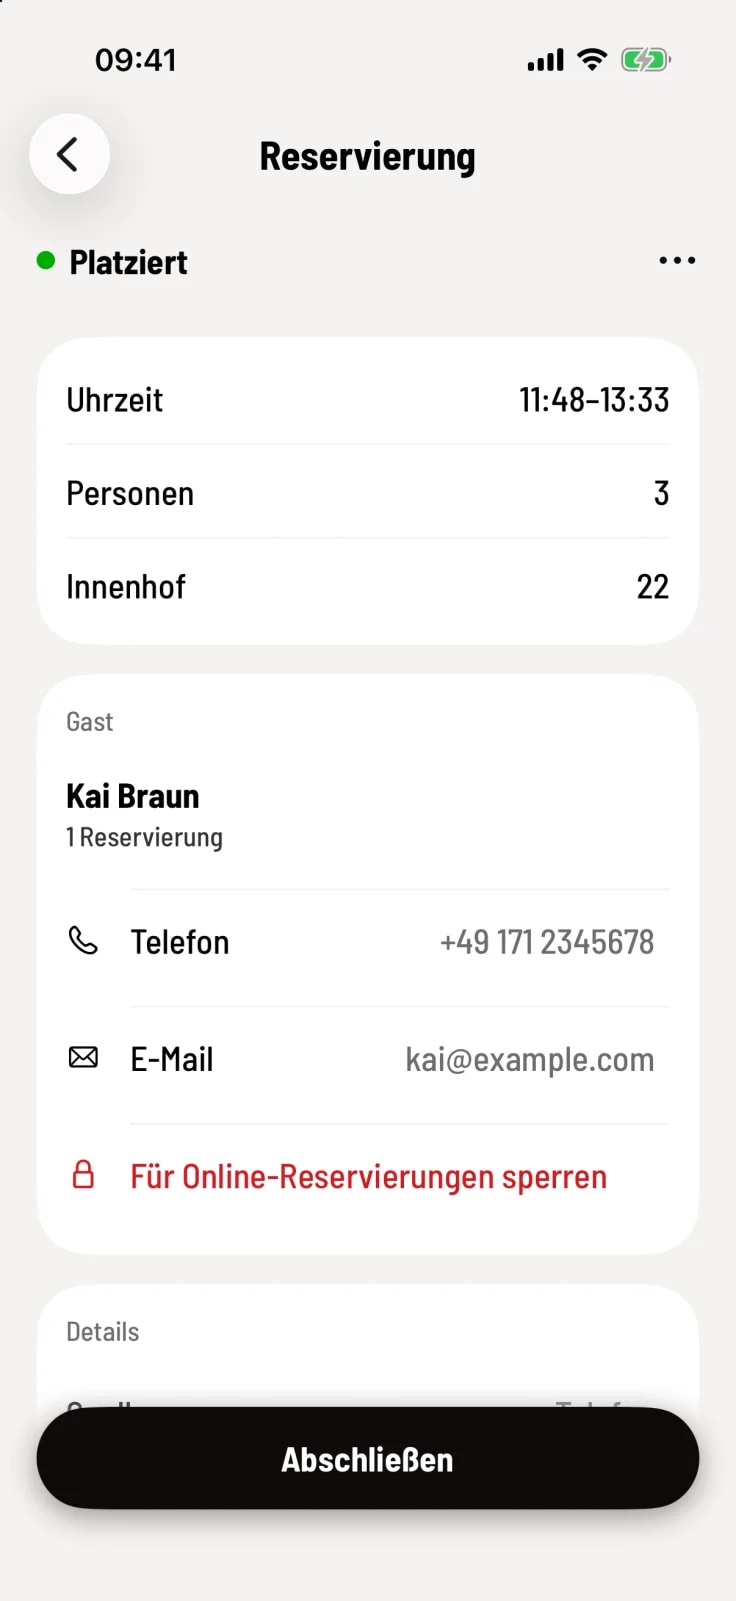
Step 4 of 4
Ready
The cash register reports Guest seated – Waiting list entry completed and displays the new reservation.
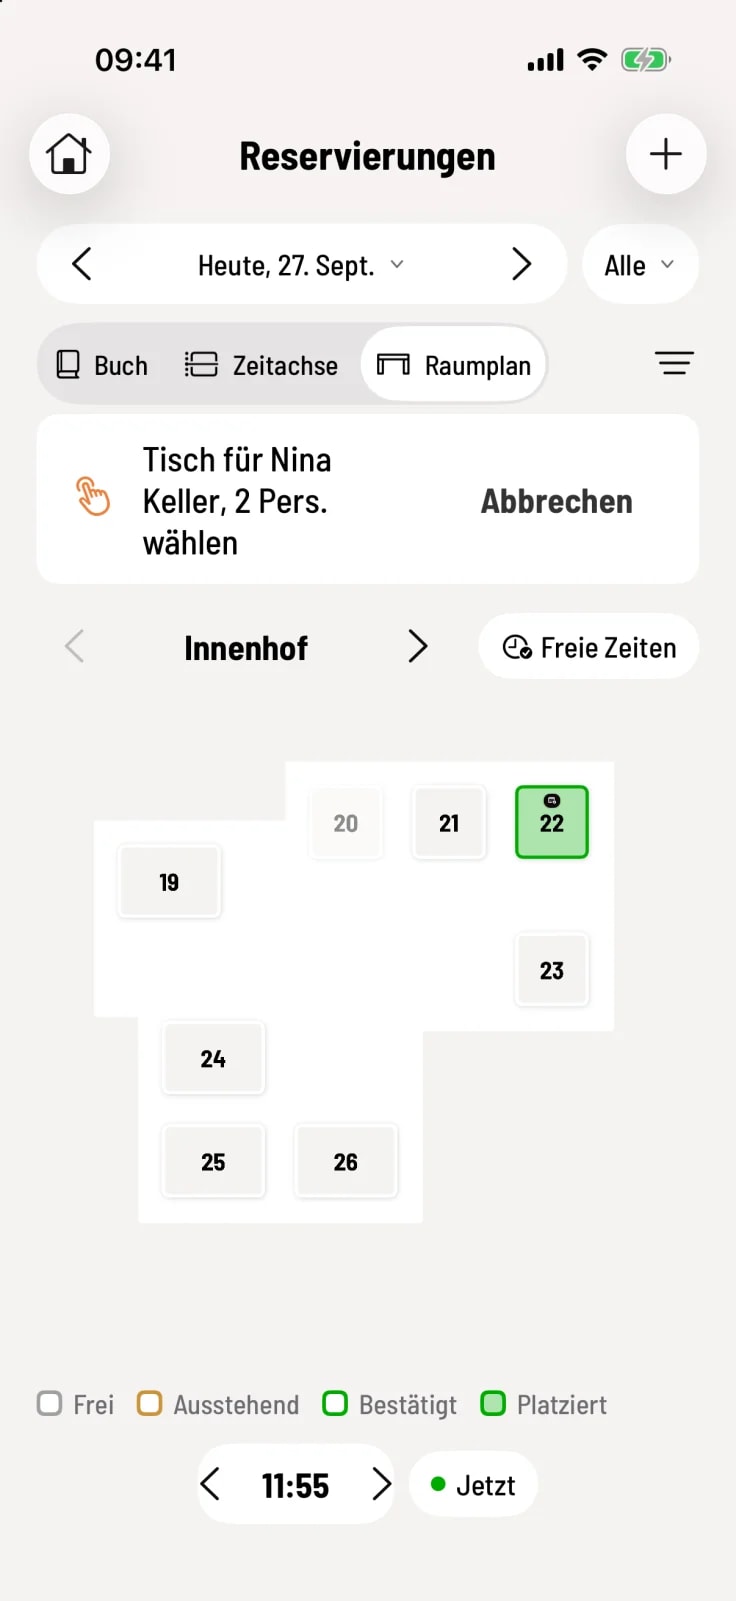
It's faster via … → Select table: The floor plan opens, and tapping on a table immediately seats the guest.
Using … → Set Status, you can mark an entry as Expired or Cancelled – it will then disappear from the list. Remove deletes it permanently.