
Printer not found
What the printer search reports, how to allow network access, and how to add a printer via IP address.
The search simultaneously queries the network for receipt printers via multiple channels. If the results are negative, the reason is displayed in the middle, along with a button for further assistance.
No access to the local network
If network access is denied, the search will report that Servire is not allowed on the local network. The button below opens the device settings. Allow Servire access to the local network there (depending on the device, this is called Nearby Devices) and search again.
Under Settings › This Device, the device wizard guides you through all the permissions the cash register needs.
No network
If the cash register isn't connected to a Wi-Fi network, it will offer the option to Open Wi-Fi settings. Connect it to the same network as the printer. A guest Wi-Fi network is usually separate from the main network: the cash register won't be able to reach the printer from there.
Nothing found
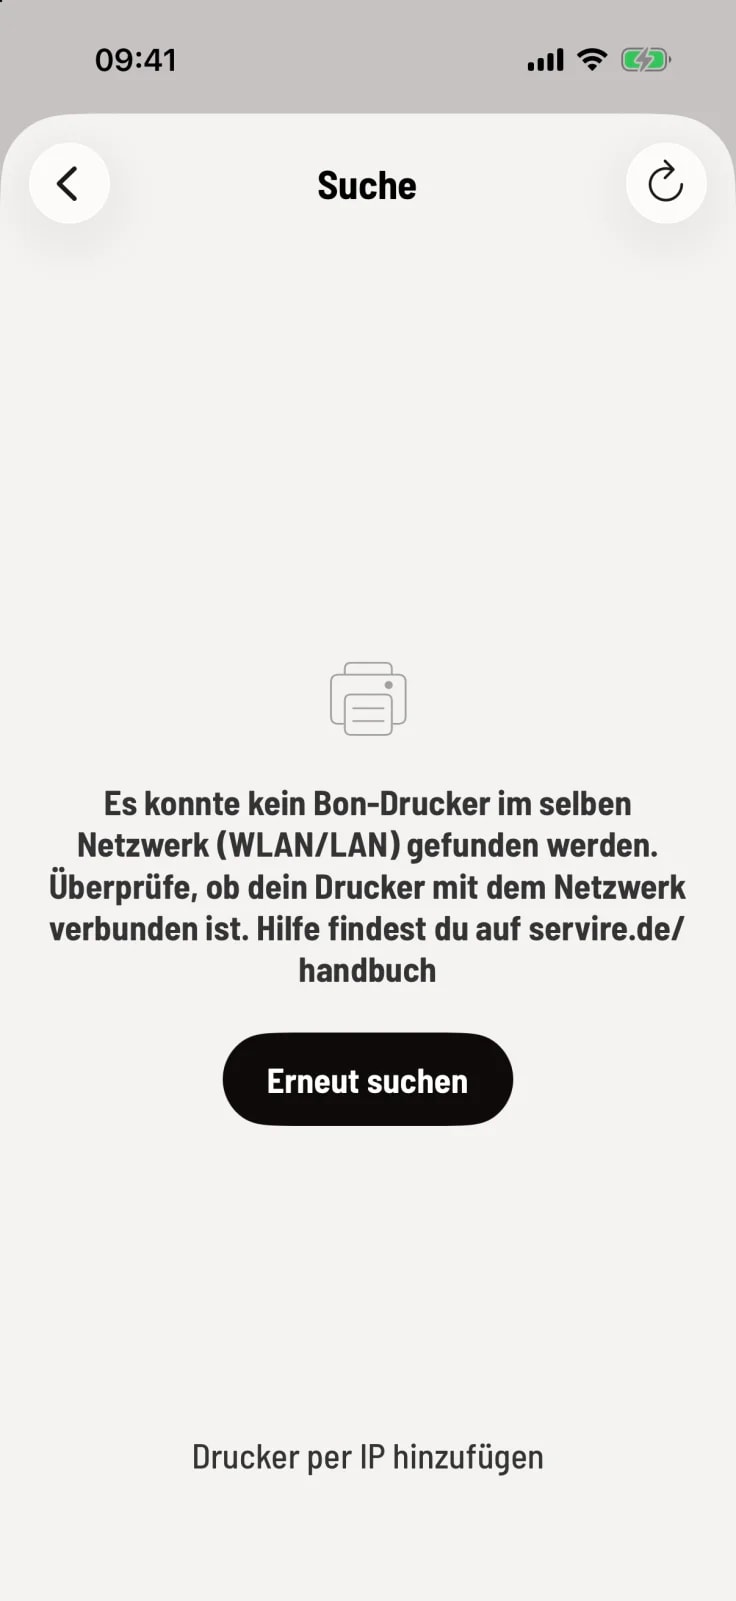
Step 1 of 2
Search again
Check if the printer is turned on and connected to the network, and tap Search again. If that doesn't help, tap Add printer by IP address at the bottom.
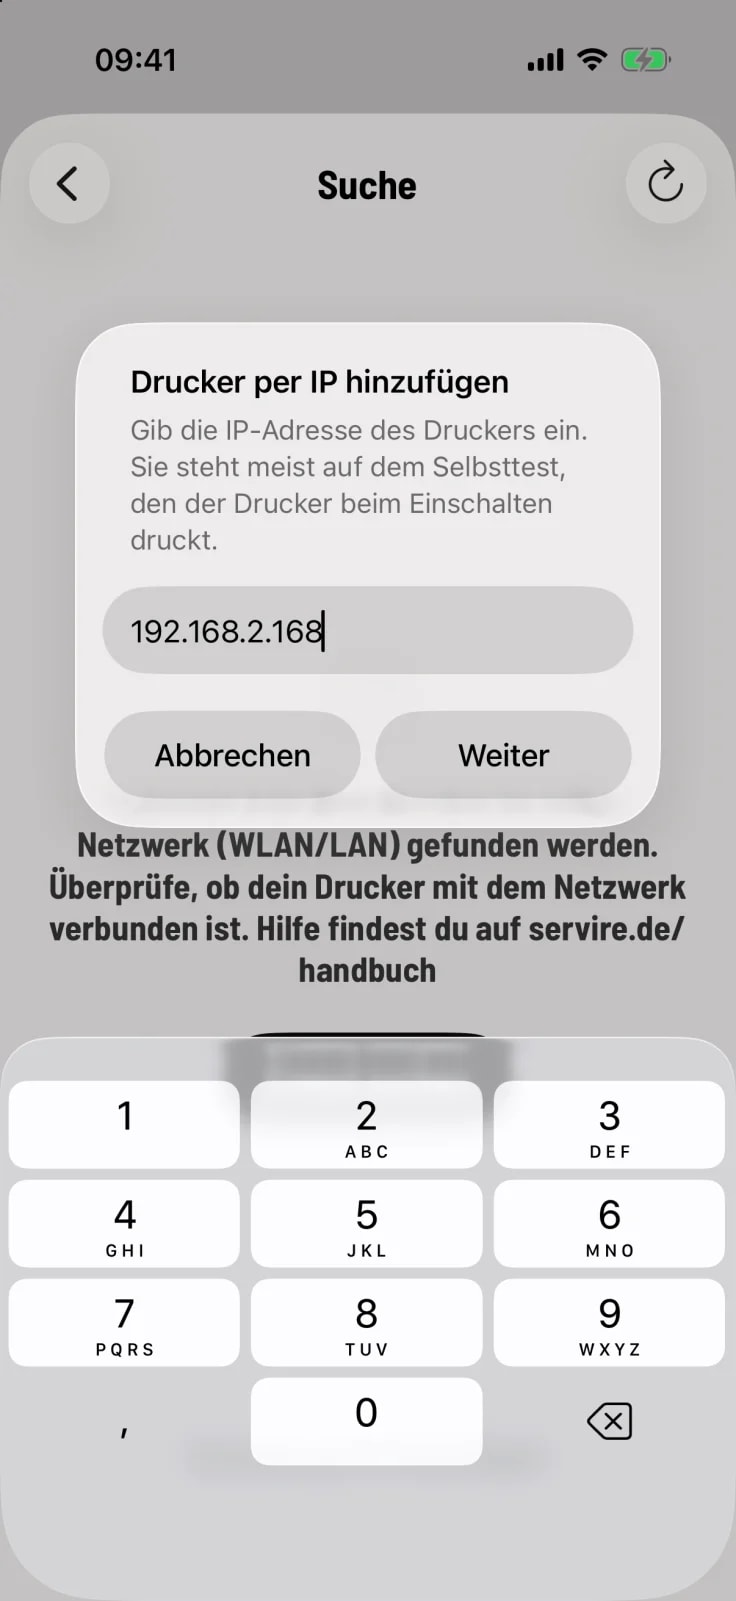
Step 2 of 2
Enter IP address
Enter the printer's address, for example 192.168.2.50, and tap Next. The address is printed on the self-test message the printer prints when it's turned on. Then, set it up as you would any other detected printer.
The cash register only checks the entered address during the test print. Therefore, a typo will only be noticed there: test print.
Assign the printer a static IP address in the router. Otherwise, it might get a new one after a restart, and the cash register won't be able to find it.